Free Graduation Cake Topper SVG File
This post may contain (Amazon) affiliate links, and we may earn a small commission from qualifying purchases. Thank you for your support!

Hey there! In this tutorial, I’ll be showing you how to make a graduation cake topper using your Cricut and the free cake topper SVG file that I’ll provide.
I’ll walk you through the entire process from downloading the SVG file to cutting and assembling the topper. It’s really easy, I promise!
Whether you’re new to Cricut or a pro, you’ll be able to make a beautiful graduation cake topper that will be the talk of the party. So let’s get started and make your graduation cake stand out!
Free Graduation Cake Topper SVG file
Graduation Cake Topper

Create a beautiful graduation cake topper with this easy-to-follow tutorial.
Prep Time
5 minutes
Active Time
5 minutes
Total Time
5 minutes
Difficulty
Easy
Materials
- Cardstock - black and glitter
- Adhesive (glue/glue gun/glue dots)
- Toothpicks, paper straws, or acrylic sticks
Instructions
- Start by downloading the free graduation cake topper SVG file.
- Open the SVG file in Cricut Design Space.
- Select the appropriate size for your cake topper by adjusting the size of the design in Design Space.
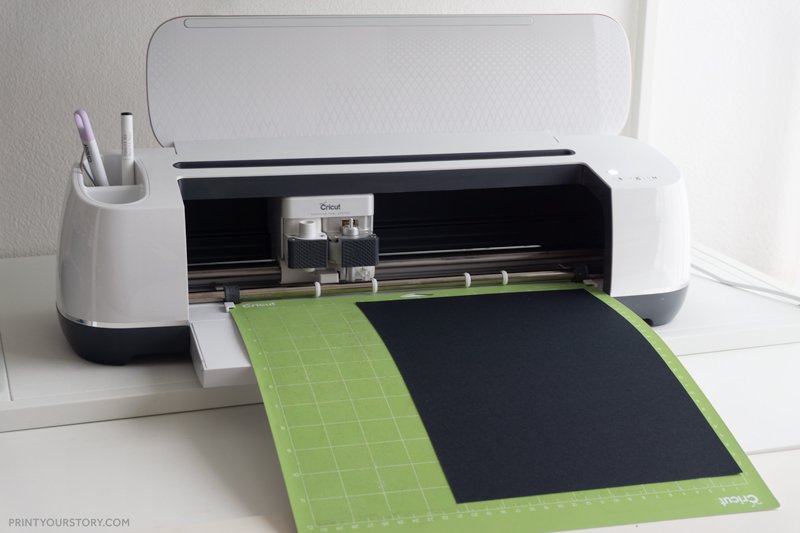
- Next, load your cardstock onto the cutting mat. It’s recommended to use a green Cricut mat as it provides a strong adhesive grip for thicker materials like cardstock. Load the mat into the Cricut machine.
- In Design Space, make sure that ‘cardstock’ or ‘heavy cardstock’ is selected as the material you will be cutting.
- Click the ‘Make it’ button to start the cutting process.
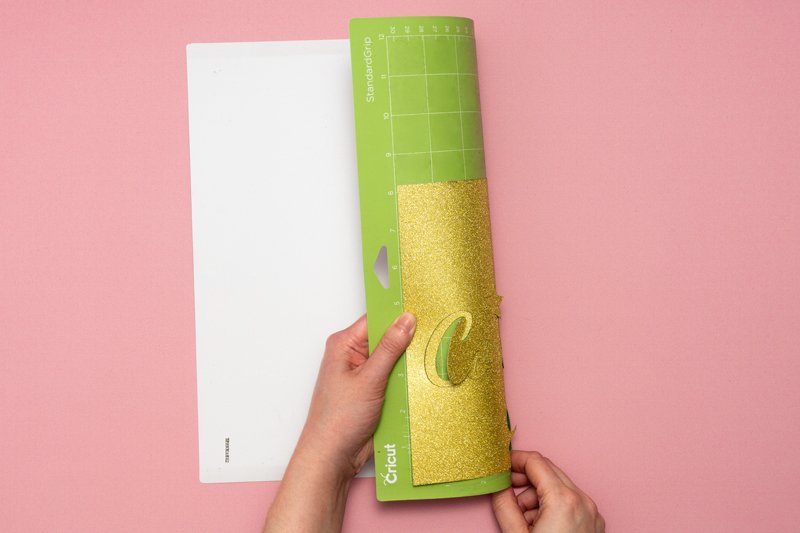
- Once the cutting is complete, carefully remove the cake topper from the mat. Take the cardstock off the mat upside down*.
- Assemble the different pieces of your cake topper with an adhesive like glue dots or glue. For this tutorial, I am using double-sided foam pads.
- Finally, insert the cake topper into your cake by attaching toothpicks, paper straws, or acrylic sticks.


