
Valentine’s Day Coloring Card Craft – Easy Cut & Paste Printable Activity for Kids
Valentine’s Day crafts are officially taking over my craft room – and I’m not mad about it. I’ve got markers, glue sticks, and heart confetti basically living on my desk right now.
This week I put together a super easy printable Valentine’s Day coloring card craft for preschool kids. It’s a mix of coloring, cutting, and gluing that turns into the cutest DIY greeting card.

Perfect for classroom parties, after-school activities, or just a quiet afternoon with craft supplies and a snack.
The best part? It’s all included in the free printable, just print it out and let the kiddos get to work!
What’s Included in This DIY Valentine’s Day Coloring Printable
This printable card is designed as a cut-and-paste Valentine’s craft. It comes with two pages:
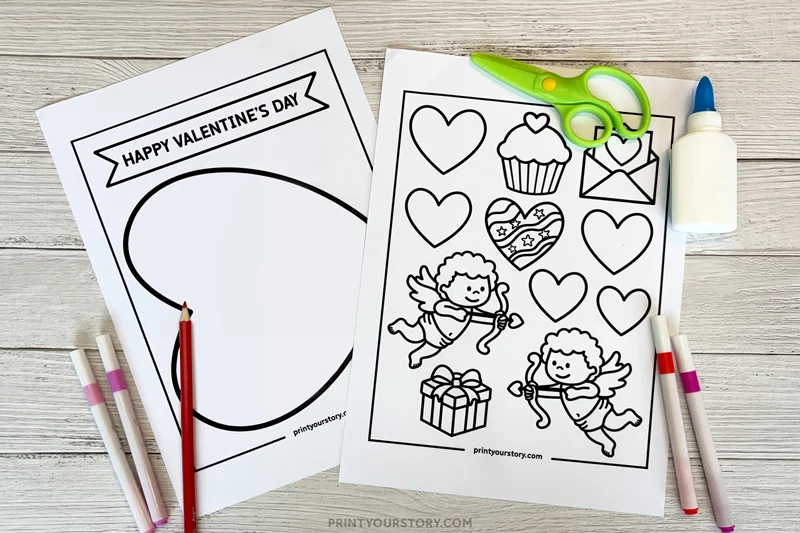
- Page 1: A big heart card with the “Happy Valentine’s Day” banner across the top.
- Page 2: A whole sheet of decorations! There are little Cupids, hearts of all kinds, an envelope, cupcake, gift box.
Everything is black and white, so your little one can color it all in before gluing the pieces onto the card. It’s kind of like building your own Valentine, which makes it extra special for whoever receives it.
The best part is that you don’t need any fancy supplies. Just print the pages on regular paper (or cardstock if you want it sturdier), grab your crayons and glue stick, and you’re ready to go.
How to Make This Valentine’s Day Coloring Card Craft Step-by-Step
What You’ll Need
Step-by-Step Instructions
Step 1: Print the pages
Start by downloading the free printable PDF at the bottom of this post. Then print the pages on regular printer paper or cardstock for a sturdier card. Either works, but cardstock holds up better if the card will be gifted.
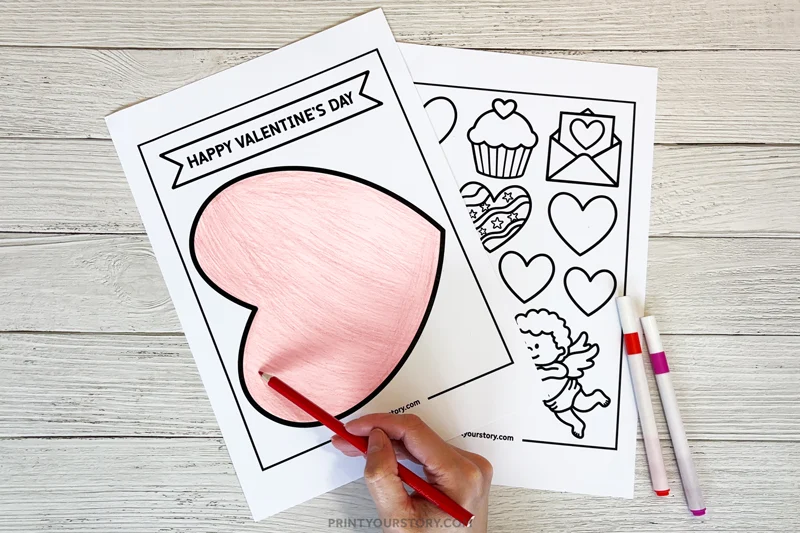
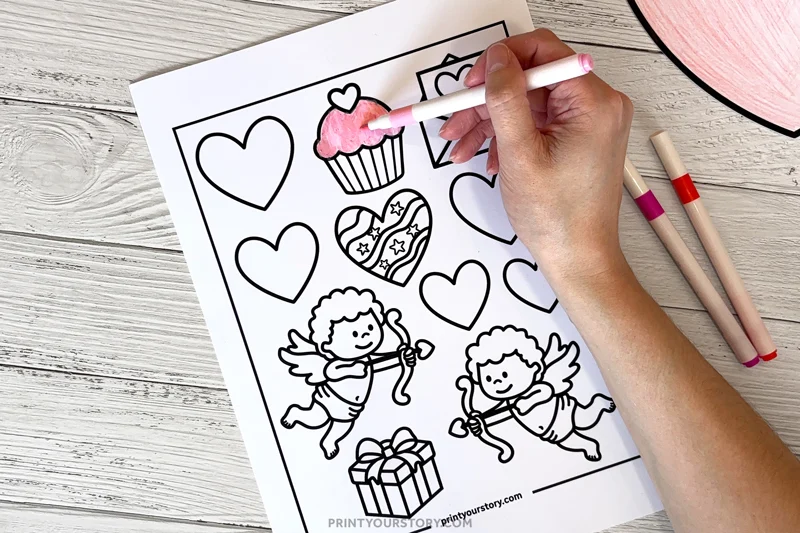
Step 2: Color everything
This part is so fun. Let kids go wild with colors. Rainbow Cupids? Yes. Pink and red hearts? Always cute. There’s no wrong way to decorate.
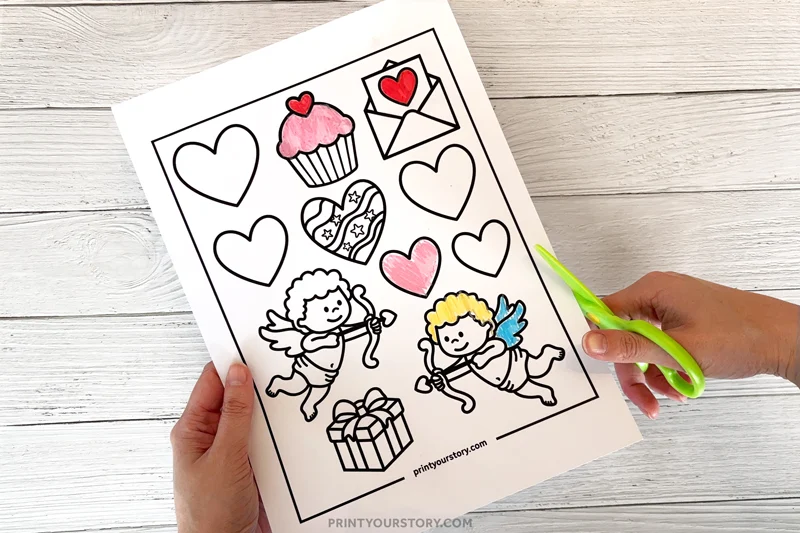
Step 3: Cut out the decorations
Great for practicing scissor skills. The printable includes lots of shapes to work with, from simple hearts to detailed little Cupids and treats.
Step 4: Cut out the large heart card
This will be the base for the design. You can leave it flat, or fold it in half to make it feel more like a traditional card. Either way works!
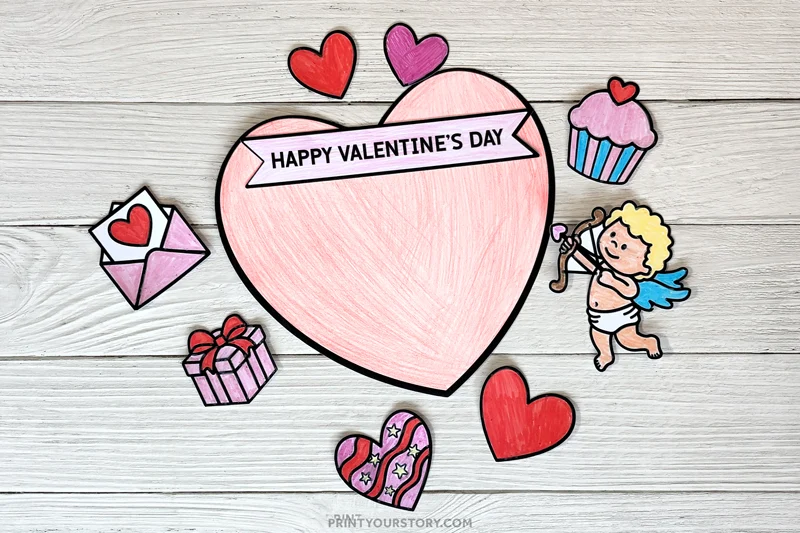
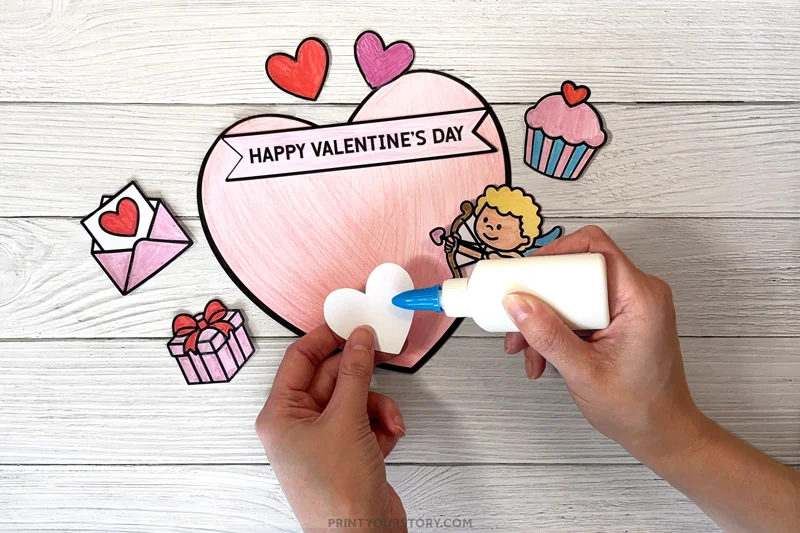
Step 5: Glue the decorations onto the heart
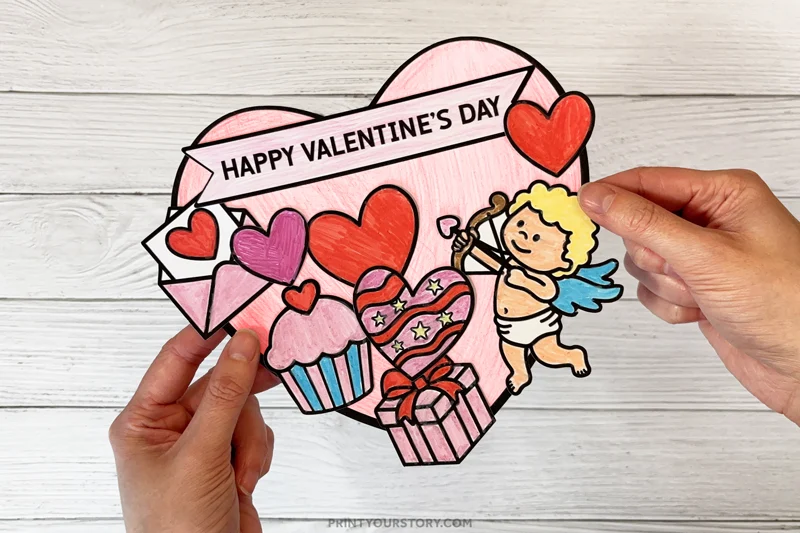
Kids can arrange everything however they like. Each card ends up totally unique, and if you have leftover pieces, you can always save them for another Valentine’s craft.
That’s it! A super sweet, personalized Valentine’s card, ready to be handed off to a grandparent, teacher, or best friend.
Classroom & Group Ideas
If you’re doing this craft in a classroom or with a group of kids, I suggest pre-cutting the card page or even the decorations, depending on the age group. You could also laminate the heart card after decorating it (before folding), then use tape or Velcro dots to turn it into a little Valentine’s board game or matching game.
There’s a lot of flexibility here, which I love. The card base could even be turned into a door hanger or a mini Valentine’s Day banner if you punch a hole in the top.
Tips & Tricks for this Valentine’s Day Craft
- Print on cardstock if you want a sturdier card that holds up well.
- Double up your pages and let kids make multiple versions. They’ll probably want to try more than one combo.
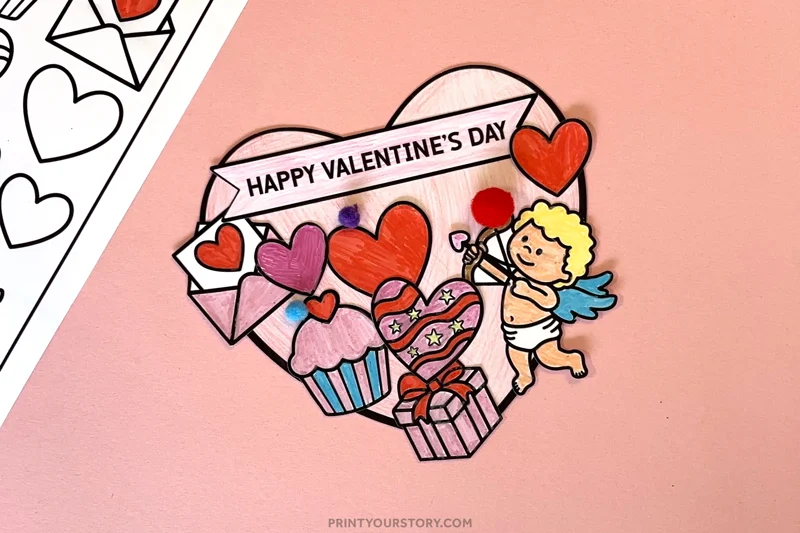
- Add stickers or glitter if your kid is into the extra sparkle. We added mini heart stickers to one version and it turned out adorable.
- Write a message – if your child is old enough. It’s a sweet way to practice handwriting and say something kind.
How to Download
The printable is available in PDF format, and you can print it out as many times as you’d like for personal use. Just scroll down to the download section below and grab the file!
A quick note on sharing this file
If you love this template and want to share it with friends, teachers, or fellow crafters, I’d be so happy! Please just share the link to this blog post instead of sending the file directly. It helps support my site and allows me to keep creating free crafts for everyone to enjoy.
Thanks for supporting my little corner of the internet!
Download the Valentine’s Day coloring card craft here:
Free Valentine’s Day Craft
You might also like
Why I Love Printable Crafts for Kids
Honestly, printable crafts have been saving me lately. There’s something magical about having a whole project ready to go with just a quick click and print. No hunting down materials or getting overwhelmed in the craft aisle.
Plus, it’s always more fun when kids get to do most of the work themselves. Coloring, cutting, gluing, it’s all great for fine motor skills, and it gives them a little confidence boost when they see what they’ve made.
Final Thoughts
This Valentine’s Day coloring card craft is such a sweet little activity for kids, and I hope you and your little ones have as much fun with it as we did.
Happy crafting and Happy Valentine’s Day!
Valentine Coloring Cards with Cricut Pen Tool Creation
This is a Valentine's Day craft project that is perfect for anyone who likes to color. It involves using your Cricut machine and two free Valentine Coloring Card SVG files. The project is budget-friendly and a great way to add a personal touch to Valentine's Day greetings. The following instructions will show you how to create this project with Cricut's pen tool.
- Project Type:
- Cardstock Projects for Cricut
- Active Time:
- 5 hrs
- Total Time:
- 5 hrs

Materials
- Cardstock
- Crayons
Tools
- Cricut Machine (I used my Cricut Joy and Cricut Maker)
- Cricut Pen (or Printer)
Instructions
- With Cricut Pen Tool:
- First, download the Valentine Coloring Card SVG files.
- Unzip the files and open the files in Cricut Design Space.
- Once the files are open, change the setting of the design to "pen" in Cricut Design Space.
- Make sure to attach the cutting and pen parts of the design together.
- Load your cardstock or paper and pen tool into your Cricut machine. Make sure to adjust the settings for the type of paper you are using.
- Click on the "Make It" button to start the cutting and drawing process. Follow your Cricut’s instructions.
- Fold along the cutout lines of the crayon holder parts to create pockets to securely insert the crayons.
- You now have a unique and personal Valentine's Day card! Repeat the process to make more cards.
- With Cricut Print and Cut:
- (for Cricut Explore and Maker)
- Unzip the files and open the 'Print and Cut' SVG files in Cricut Design Space.
- Change the setting of the design to "Print Then Cut" in Cricut Design Space.
- Make sure to flatten the design so the printing and cutting will be done on the same layer.
- Click on the "Make It" button.
- Print the design on cardstock or paper, and make sure to adjust the settings of your printer for the type of paper you are using.
- Load the printed cardstock or paper into your Cricut machine.