
Build a Polar Bear Craft (Free Printable)
This Build a Polar Bear Craft is a cute and easy winter craft made with a free printable polar bear template. Simply color the polar bear, cut out the pieces, and glue everything together. Add the little hat and scarf at the end to give the bear a cozy winter look.

What you’ll need
- Free printable polar bear template – grab it down below!
- Heavy printer paper or cardstock
- Crayons, markers, or colored pencils (optional)
- Scissors
- Glue stick
Two printable options are included:
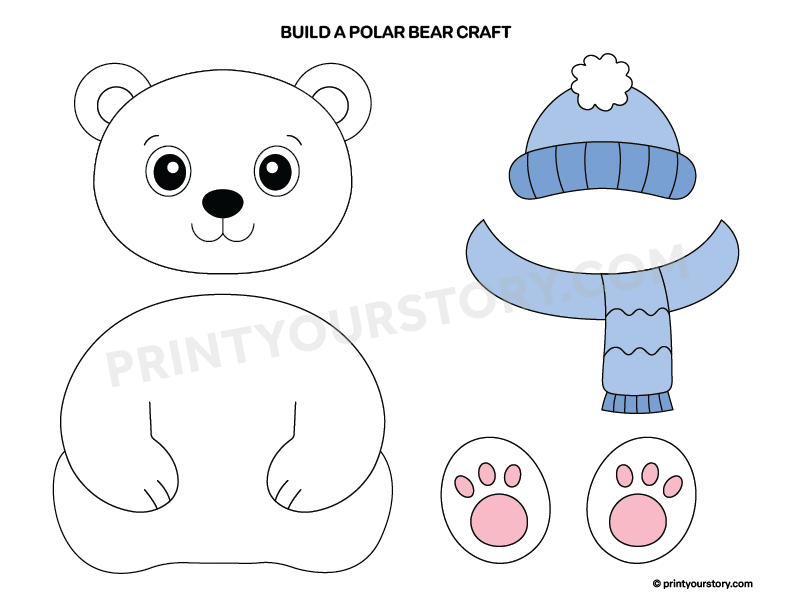
- Full-color polar bear craft
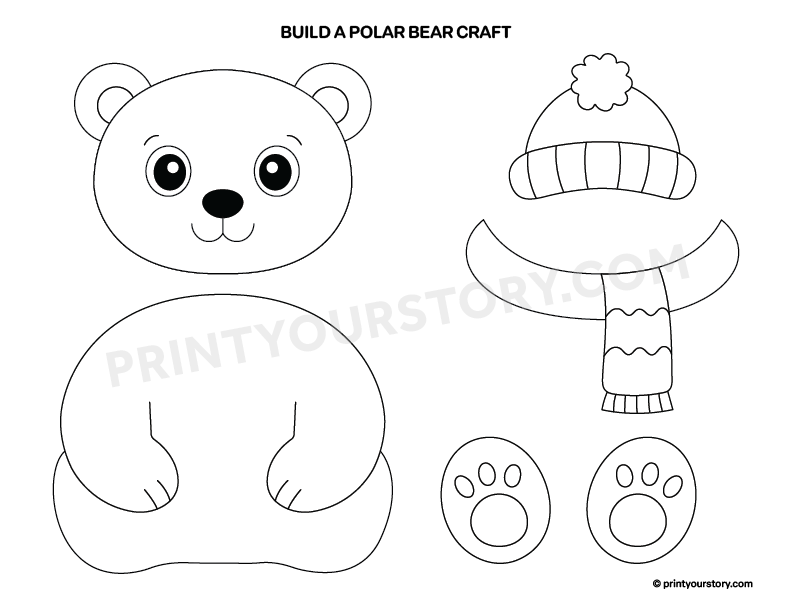
- Black and white polar bear craft
The color version is ready to cut and assemble. It works well when there isn’t much time for coloring.
The black and white version adds an extra creative step. Colored pencils, crayons, or markers all work well for decorating the winter accessories.
Print the pages on regular white printer paper for an easy craft. I prefer to use cardstock, it makes the finished polar bear a little sturdier.
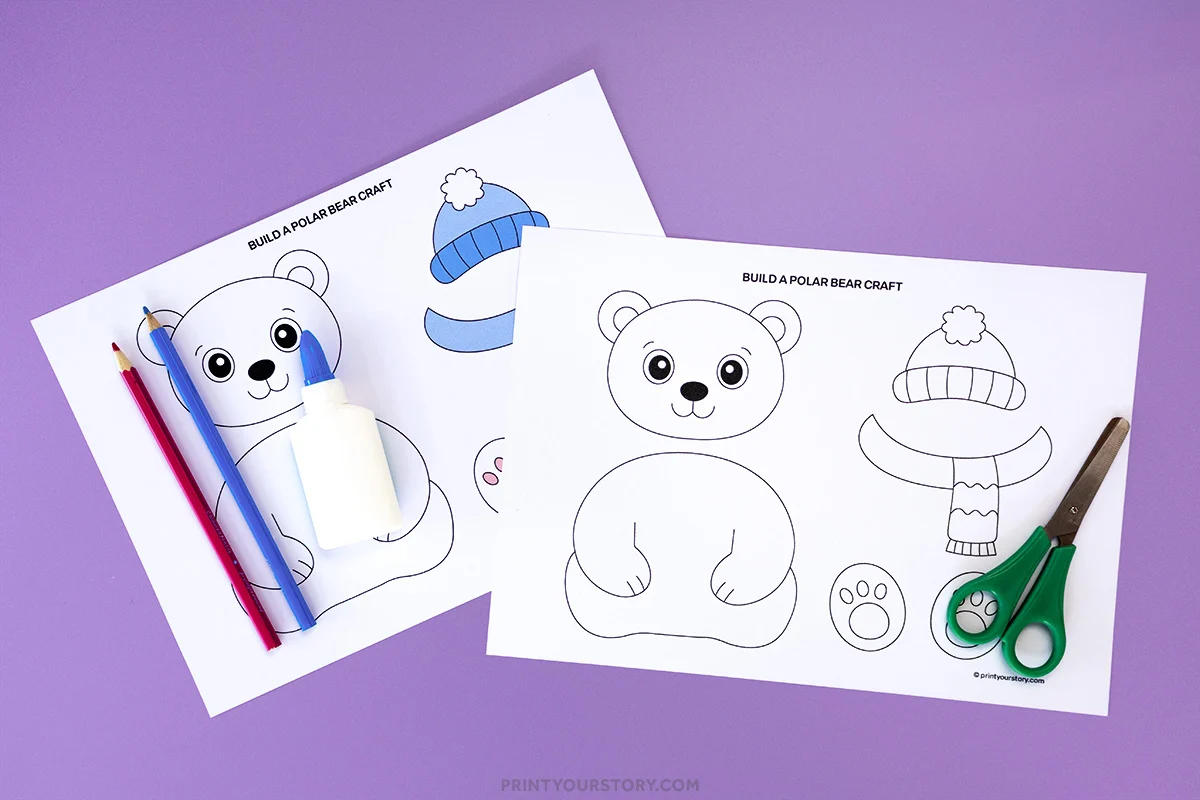
I usually like colored pencils for printable crafts like this one. They make it easy to add small details without covering up the outlines. Markers are great for brighter colors.
How to make the Build a Polar Bear Craft
This polar bear comes together in just a few steps. Start with the black and white printable for a coloring activity, or skip straight to cutting when using the color version.
Step 1: Color the polar bear
Start by coloring the black and white polar bear printable.
Add color to the hat and scarf. The small details on the paws and ears can be colored too. Leave the main body and head white for the classic polar bear look.
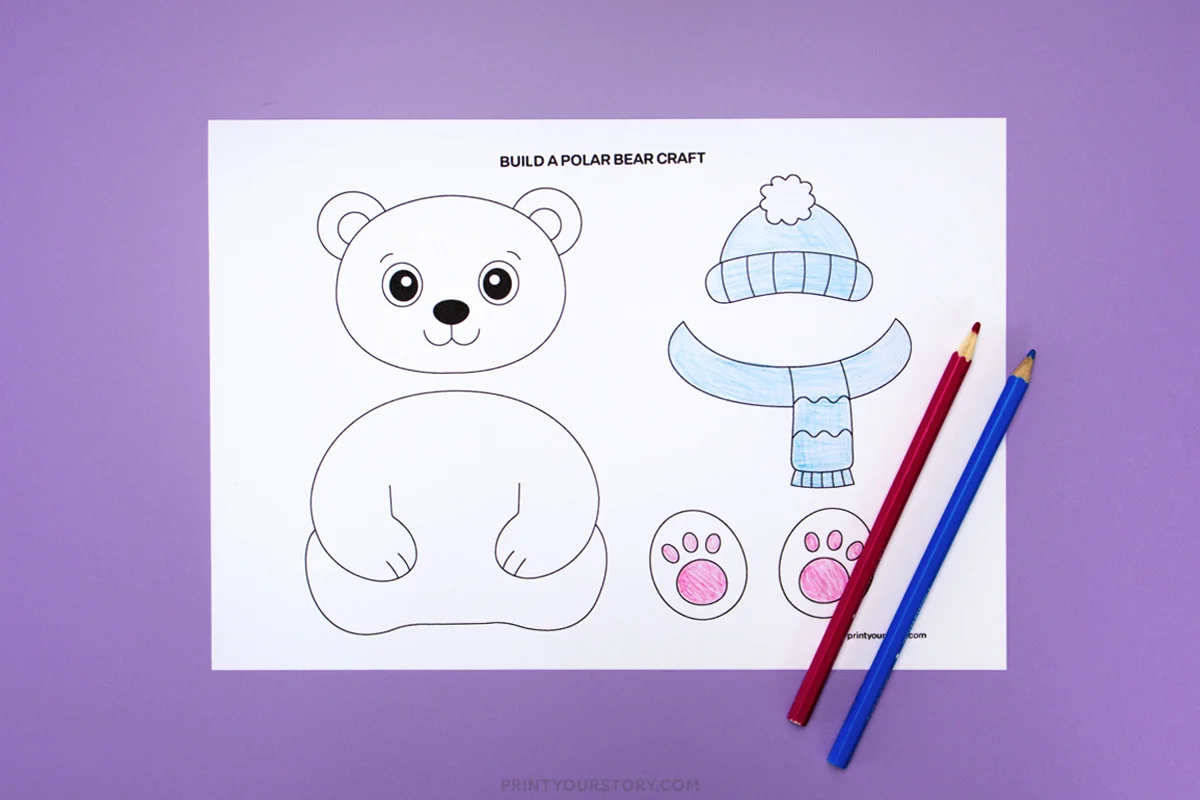
Try different colors and patterns on the winter accessories. Stripes, dots, or a rainbow scarf would all be fun additions.
When using the full-color printable, skip this step and move straight to cutting.
Step 2: Cut out the polar bear pieces
Carefully cut around each piece along the outside lines.
Cut out the polar bear’s body, head, feet, scarf, and hat.
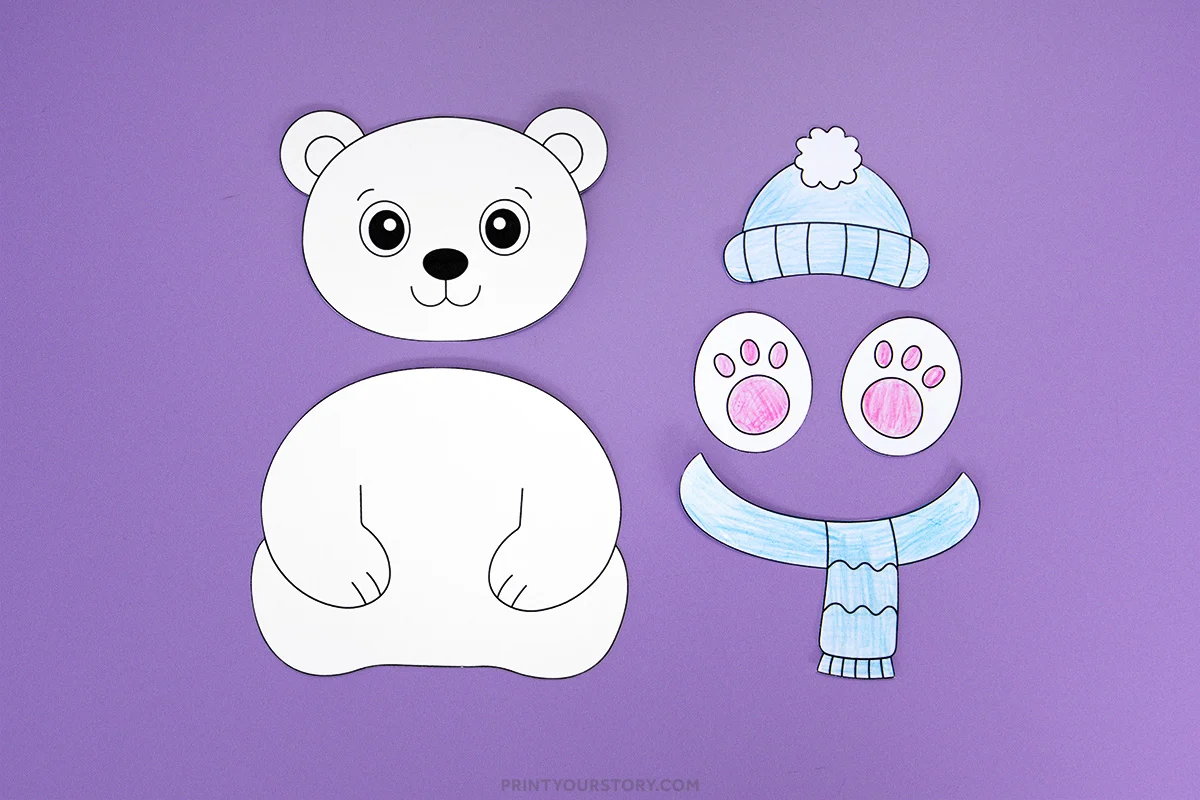
Place each finished piece to the side after cutting. This makes it easier to find everything when it is time to build the polar bear.
Step 3: Paste the head on the body
Now it is time to start building the polar bear.
Add a little glue to the back of the head. Press it onto the body.
Step 4: Paste the feet on the body
Find the two little polar bear feet.
Place one foot at the bottom left side of the body and the other at the bottom right side.
Once both feet look good, glue them into place.
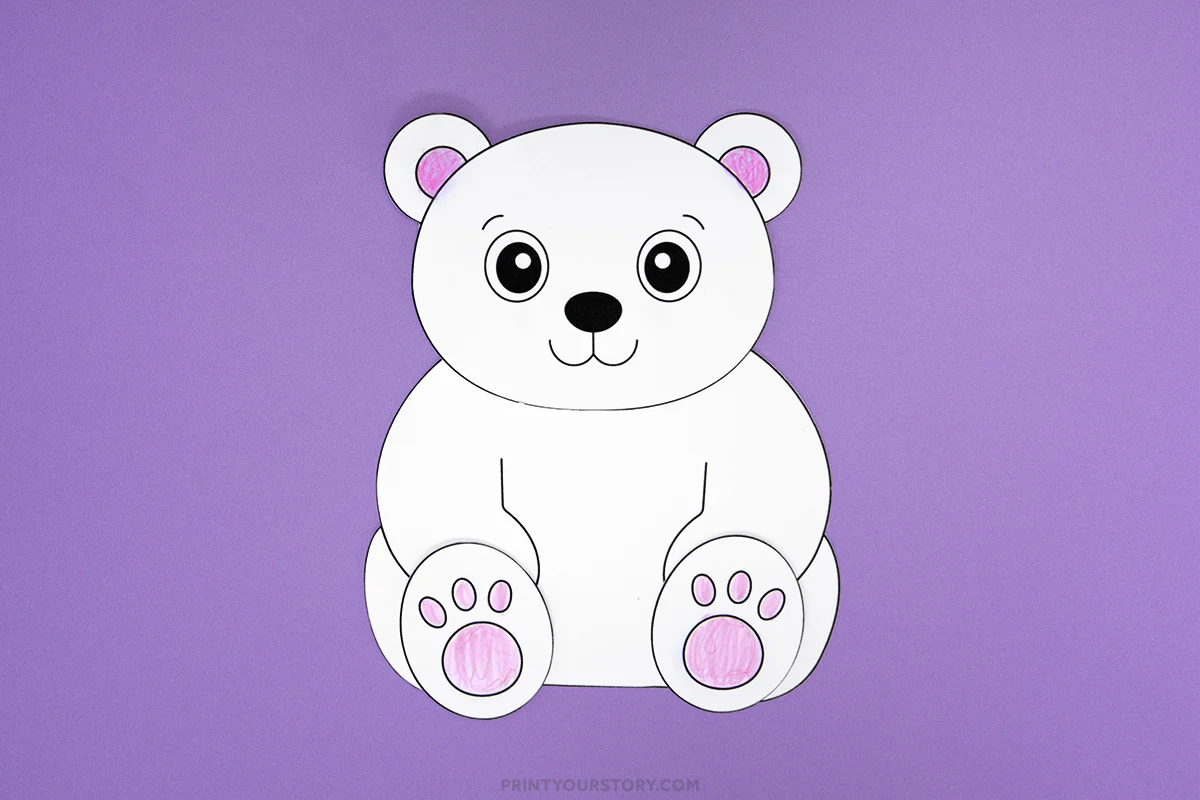
Step 5: Add the scarf and hat
The last step is adding the polar bear’s cozy winter clothes.
Place the scarf across the bear’s neck. Add glue to the back and press it into place.
Next, place the winter hat on top of the polar bear’s head. Glue it down.
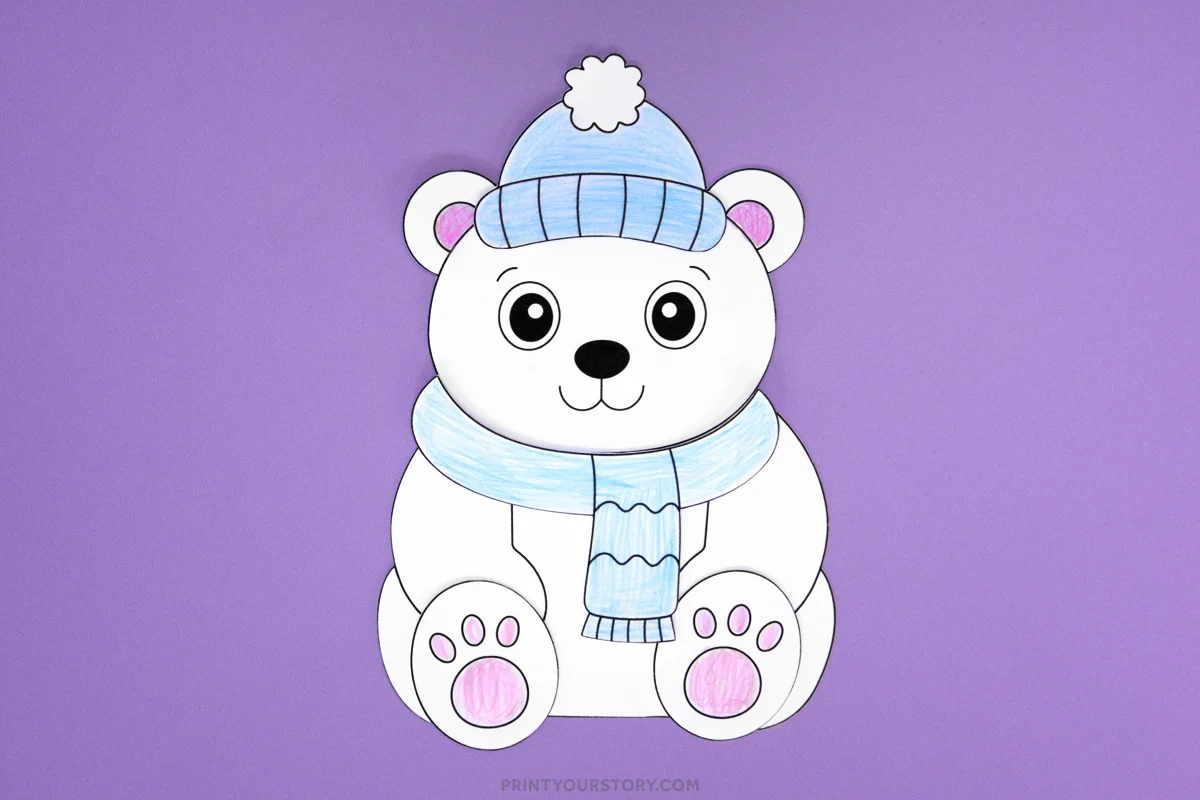
The little polar bear is finished!
A quick note on sharing this file
If you love this template and want to share it with friends, teachers, or fellow crafters, I’d be so happy! Please just share the link to this blog post instead of sending the file directly. It helps support my site and allows me to keep creating free crafts for everyone to enjoy.
Thanks for supporting my little corner of the internet!
Grab the free Build a Polar Bear printable template here:
You might also like
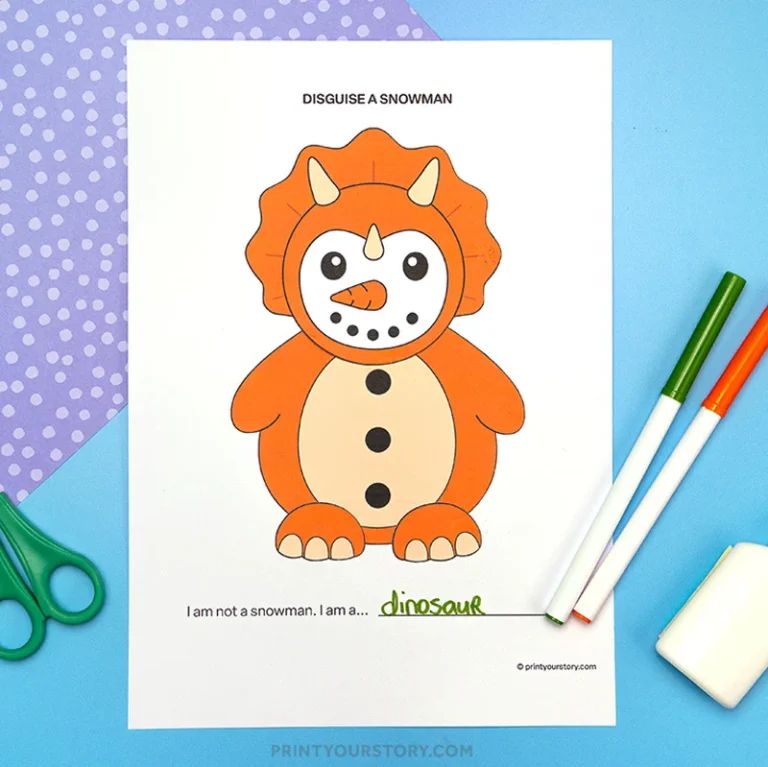

More crafts
This build a polar bear craft is a fun addition to a collection of winter printables. I especially like pairing animal crafts with other snowy activities during the colder months.
There are plenty of other printable crafts to explore on the blog too. Take a look through the winter crafts, animal crafts, and cut and paste crafts for more simple projects.