
Umbrella Paper Plate Craft (With Free Template)
Today I’m sharing a cheerful craft that always feels like a little burst of color on a gray day. This umbrella paper plate craft is simple and just really fun to put together.
I love how the cotton balls add that soft, fluffy cloud detail at the top. It gives the whole project a cozy, rainy day vibe.

This is one of those crafts I come back to every year when the weather starts to shift. It is easy to set up, doesn’t require anything fancy, and the results always look so cute hanging up afterward.
The best part is that there’s a free template included to make things even easier. You can use it to trace the umbrella shape, raindrops, and the handle so everything comes together smoothly.
I’ve been sharing more spring crafts lately, and this umbrella design is one of my favorites for adding a little color to a rainy day.
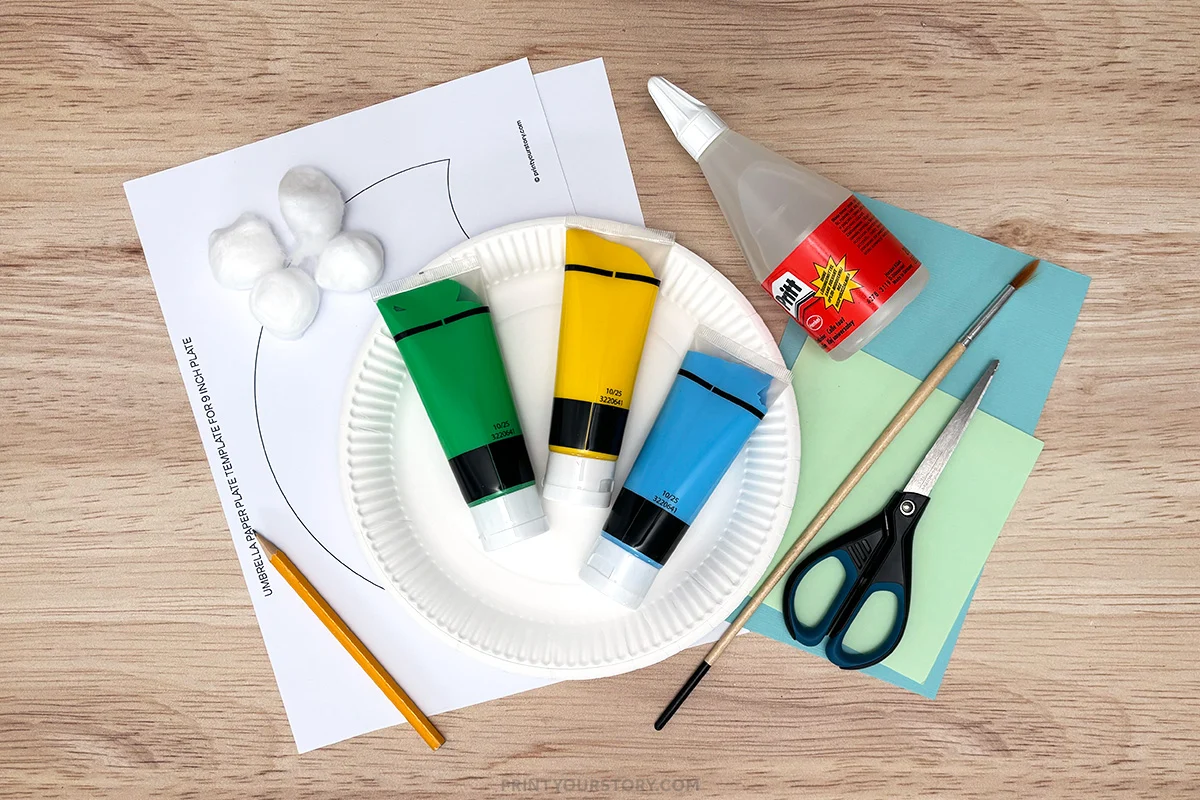
What you’ll need
- Paper plate
- Paint or markers
- Cotton balls
- Colored paper (for raindrops and handle)
- Glue
- Scissors
- Pencil for tracing
- Free umbrella template (umbrella shape, raindrops, and handle – grab it down below)
- White printer paper or cardstock and printer if you want to use the template


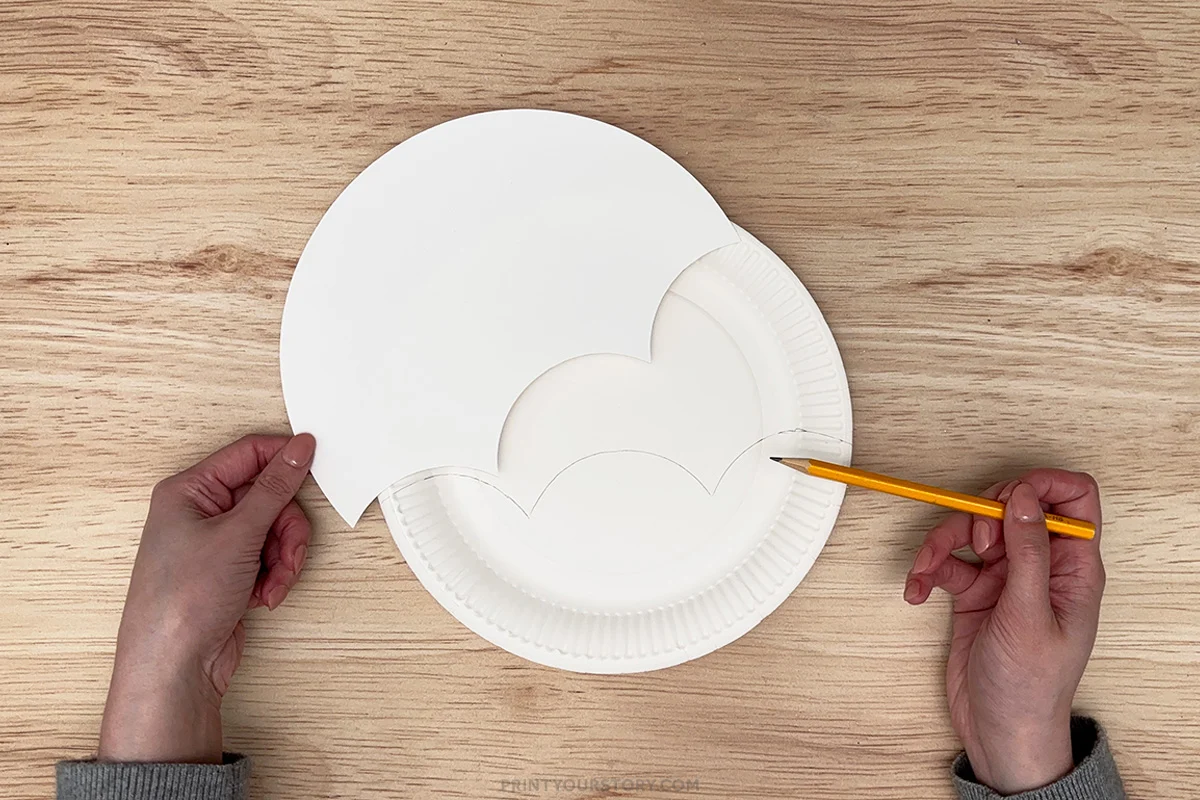
Step 1: Cut the umbrella edge using the template
Start by placing the free template over your paper plate and tracing the umbrella edge along the bottom with a pencil. I used a 23 cm (9 inch) plate, which matches the template nicely.
If you prefer not to use the template, you can cut it freehand.
Once traced, carefully cut along the line to create the classic curved umbrella shape.
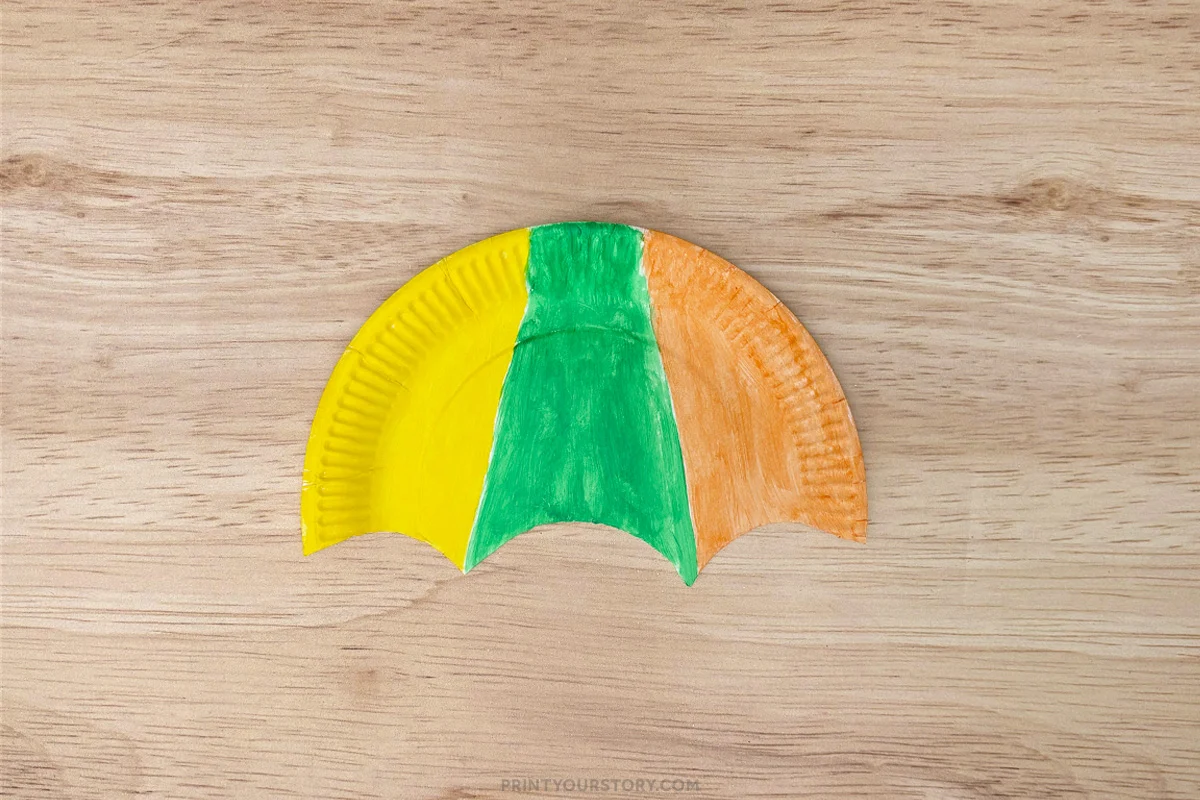
Step 2: Paint the umbrella
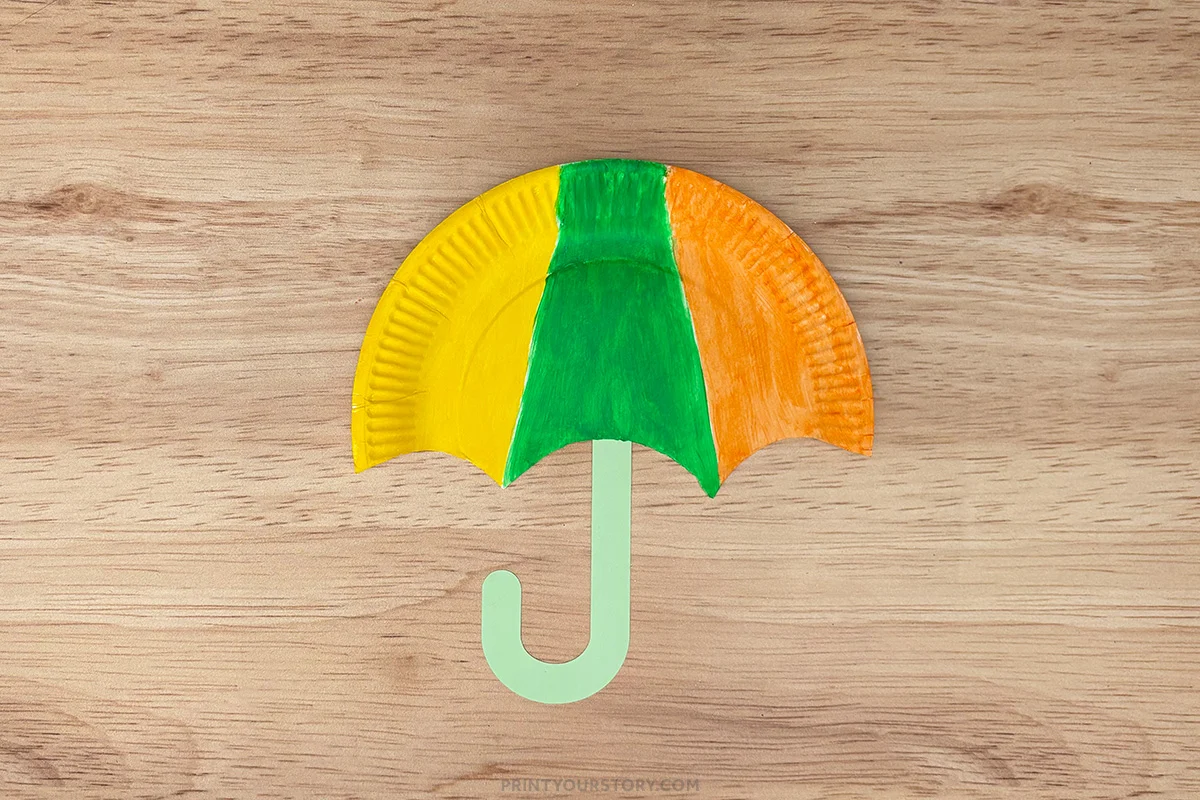
Now that your umbrella shape is ready, paint or color it in sections. I like using different colors for a bright and cheerful look. You can blend the colors slightly or keep each section bold.
Set it aside to dry completely before moving on.
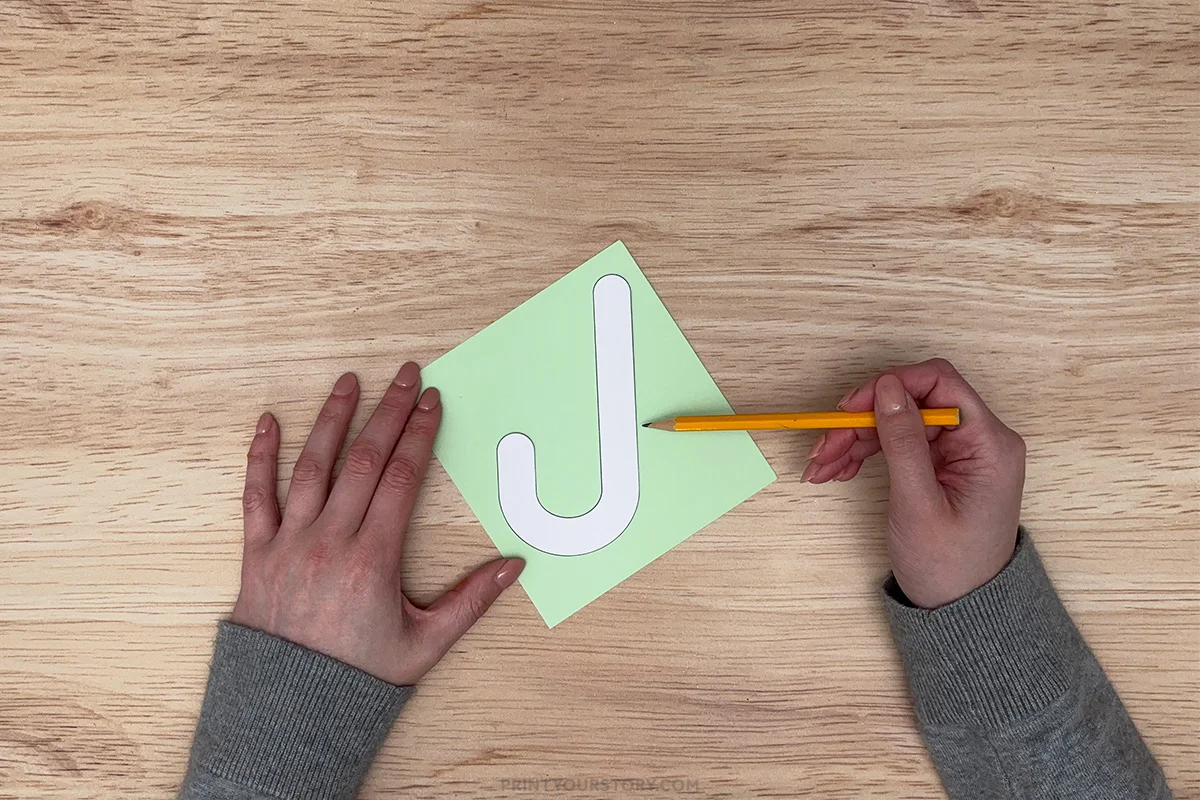
Step 3: Trace and cut the other template pieces
Use the free template to trace the raindrops and umbrella handle onto colored paper. Cut out all the pieces.
Step 4: Attach the umbrella handle
Glue the handle to the back of the paper plate so it curves down underneath the umbrella. Make sure it is centered.
If you want it to be sturdier, use thicker paper or glue two pieces together.
Step 5: Add the raindrops
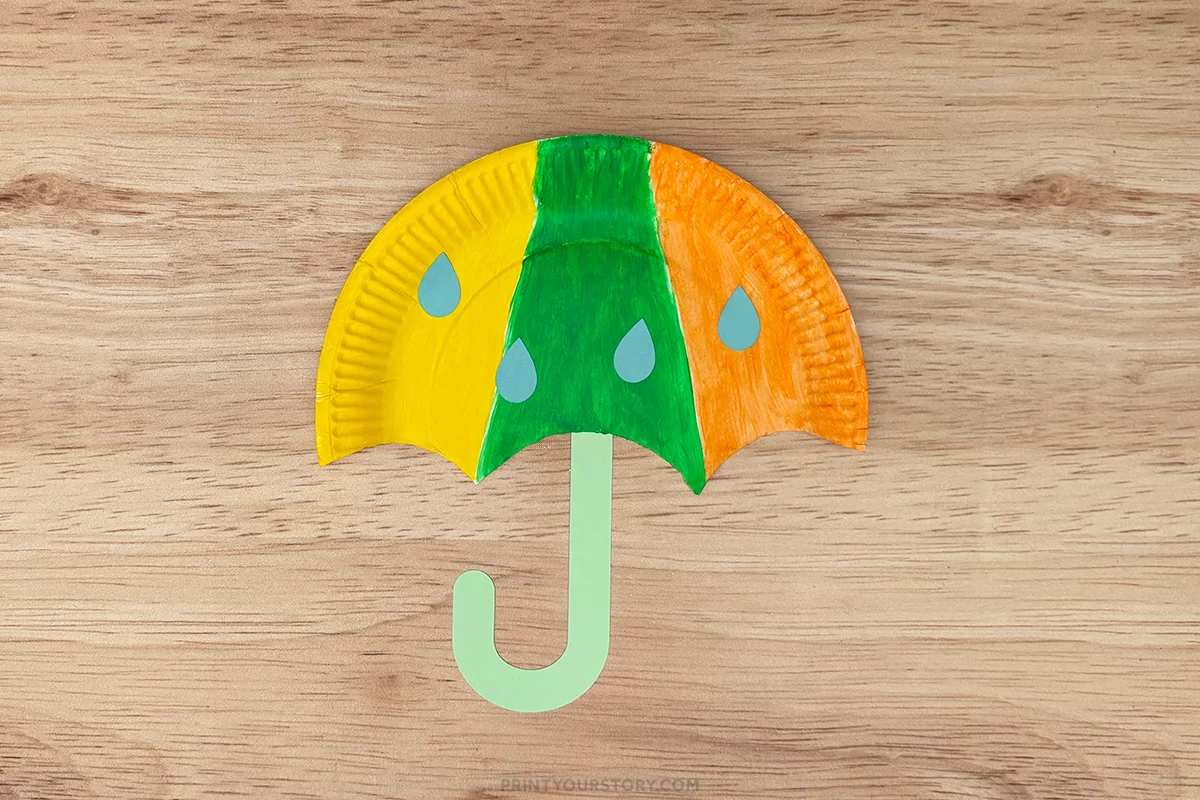
Arrange the raindrops on top of the umbrella and glue them in place. You can place some falling below it for a rainy day effect.
Spacing them out in different directions makes the design feel more natural.
Step 6: Add the cotton ball clouds
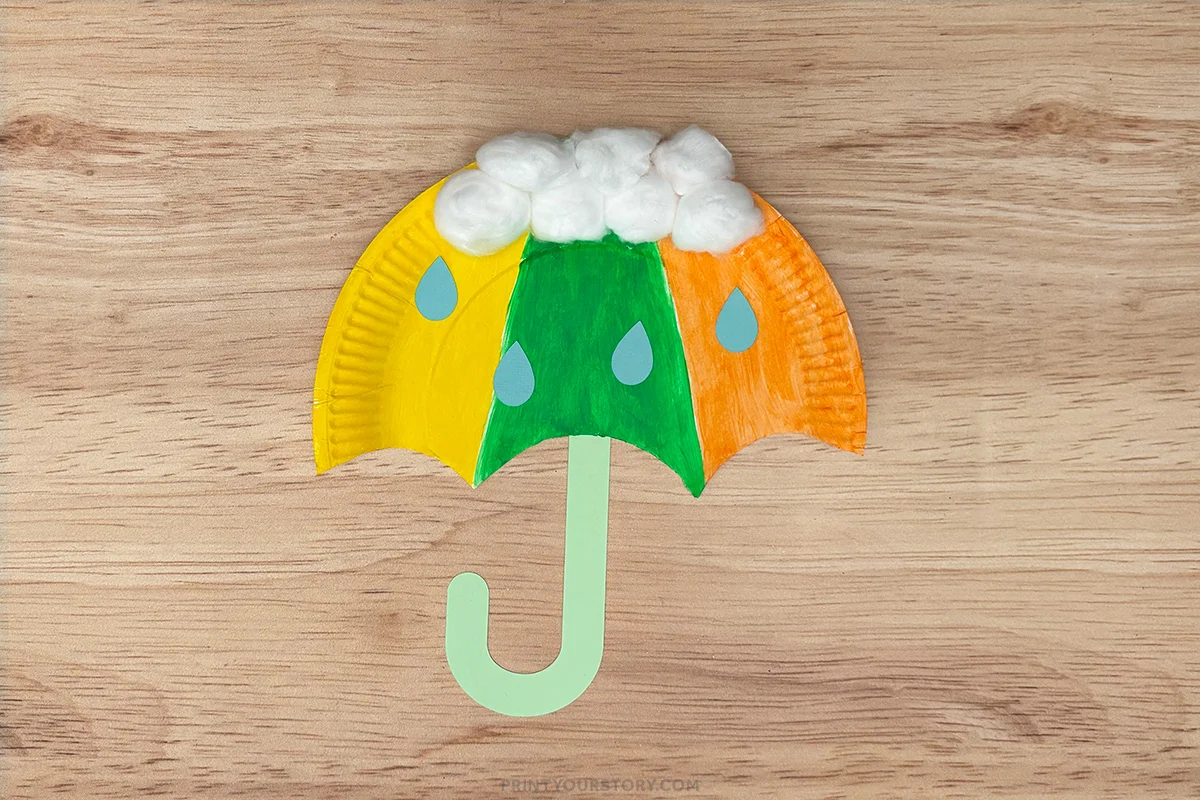
Glue cotton balls along the top edge of the umbrella. Gently pull them apart before gluing to create a softer, fluffier cloud effect.
Layer them slightly for a fuller look.
Step 7: Let dry and display
Allow everything to dry fully before moving it. Once finished, it looks so bright and fun pasted on cardstock or displayed on a board.
A Few Helpful Tips
- Keep pieces pre-cut for younger crafters: If you’re setting this up ahead of time, you can use the template to trace and cut the umbrella shape, handle, and raindrops in advance. This makes the activity smoother and lets everyone focus on decorating.
- Use cardstock for the handle if you want it to be sturdier.
- Cotton balls can be stretched slightly to create a more cloud-like texture.
A quick note on sharing this file
If you love this template and want to share it with friends, teachers, or fellow crafters, I’d be so happy! Please just share the link to this blog post instead of sending the file directly. It helps support my site and allows me to keep creating free crafts for everyone to enjoy.
Thanks for supporting my little corner of the internet!
👉 Grab the free paper plate umbrella template here
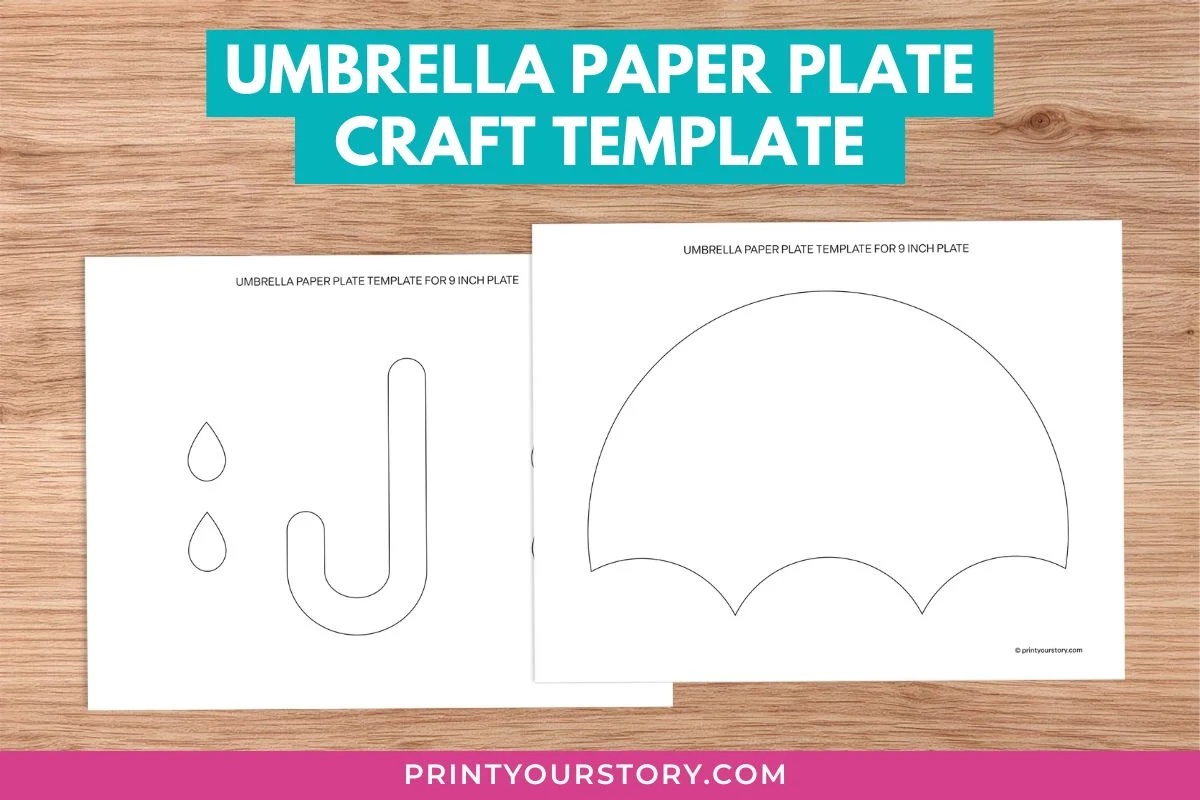
The cotton ball clouds add such a soft touch, and using the template makes the whole process feel easy from start to finish.
You might also like
If you enjoyed this one, you can find more ideas in my paper plate crafts collection, there are lots of fun and easy projects that use simple supplies and come together just as easily.