
Pineapple Paper Plate Craft (With Printable Template)
I couldn’t resist turning one of my favorite tropical fruits into a super cute craft. This pineapple paper plate craft is as cheerful as it looks, and it’s one of those ideas that comes together quickly with just a few basic supplies.
I originally made this on a slow Sunday afternoon when I just needed something fun to break up the day.
I had a stack of paper plates leftover and figured, why not turn them into something sunny and sweet? That’s how this little pineapple came to life.

The best part is that you can easily make this craft with simple materials you already have at home, no fancy tools needed. This pineapple craft is perfect for a summer party, a food-themed classroom activity, or just a fun creative break.
Let’s jump in!
What you’ll need
- 1 paper plate, I used this size
- Yellow paint
- Orange paint
- Paintbrushes
- Scissors
- Liquid glue
- Black marker
- Printable template (grab it below). Choose the black and white version to color or trace, or use the colored version to cut and glue.
- White cardstock and printer (for printing the template)
- Pink paper (for cheeks) and green paper (for the pineapple crown) if you choose to trace
- Pencil for tracing


How to make this pineapple paper plate craft
Step 1: Paint the paper plate yellow
Start by painting your paper plate with yellow acrylic paint. Let it dry completely before moving on.

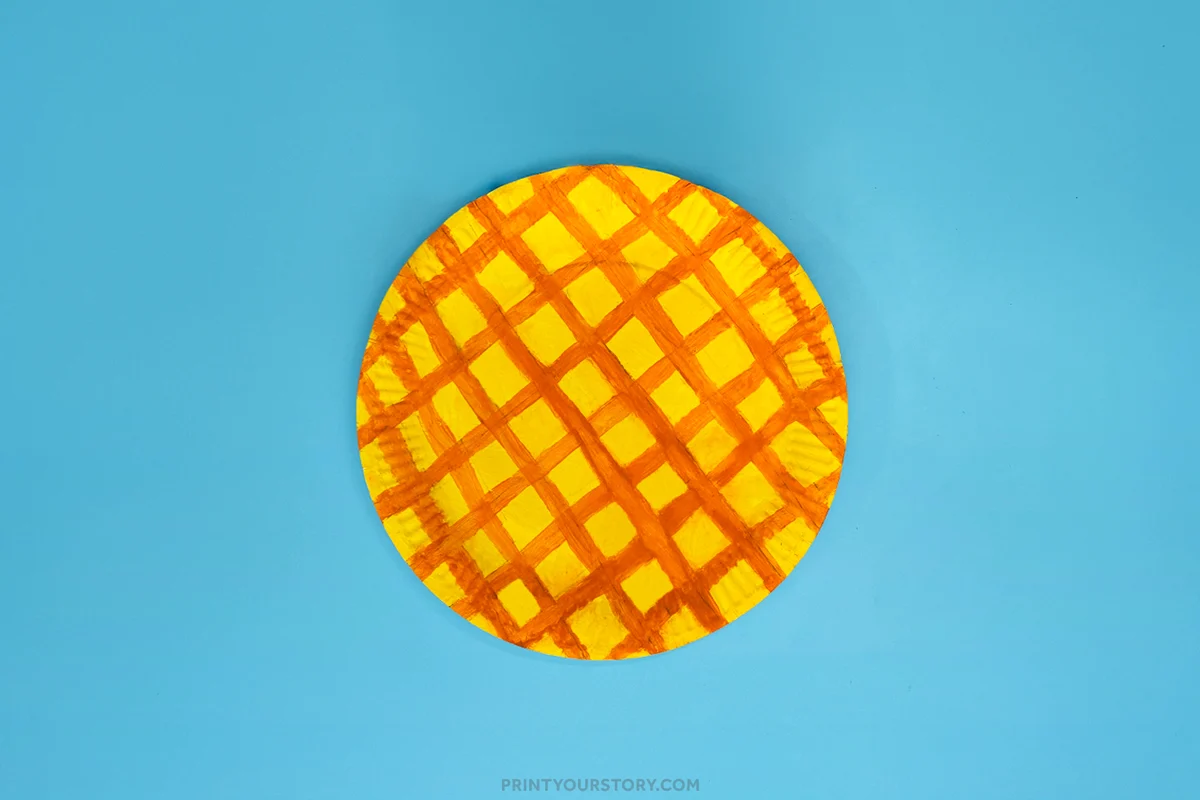
Step 2: Paint the pineapple pattern
Once the yellow base is dry, use orange paint and a small brush to add diagonal lines across the plate. First paint lines going one way, then cross over with lines in the opposite direction to create the classic pineapple texture. Set it aside to dry.
Step 3: Print the black and white template
Print the black and white version of the template. This version is made for tracing or coloring. If you want to use the full-color version instead, you can just cut and glue, but tracing gives you more creative freedom and texture.
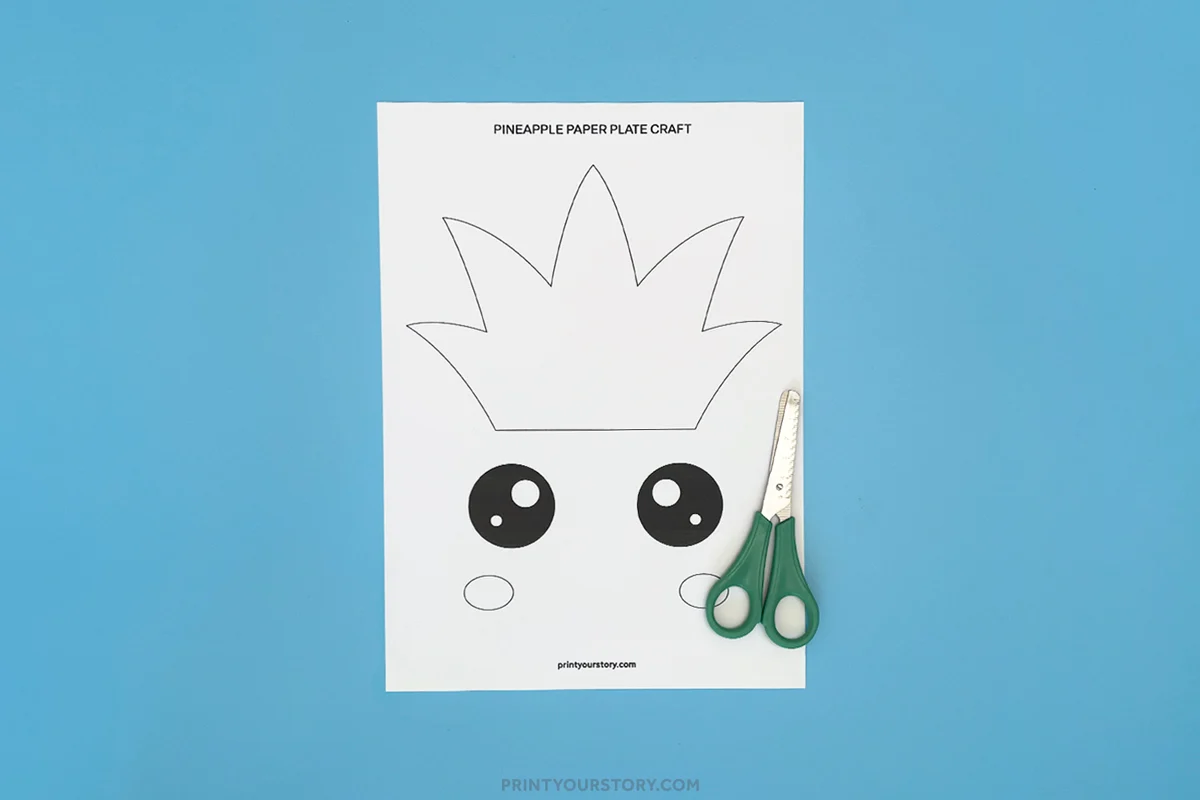
Step 4: Trace the pieces onto colored paper
Cut out the template pieces and use them as stencils. Trace the crown onto green paper, the cheeks onto pink paper, and leave the eyes as-is (they look best printed and cut directly from the template).
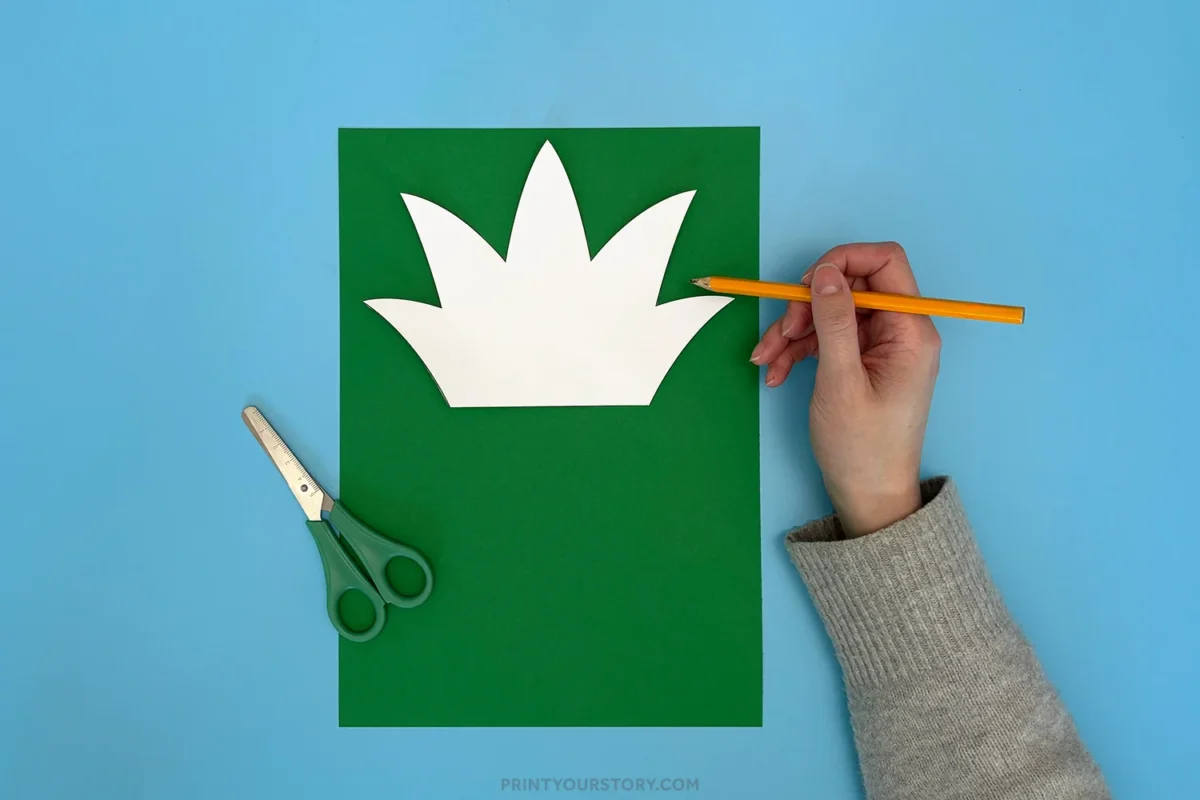
Step 5: Cut everything out
Cut out your traced shapes. If you’re coloring the black and white version instead of tracing, color it in first and let it dry before cutting.
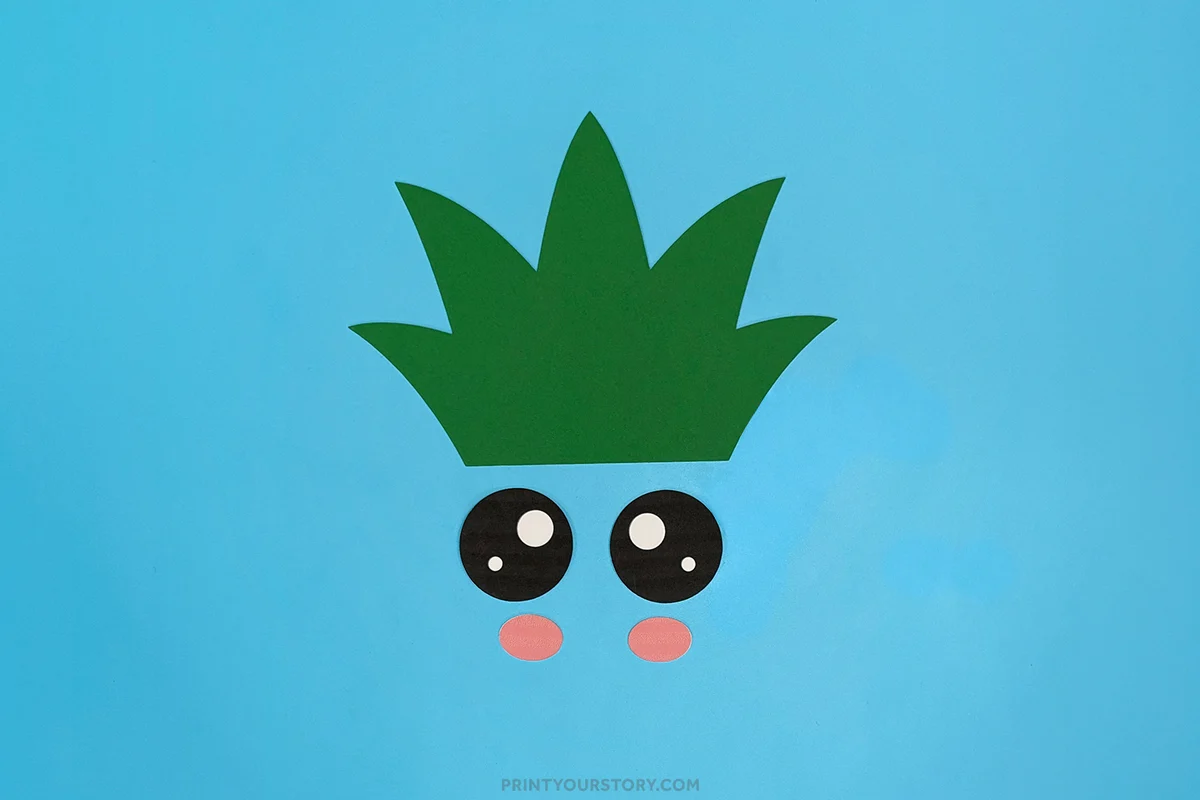
Step 6: Glue the crown to the plate
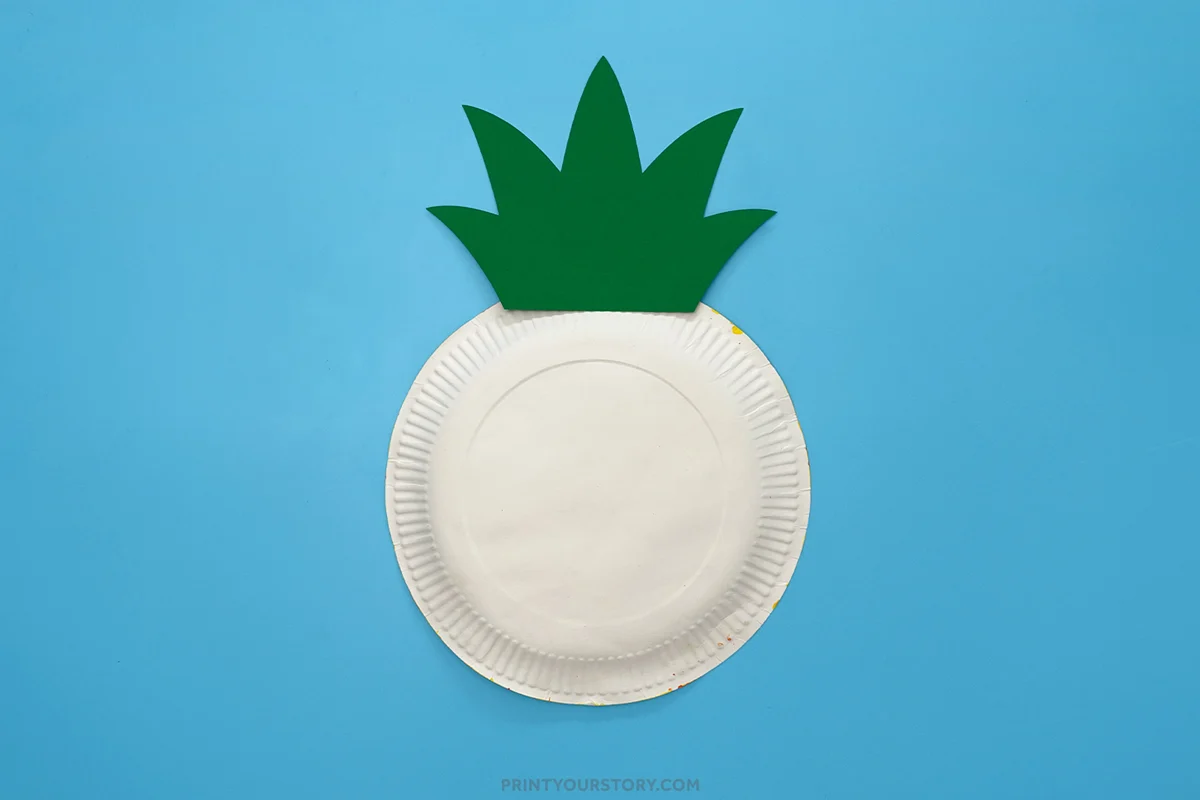
Flip the plate over and glue the green pineapple crown to the top back edge. Let it dry for a minute before flipping it back over.
Step 7: Add the face
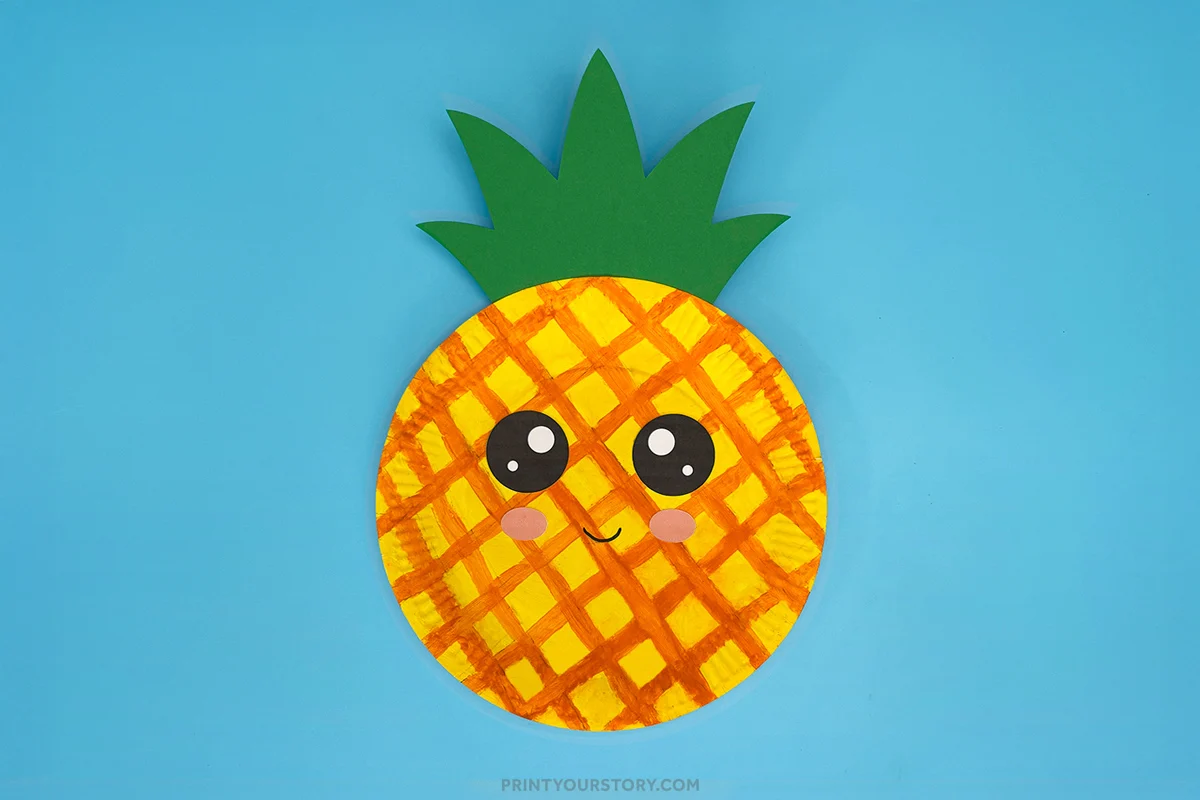
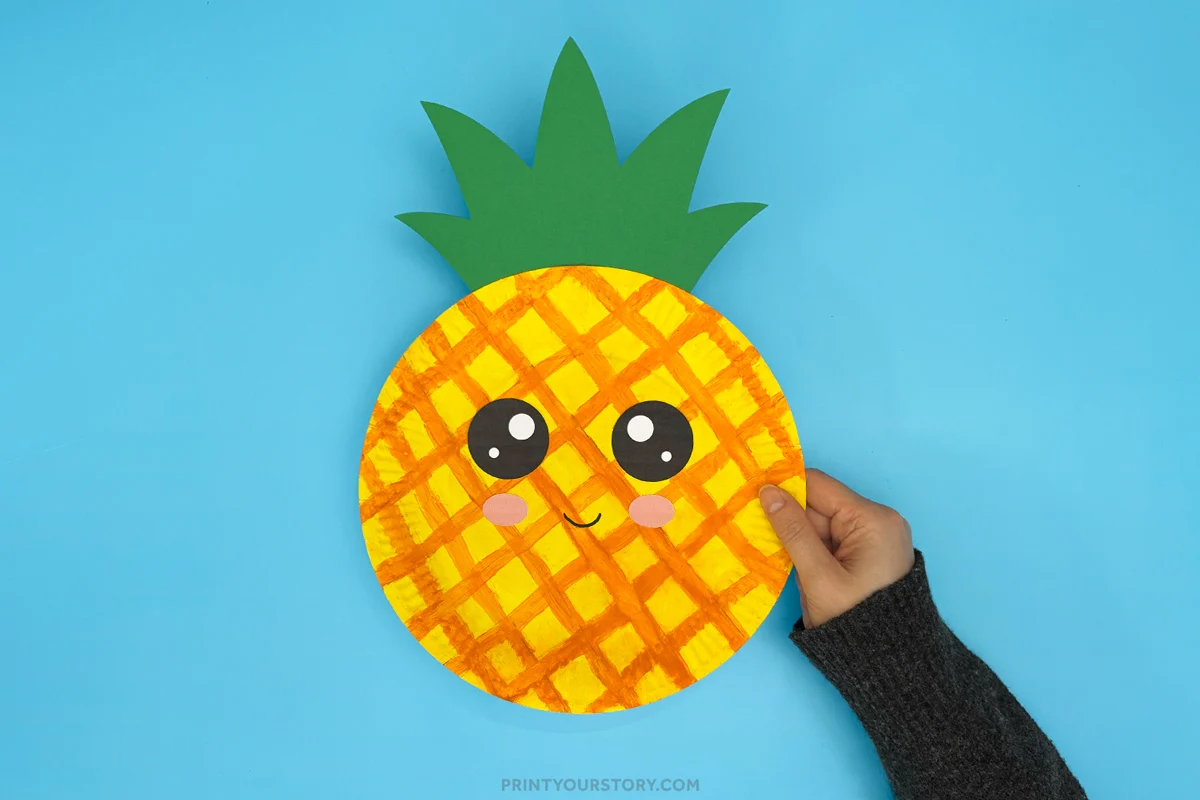
Glue the printed eyes near the top center of the plate. Then glue the pink cheeks slightly below the eyes. Use a black marker to draw a simple smile between the cheeks.
Optional creative twists
- Add glitter to the crown or cheeks for a sparkly finish
- Use patterned paper to trace your template pieces
- Color the black and white template with watercolor for a soft, artsy look
A quick note on sharing this file
If you love this template and want to share it with friends, teachers, or fellow crafters, I’d be so happy! Please just share the link to this blog post instead of sending the file directly. It helps support my site and allows me to keep creating free crafts for everyone to enjoy.
Thanks for supporting my little corner of the internet!
I also share all my latest craft templates and ideas on Pinterest, so be sure to follow along there too.
Thanks for crafting with me! Let me know if you try this one, I love seeing your creations.