
Paper Plate Giraffe Craft for Kids + Free Template
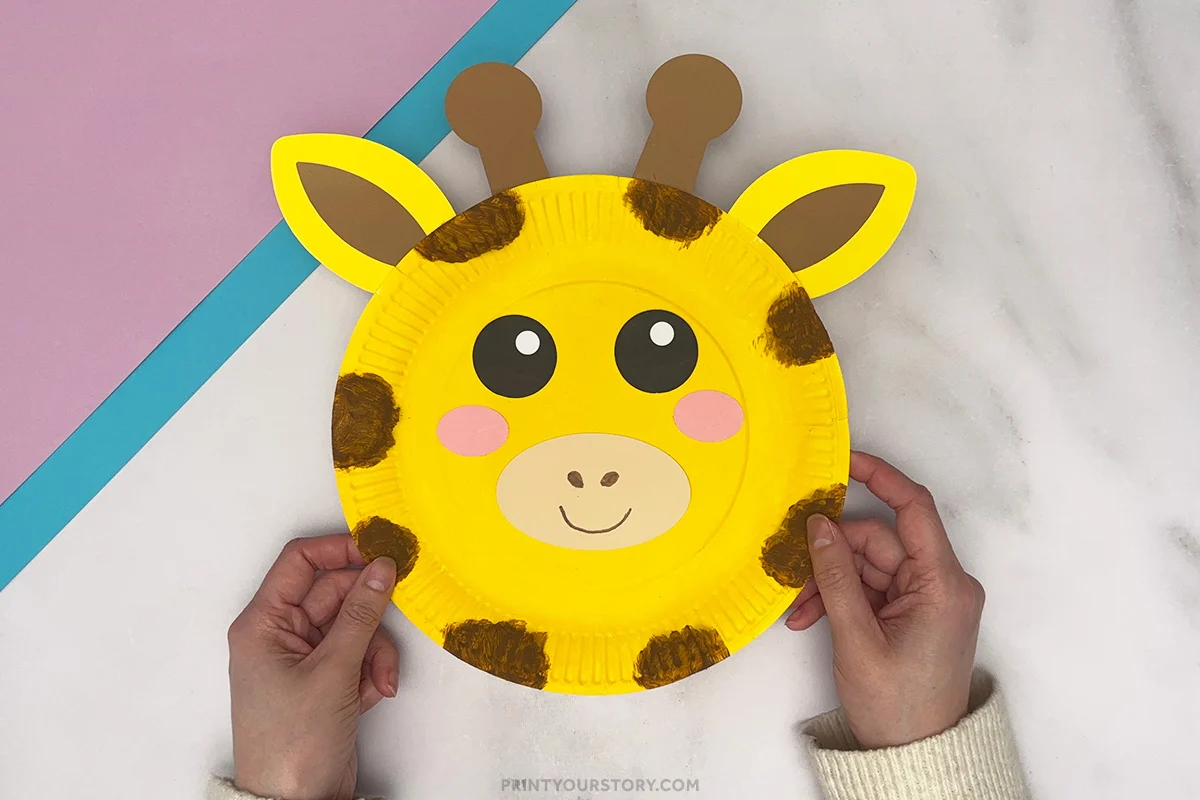
If you’re looking for a fun and easy giraffe paper plate craft, this cute kids activity comes together with simple supplies and a free printable giraffe template.
It’s a great zoo animal craft for preschool, kindergarten, or just a creative afternoon at home, and I’ll walk you through each step so your paper plate giraffe is easy to make and turns out adorable.
There is just something about this giraffe face that makes me smile every time I see it. It’s bright, cheerful, and surprisingly easy to put together.

I made mine using a 23 cm (9 inch) paper plate, which worked perfectly for creating a nice big giraffe face. There are also two free templates included, one in black and white for tracing, and one with colored pieces if you want something quicker to put together.
This is the kind of craft that feels relaxing to make. It’s simple, a little bit creative, and doesn’t require a lot of materials.
What you’ll need
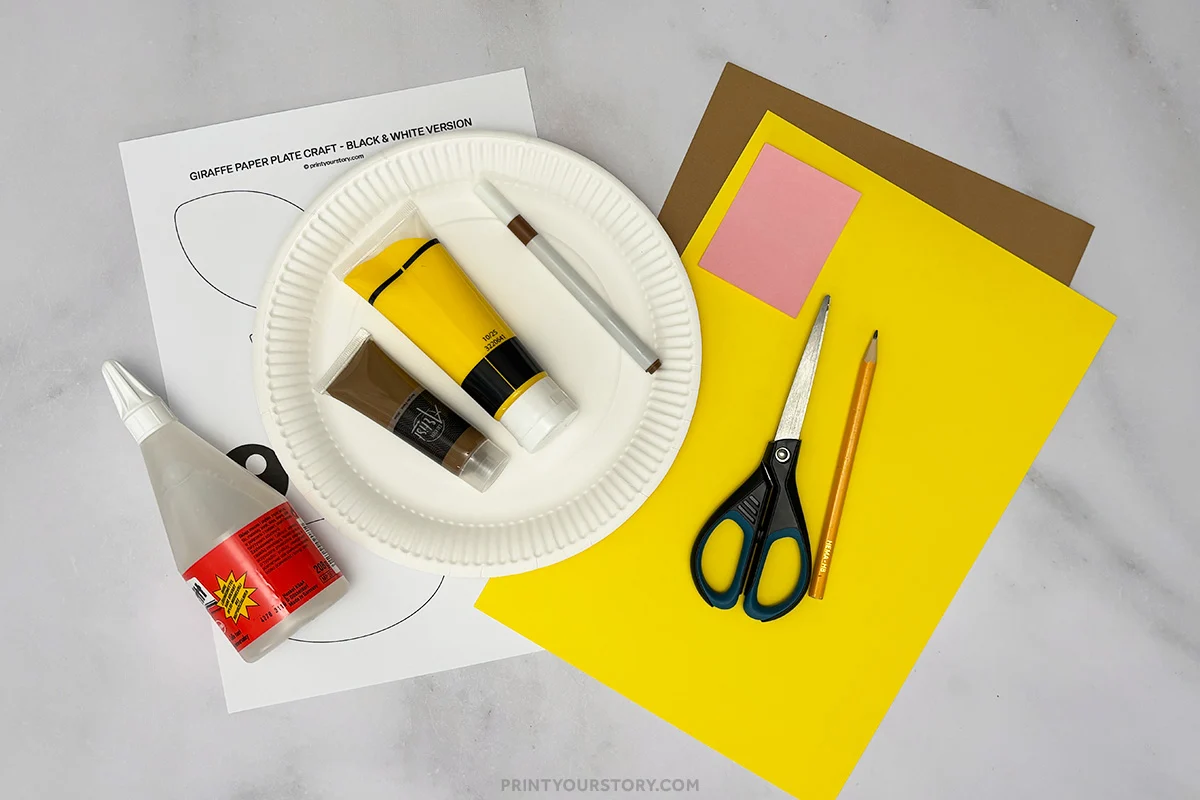
- Paper plate
- Glue
- Scissors
- Paint: yellow and brown
- Pencil for tracing
- Brown or black marker
- Colored paper (if using the black and white template for tracing)
- Free giraffe template (black and white or colored – grab it down below)
- White printer paper or cardstock and printer if you want to use the template


A quick note about the template
You can choose between two versions:
- Black and white template to trace onto colored paper
- Colored template to cut and use right away
If you enjoy a more hands-on approach, the black and white template is perfect for tracing onto colored paper and cutting out your own pieces. It adds an extra step, but it also makes the craft feel more interactive.
If you want something quicker and simpler, the colored template is ready to go. Just print, cut, and assemble.
How to Make a Paper Plate Giraffe
Step 1: Print the giraffe template
Print your chosen template onto paper.
Step 2: Trace the pieces (if using black and white template)
Cut out each template piece and trace it onto colored paper.
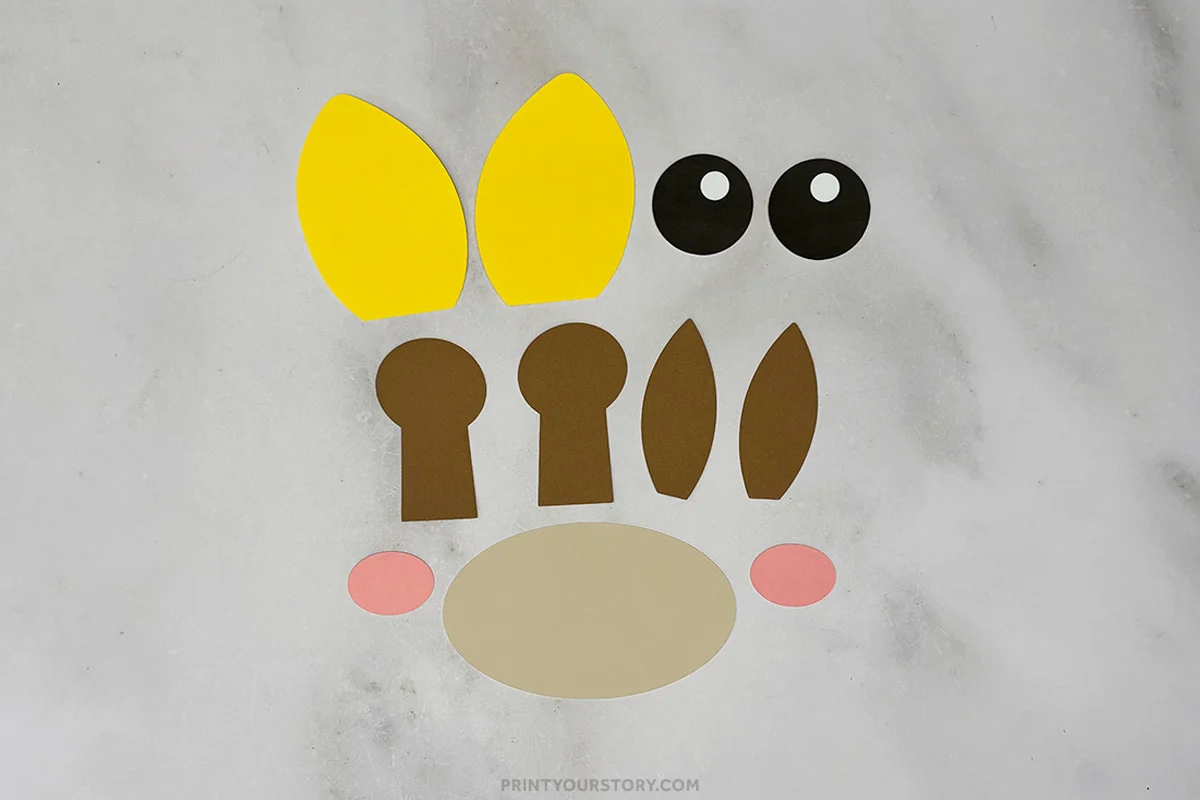
- use yellow paper for ears
- brown paper for horns and inner ears
- beige or tan paper for the snout
- pink paper for cheeks
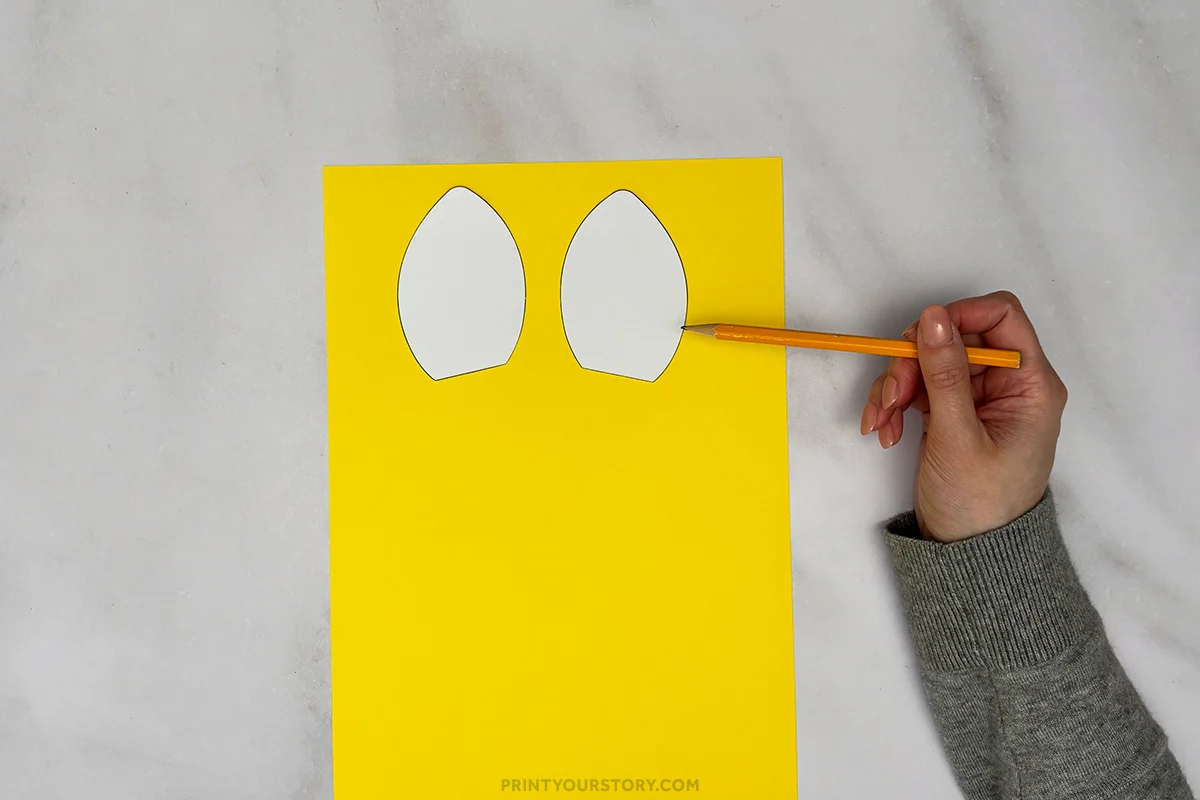
Step 3: Cut out all the pieces
Cut out all the traced pieces or the pre-colored template pieces. Take your time to keep the edges neat.
Step 4: Paint or color the paper plate
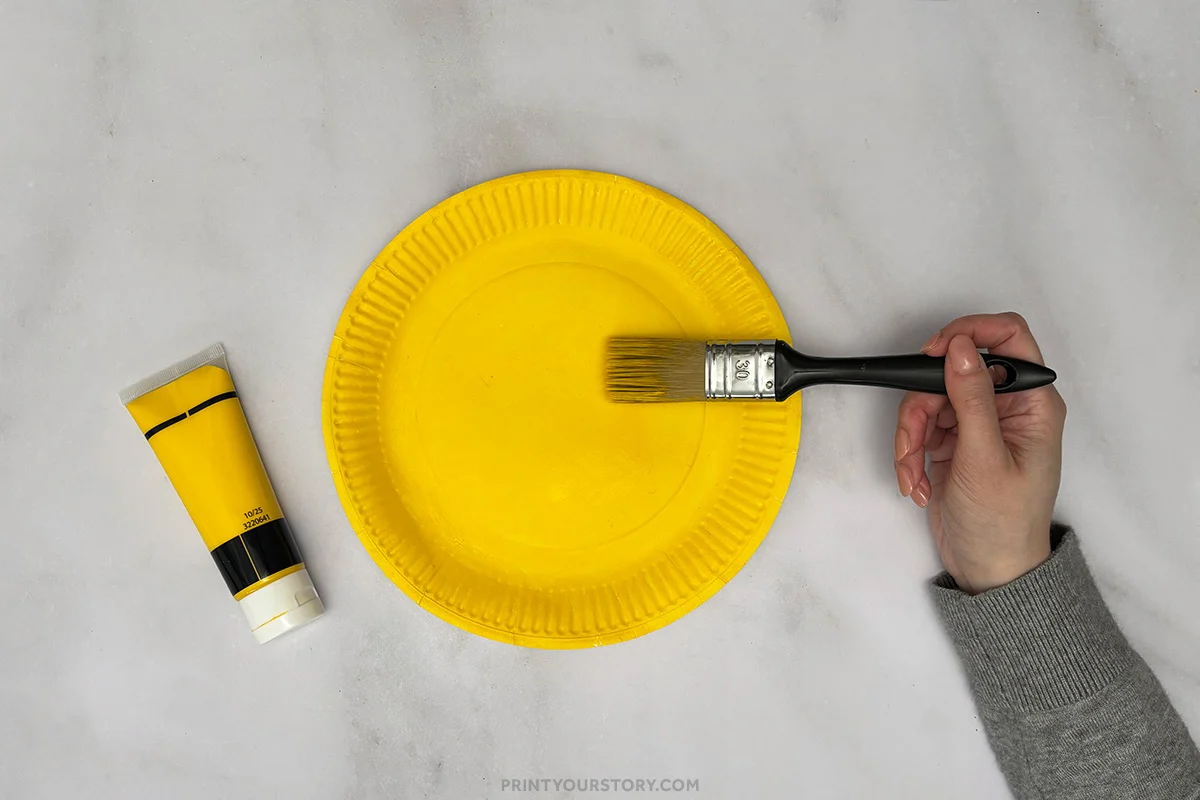
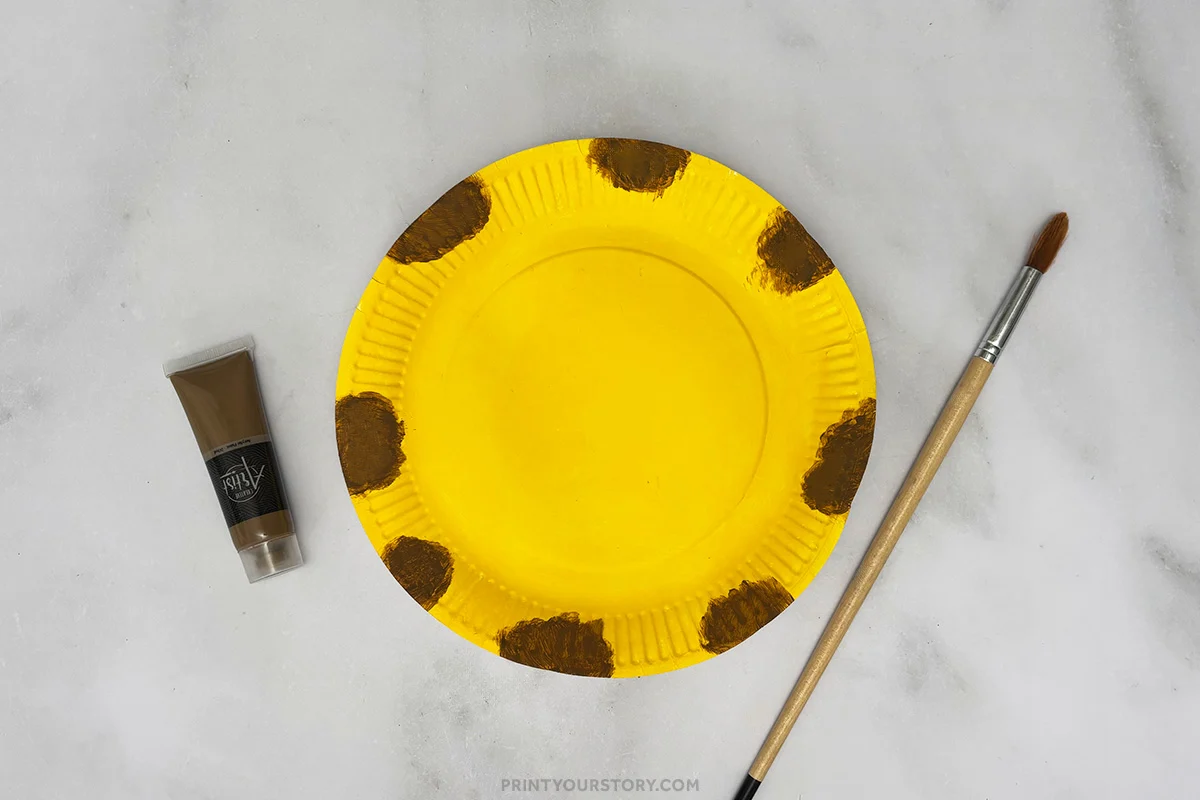
Color the entire paper plate yellow using paint, crayons, or markers. Let it dry completely before moving on.
Step 5: Add giraffe spots
Use brown paint or a marker to add spots all around the plate. Try different shapes to make your giraffe unique.
Step 6: Glue the ears and horns
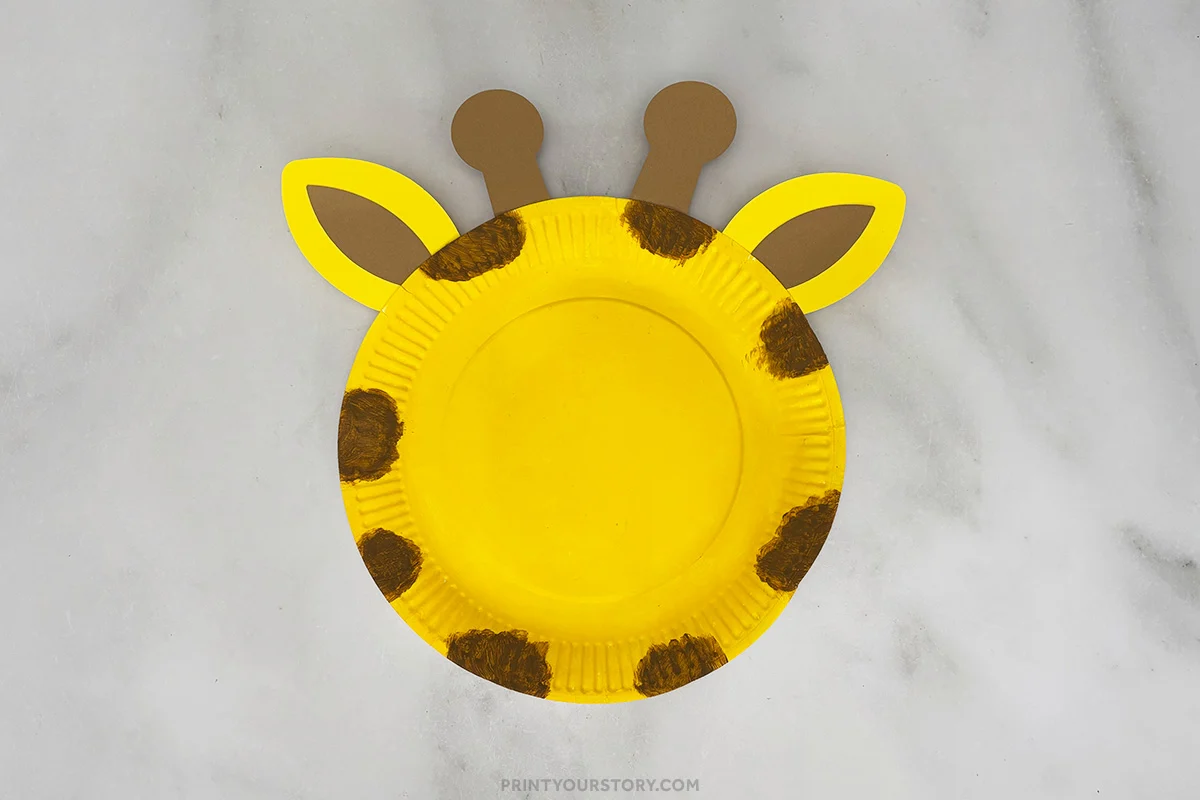
Glue the brown inner ear pieces onto the larger yellow ear pieces first. Then attach the completed ears and the horns to the top back of the paper plate so they stick out above the face.
Step 7: Add the eyes and snout
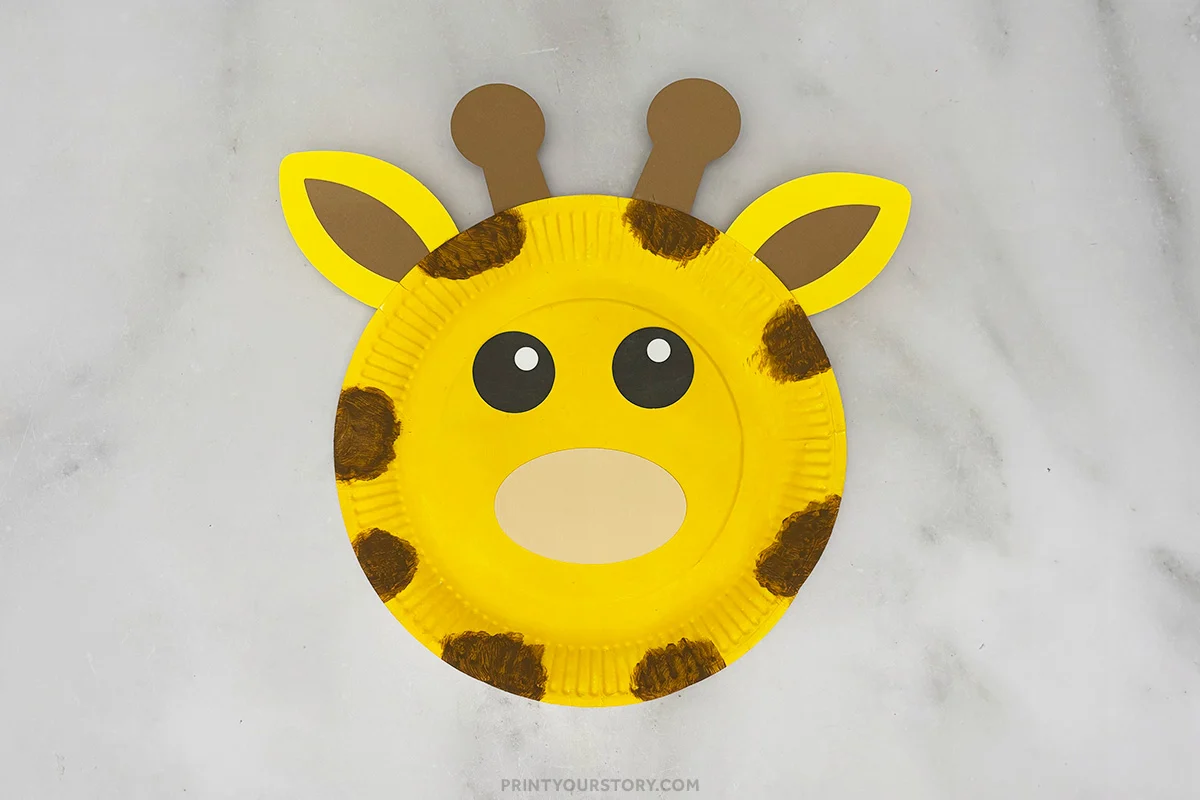
Glue the eyes near the center of the plate. Then glue the snout underneath the eyes.
Step 8: Add cheeks and draw the face
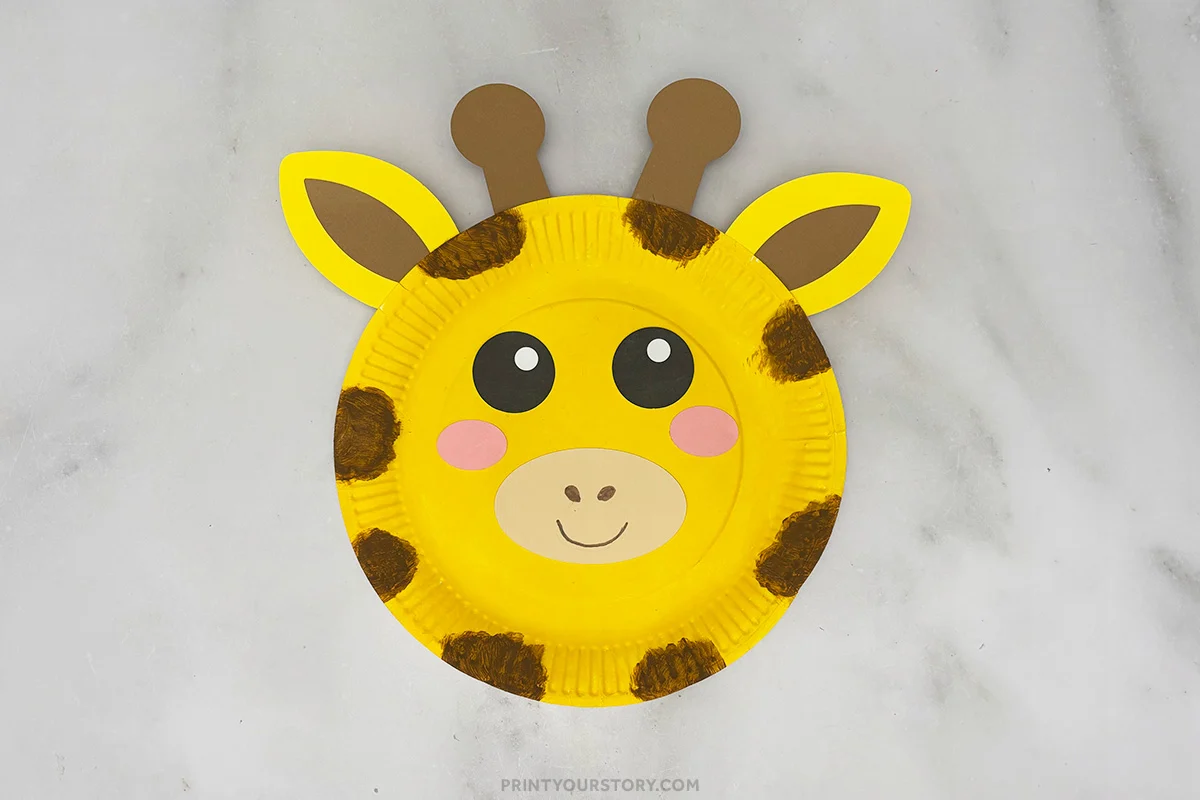
Glue the cheeks on each side of the snout. Then use a black or brown marker to draw a smile and nostrils.
Helpful tips
- Lay out all the pieces before gluing to plan placement
- Let paint dry fully so pieces stick better
- Tracing onto colored paper gives a nice clean, bold look
This giraffe paper plate craft is one of those easy projects that always turns out cute, no matter how you make it.
You might also like
If you enjoyed this one, you might also like some of my other animal crafts. There are lots of simple and fun ideas to try next.