
Printable Birthday Crown Template Headband Craft


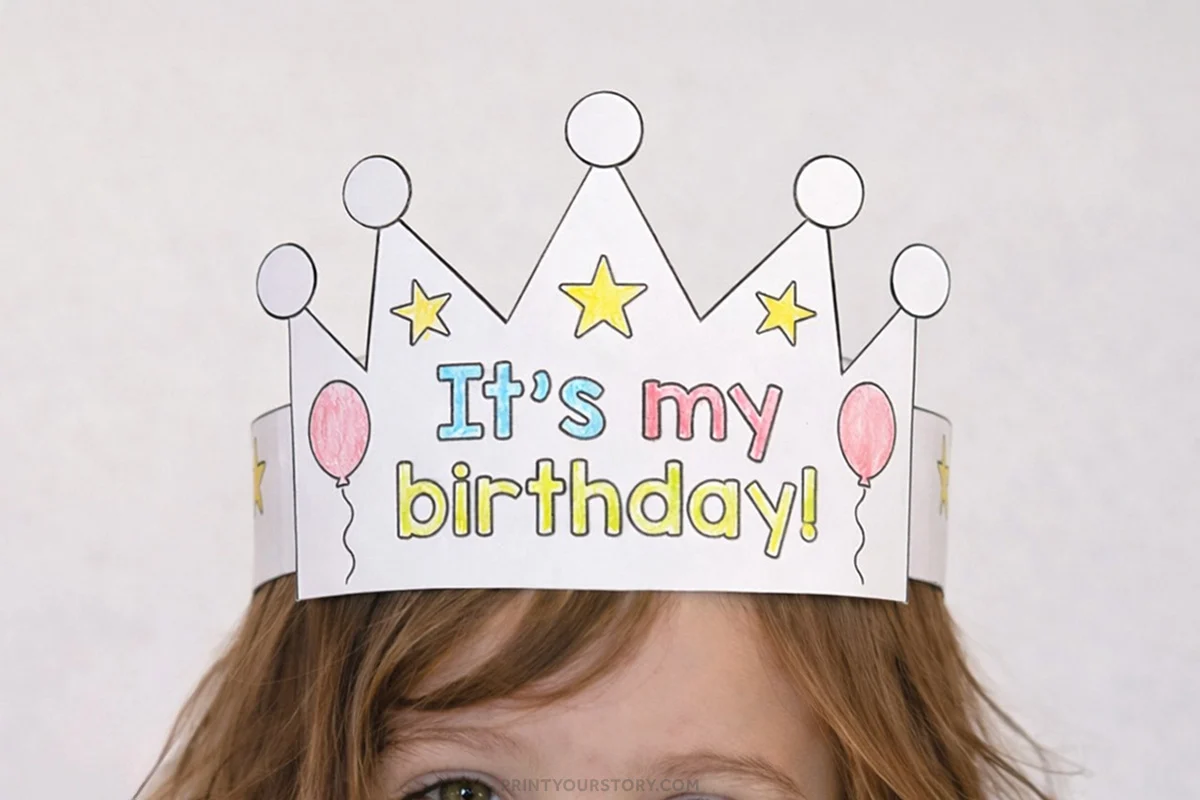
Today I’m sharing a fun and easy printable birthday crown template that turns into a wearable headband craft. It’s a simple printable birthday hat, with a crown shape that makes it feel extra fun for the celebration.

I love crafts like this because they are easy to set up and make any birthday celebration feel a little more special.
If you enjoy printable wearable crafts, you could also check out my Printable Bunny Headband Craft for another fun idea. And if you want more projects like this one, take a look at my headband craft category for a growing list of printable headband crafts.
What you’ll need
- Birthday crown template (grab it down below!)
- Printer
- White paper or cardstock
- Scissors
- Crayons, markers, or colored pencils
- Glue stick or tape
How to make this Printable Birthday Crown
Step 1: Print the birthday hat template
Start by printing the birthday crown template onto white paper or cardstock. If you want the finished headband to feel a little sturdier and easier to wear, cardstock works really well.
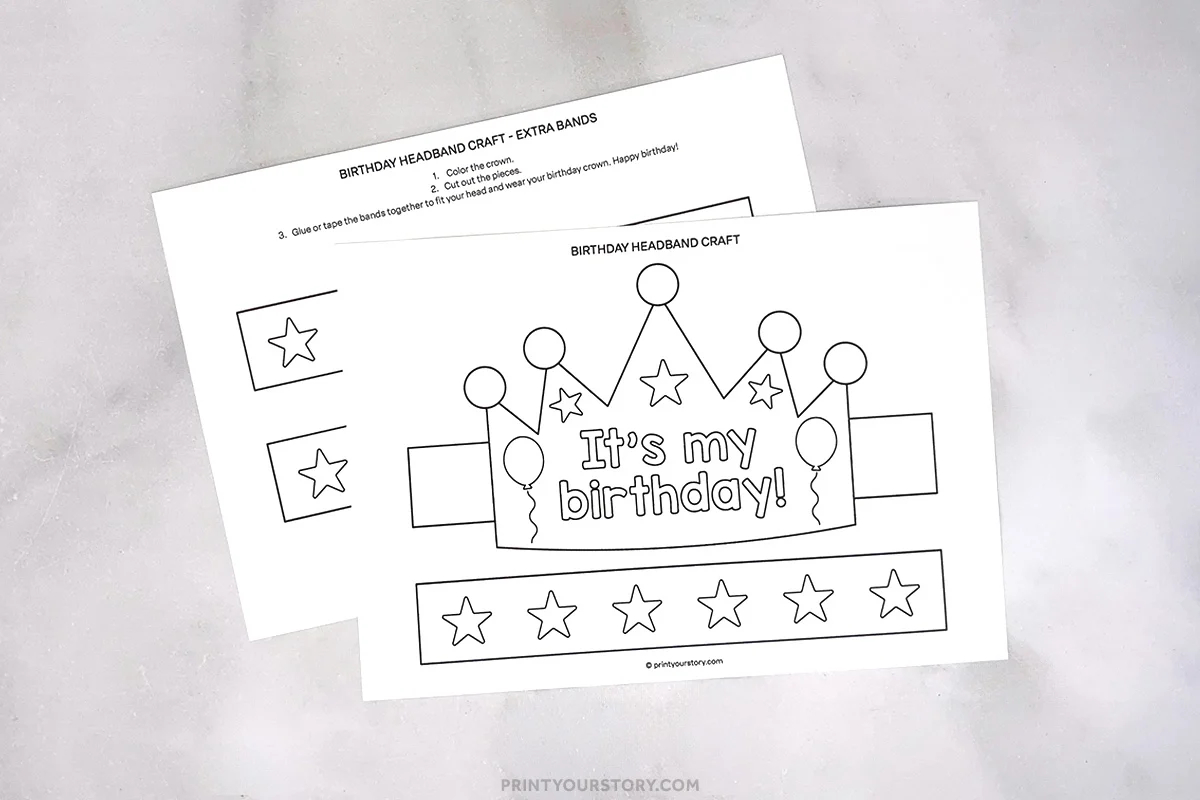
If you are making several crowns for a group activity, it can be helpful to print them all ahead of time so everything is ready to go.
Step 2: Color the crown design
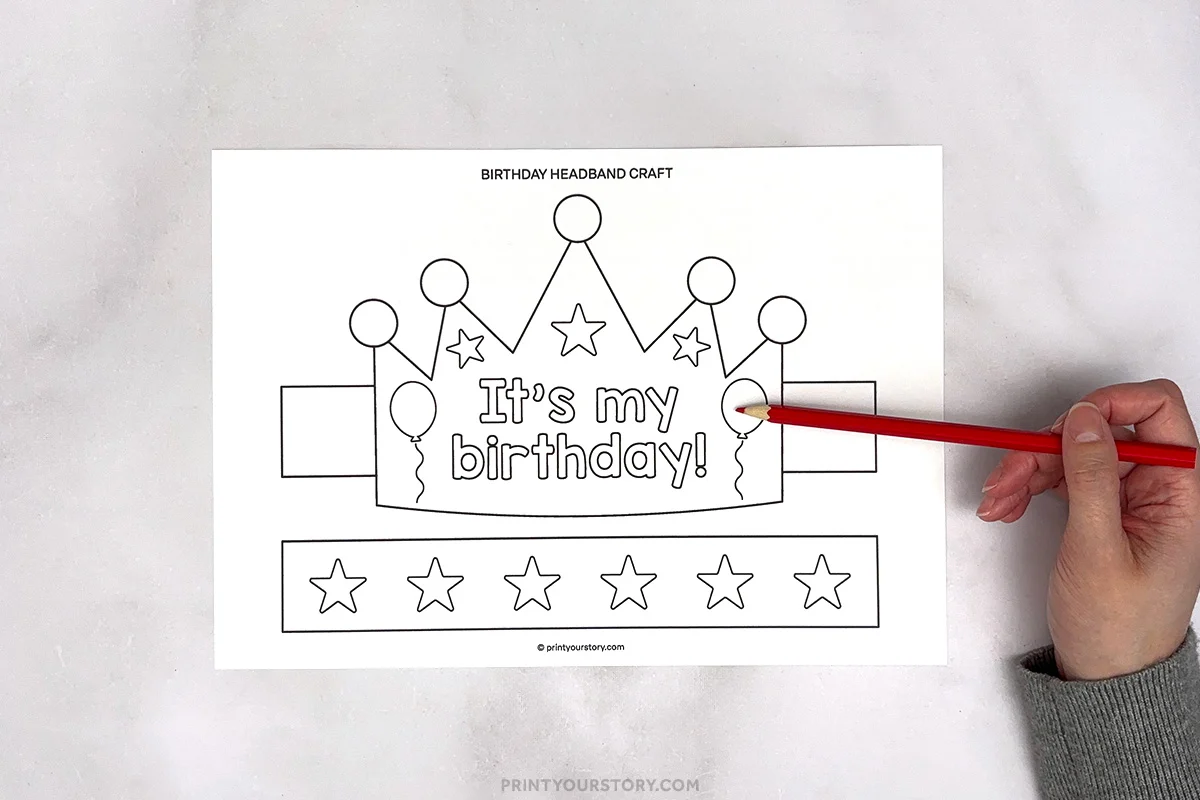
Use crayons, markers, or colored pencils to decorate the crown. Color in the stars, balloons, and the birthday message in the center. This is the fun part where your kid can get creative with bright colors, rainbow patterns, or even a favorite color theme for the celebration.
Step 3: Add extra decorations if you want
Once the main coloring is done, you can add a few extra details to make the crown feel even more special. Try using glitter glue on the stars, small stickers around the edges, or adhesive gems on the crown points. This step is optional, but it is a fun way to make the finished headband look extra festive.
Step 4: Cut out the crown and extension strips carefully
Cut around the outer edge of the birthday crown template.
Next, cut out the long strip pieces that come with the crown. These strips help turn the crown into a wearable headband and make it easy to adjust the size. Most kids will only need one or two of the strips, depending on the fit, so you can set the extra one aside if you do not need it.
An adult may assist with this step if needed, especially around the smaller or trickier sections.
Step 5: Attach one band to each side
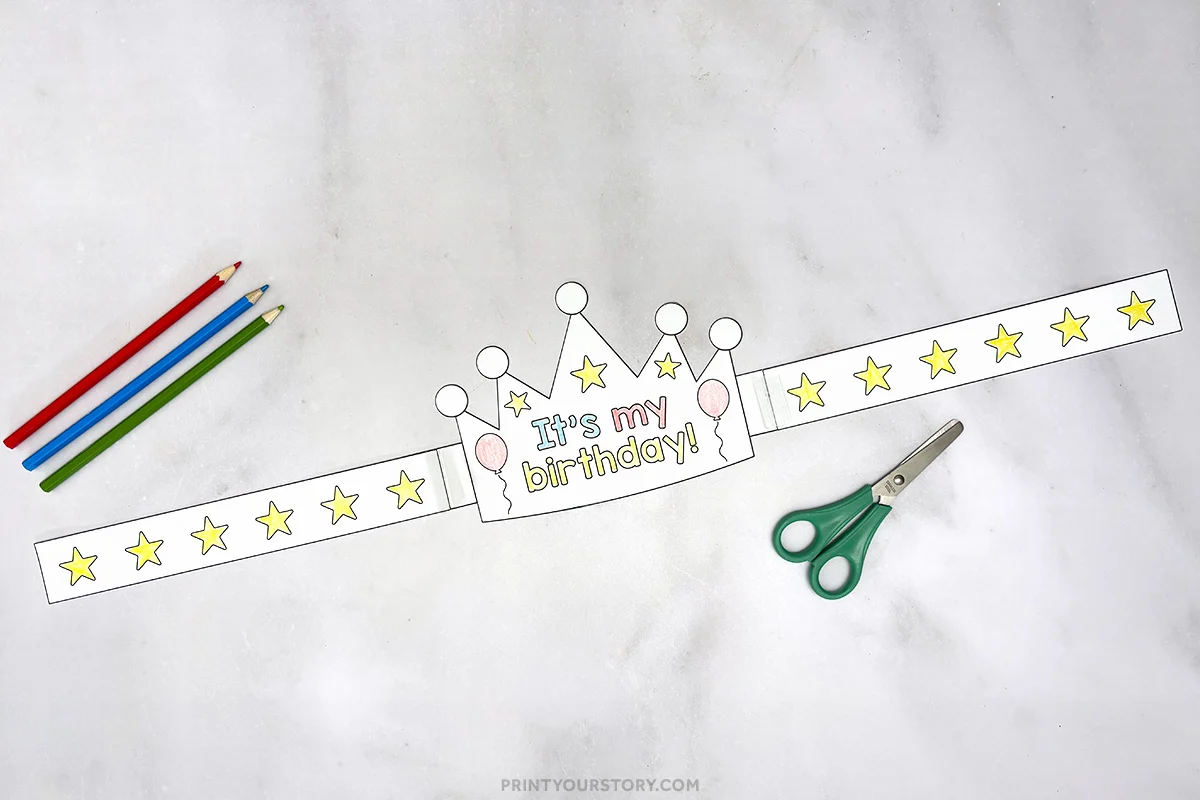
Take two extension strips and attach one to each side of the crown using tape, glue, or staples. Try to line them up evenly with the edges so the crown will sit nicely when worn. Press firmly to make sure they are secure. I personally prefer using tape for this step since it is quick, less messy, and easy to adjust if needed.
Step 6: Measure and adjust around the head
Place the crown gently around the head and bring the two strips toward each other to check the fit. Hold them in place to see how much extra length is needed before attaching everything.
If it is too short, add another strip to one side and try again. Keep adjusting until the crown feels comfortable and is not too tight or too loose.
Step 7: Secure the crown into a headband shape
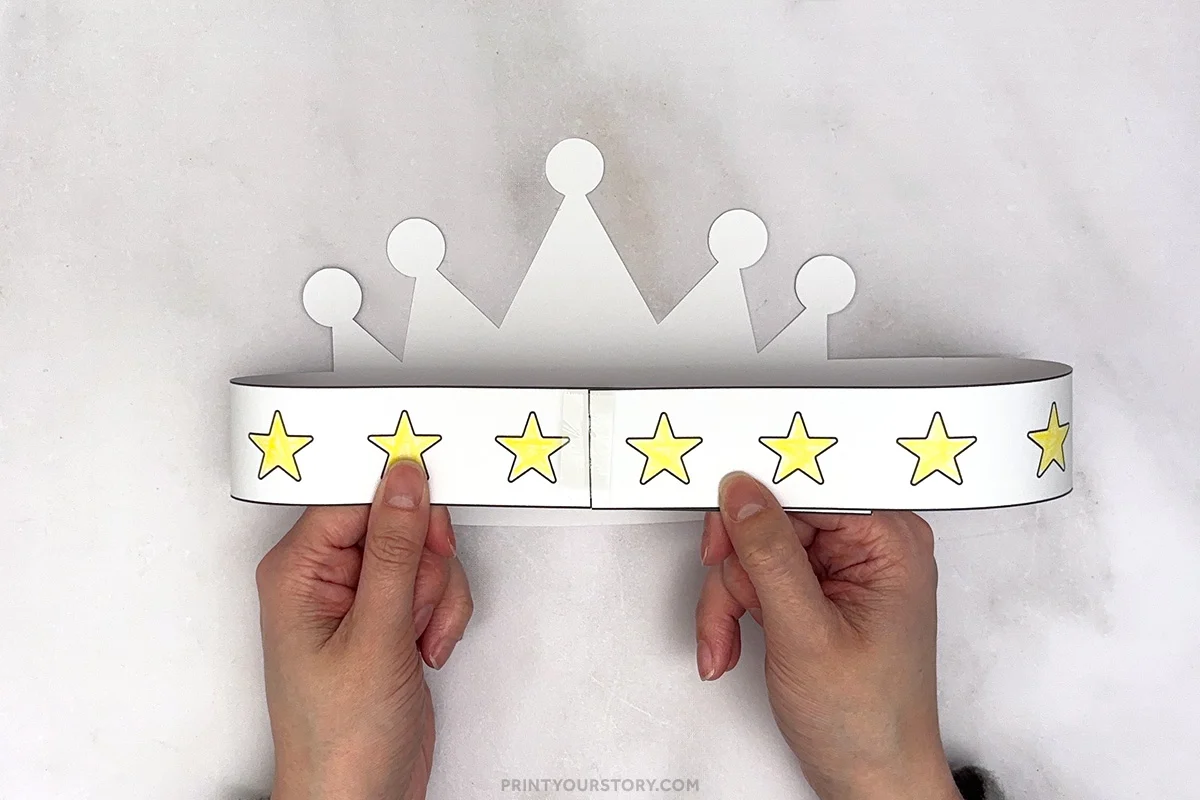
Once you have the right length, attach the ends of the strips together to form a full circle. Use tape, glue, or staples to secure it in place. Hold it for a few seconds to make sure everything stays together. If needed, add an extra piece of tape for reinforcement so the crown stays secure while wearing.
Step 8: Let everything dry and wear your crown
If you used glue or glitter glue, allow the crown a few minutes to dry before wearing it. Once it is ready, the birthday crown headband can be worn right away as part of the celebration. It is such a fun finishing touch for a birthday outfit, classrooms, or special birthday photo.
Tips for making this craft
- Printing on cardstock is one of my favorite little tricks for headband crafts like this because it makes the crown feel sturdier once it is assembled.
- It helps to test the fit before you fully secure the ends. I usually hold everything in place first, check the size, and then attach it permanently. That extra step makes the finished headband much more comfortable.
- This birthday crown template is great for classrooms because it is easy to prep and uses simple supplies. It is also a fun low-mess activity that lets everyone decorate and wear their own crown.
A quick note on sharing this file
If you love this template and want to share it with friends, teachers, or fellow crafters, I’d be so happy! Please just share the link to this blog post instead of sending the file directly. It helps support my site and allows me to keep creating free crafts for everyone to enjoy.
Thanks for supporting my little corner of the internet!
👉 Grab the free birthday crown template here
You might also like
This is such a sweet birthday craft for celebrating in a simple way. I love that it is easy enough to make without much prep, but still feels really fun once the crown is finished. It is a great choice for home or for teachers who want an easy birthday activity for the classroom.