
Witch Hat Headband Craft (Free Printable)
Halloween crafts are always more fun when you can wear them afterwards! This printable witch hat headband is a simple fall craft that only needs paper, something to color with, scissors, and tape.
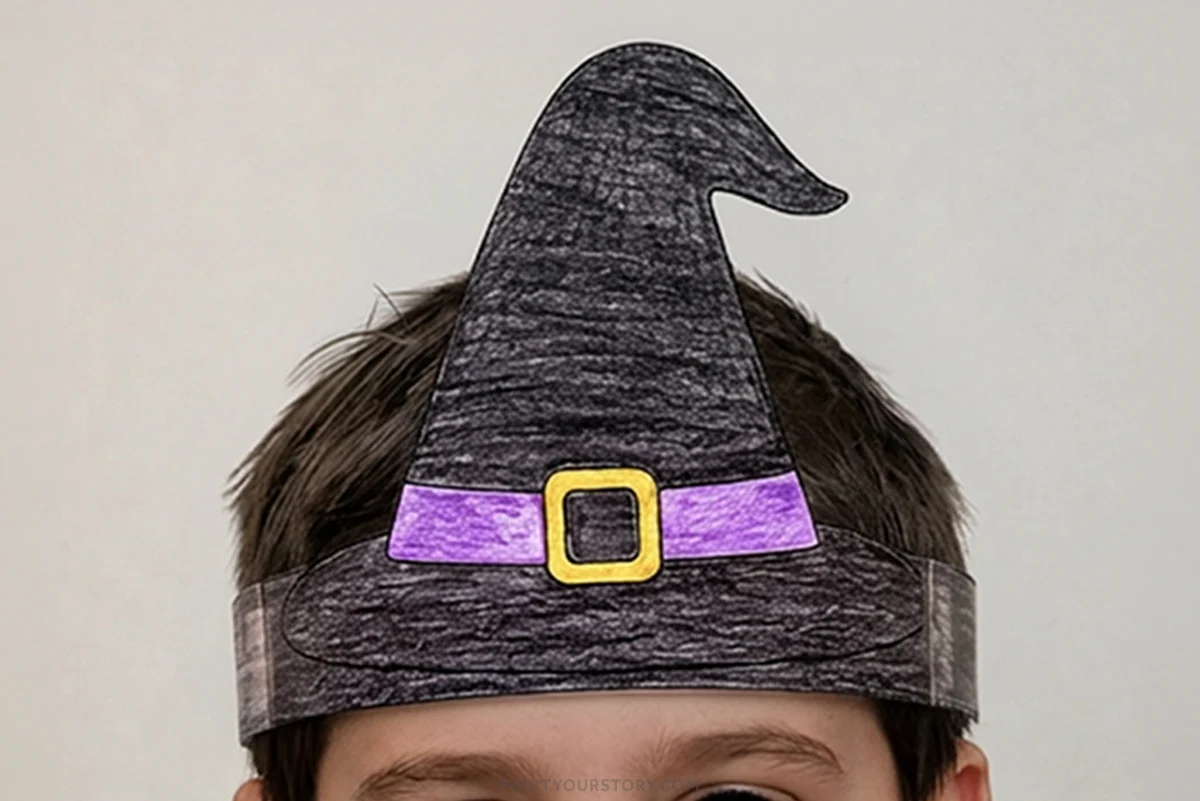
I kept the witch hat design fairly simple so there’s plenty of room to play around with the colors. I went with a classic black witch hat, purple band, and yellow buckle for mine.

The printable includes the witch hat attached to the main headband strip, along with additional paper strips. You can add as many strips as you need to get a comfortable fit.
It’s one of those easy Halloween crafts you can print whenever you need a quick seasonal activity. Once everything is colored, it only takes a few minutes to cut and put together.
What you’ll need
- Free printable witch hat headband template – grab it down below!
- Heavy printer paper or cardstock
- Crayons, markers, or colored pencils (optional)
- Tape
- Scissors

I recommend using cardstock if you have some available. Regular printer paper works too, but cardstock gives the finished headband a little more structure and helps the witch hat stay upright.
How to Make a Witch Hat Headband
There isn’t much prep involved with this one. Print the pages, grab your coloring supplies, and you’re ready to start.
Step 1: Print the Witch Hat Headband Template
Download the free witch hat headband printable and print the pages.
I recommend using the coloring version of this printable instead of the pre-colored version. Since the witch hat is mostly black, printing the colored version would use quite a bit of black ink.
The main page has the large witch hat along with a headband strip underneath it. There is also an extra page of strips that you can use to make the headband longer.

I like having the extra strips as a separate page because you can print another copy if you need more length without having to print the witch hat again.
Step 2: Color the Witch Hat
Color the witch hat and headband before cutting out the pieces. It’s much easier to color everything while the paper is still flat and you don’t have to worry about bending the finished headband.

For my witch hat, I colored the main part black and used purple for the band. I finished it with a yellow buckle.
Of course, there’s no need to stick with traditional witch colors. Try orange and black, purple and green, or even a completely unexpected combination. You could also add little details around the hat, such as stars, dots, stripes, or tiny Halloween doodles.
Step 3: Cut out the pieces
Once you’re happy with the coloring, carefully cut around the outside edges of the witch hat and headband strips.
If younger crafters are joining in, an adult may want to help with the cutting while they focus on the colouring.
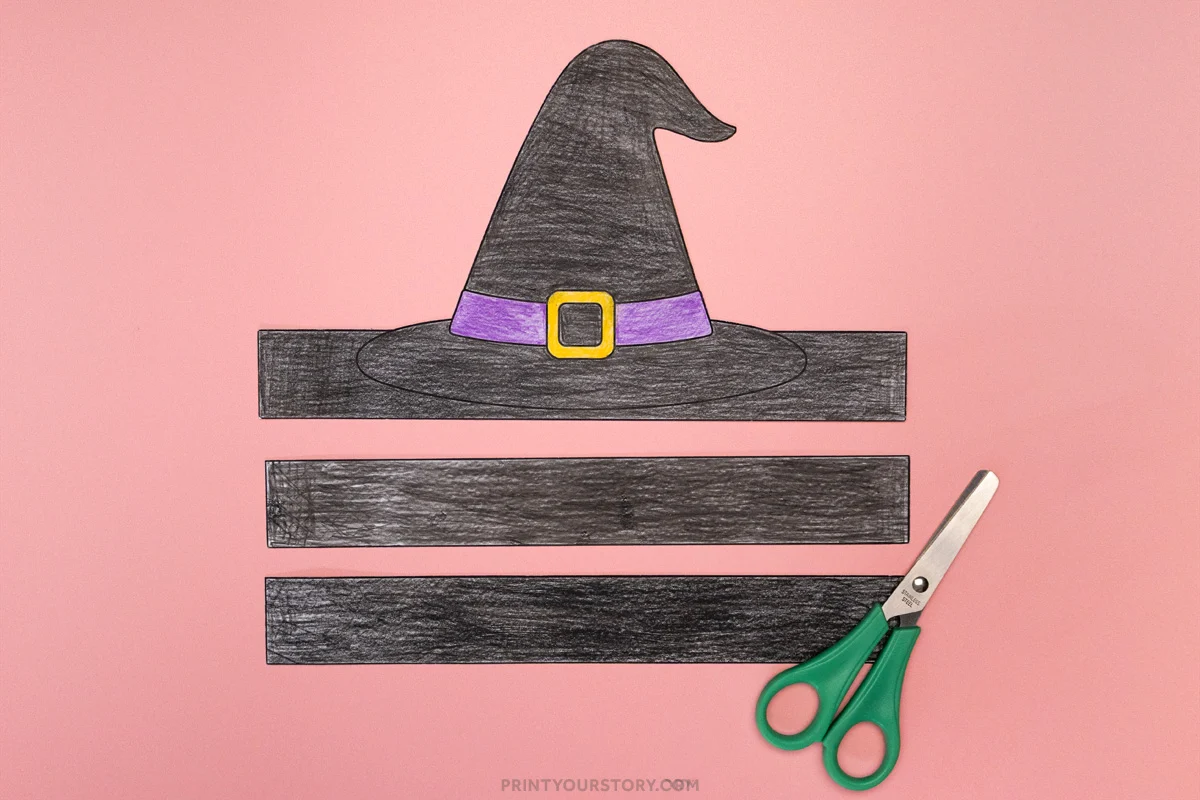
You don’t need to cut around the individual details of the hat. The witch hat stays attached to the long rectangular strip underneath it, which makes assembly much easier.
Cut out a few of the extra strips as well. You may not need all of them, so I usually start with a couple and add more only if necessary.
Step 4: Attach the headband strips
Tape or glue an extra paper strip to each end of the main witch hat piece.
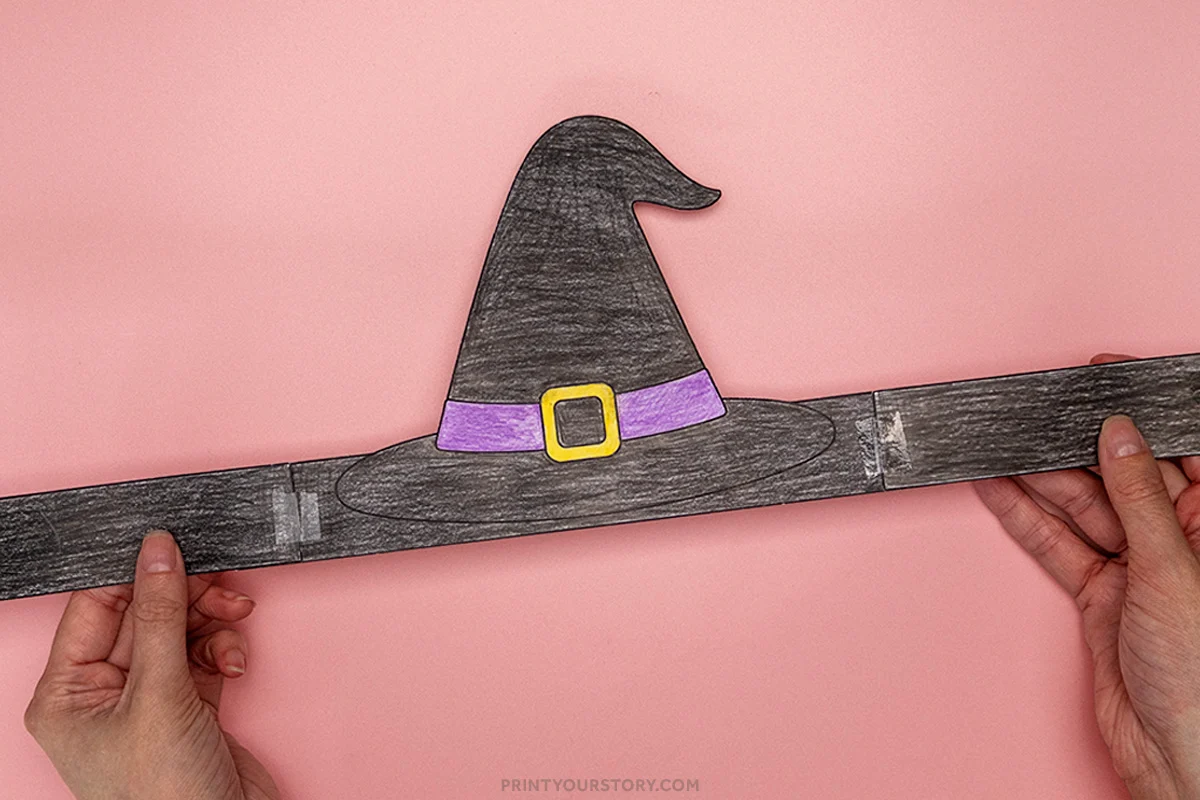
I prefer tape for printable headbands because there’s no drying time, and it’s easy to reposition a strip if something doesn’t line up quite right.
Step 5: Check the fit
Help your child try on the headband before taping it closed.
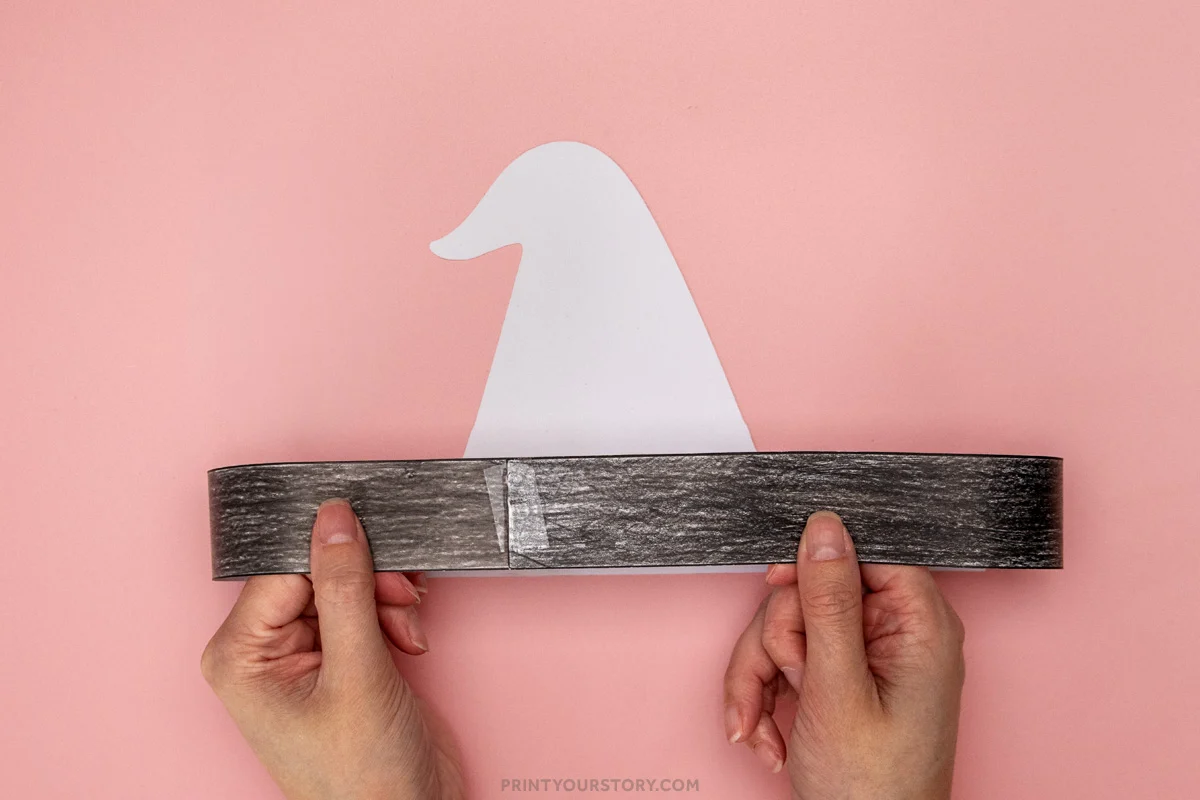
If it needs to be longer, simply add another strip. If it’s a little too large, overlap the ends until you have a comfortable fit, then tape everything together.
Some tips for the best results
- Printing on cardstock gives the headband a little extra durability, especially if your child plans to wear it for a Halloween party or while trick-or-treating.
- I also recommend colouring the template before cutting out the pieces. It’s much easier to colour while the paper is still flat, and it helps prevent creases.
- If you’re making several headbands at once, set out lots of different colouring supplies so everyone can create their own unique witch hat. It’s always fun to compare the finished designs.
A quick note on sharing this file
If you love this template and want to share it with friends, teachers, or fellow crafters, I’d be so happy! Please just share the link to this blog post instead of sending the file directly. It helps support my site and allows me to keep creating free crafts for everyone to enjoy.
Thanks for supporting my little corner of the internet!
You might also like

This witch hat headband is perfect when you’re looking for a Halloween activity that’s simple to prepare and doesn’t require lots of supplies.
It’s easy to print at home, encourages creativity through colouring, and gives your child something fun to wear once they’re finished.