
Build a Mermaid Printable Craft (Free Template)
Today I’m sharing a build a mermaid craft that is just so fun to put together. I always love these mix-and-match style printables because they’re easy to prep but still feel really interactive.
I’ve been in a total beach mood lately, and this one fits right in with that theme. It’s bright, creative, and works perfectly alongside other under the sea crafts.

I printed a few copies to test it out, and I ended up making more than one mermaid because it was honestly hard to stop at just one.
What I really like about this printable is that it combines coloring, cutting, and assembling all in one activity. It keeps things interesting without needing a lot of extra supplies.
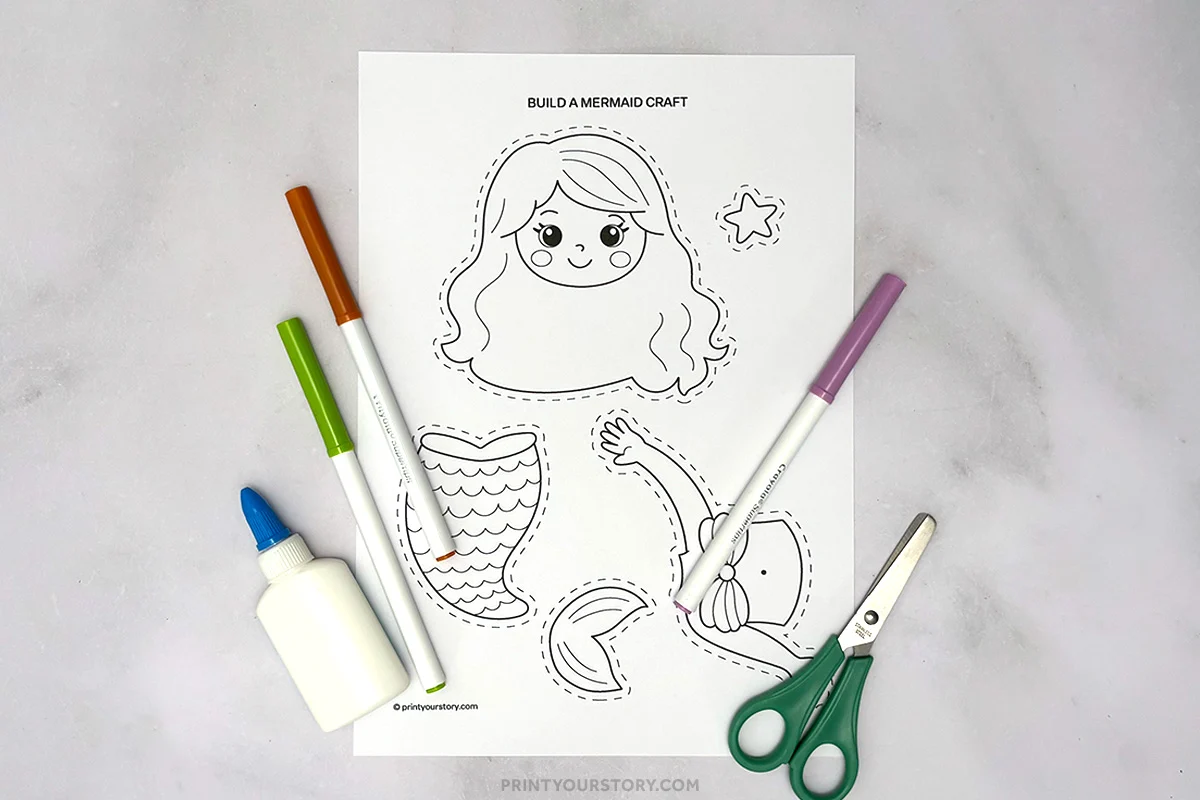
What’s included in the printable
This mermaid craft comes with separate pieces to build your own character:
- Mermaid head and hair
- Body
- Tail (two pieces)
- Starfish accessory
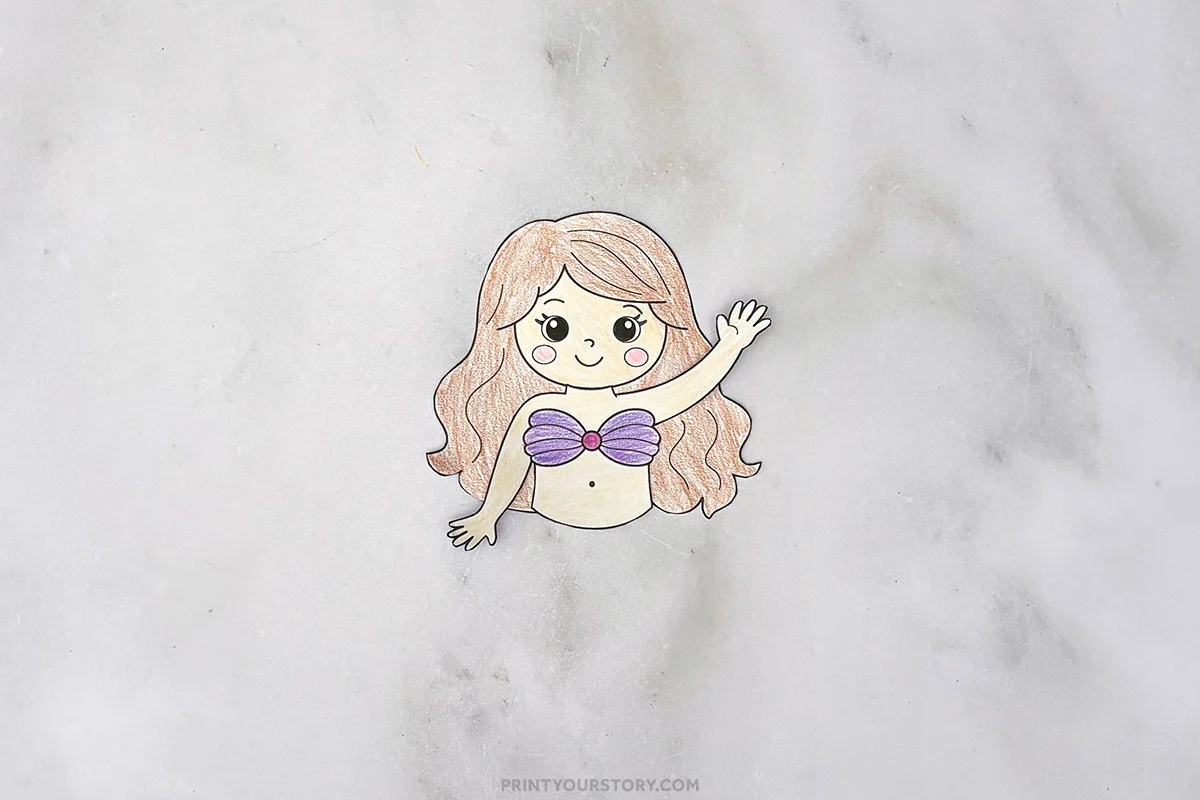
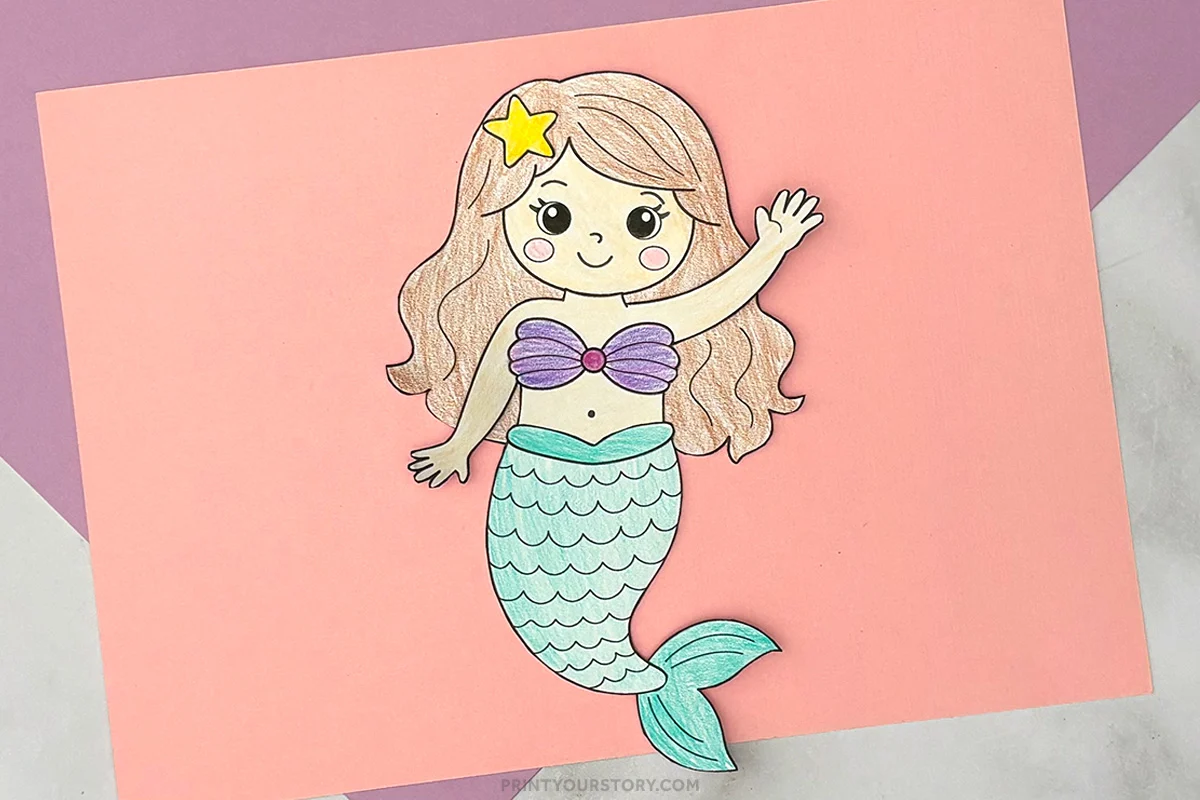
Once everything is put together, you get a complete mermaid like the one shown below.
What you’ll need
- Mermaid printable template (grab it down below)
- Scissors
- Glue
- White printer paper or cardstock and printer
- Crayons, markers, or colored pencils (optional: for the black and white version)
How to make this Mermaid Craft
Step 1: Print the mermaid template
Print the mermaid craft template onto paper or cardstock. If you want the finished craft to be more durable, cardstock is a great option, especially for handling and displaying later.
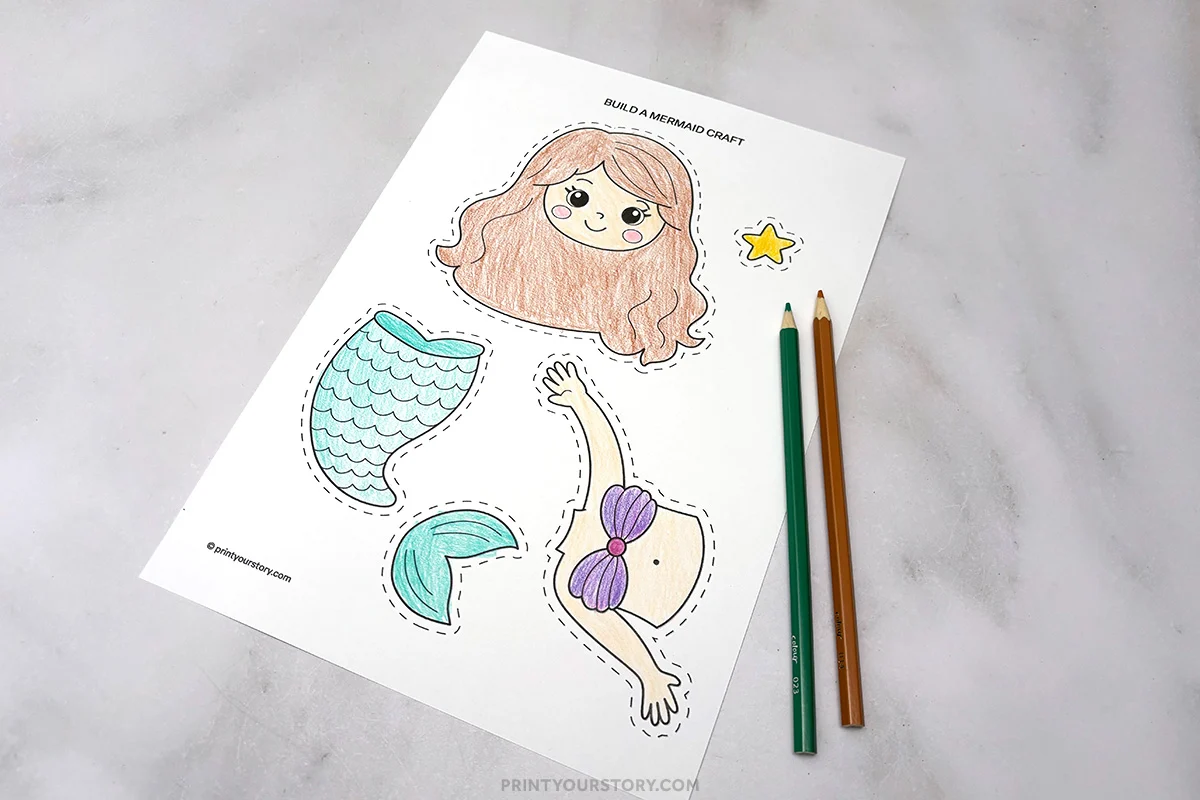
Step 2: Color in the pieces
Color all the individual mermaid pieces before cutting them out. This makes the process easier and keeps the paper from bending. You can use ocean-inspired colors or go with bright, fun shades to match a beach or under the sea crafts theme.
Step 3: Cut out each piece
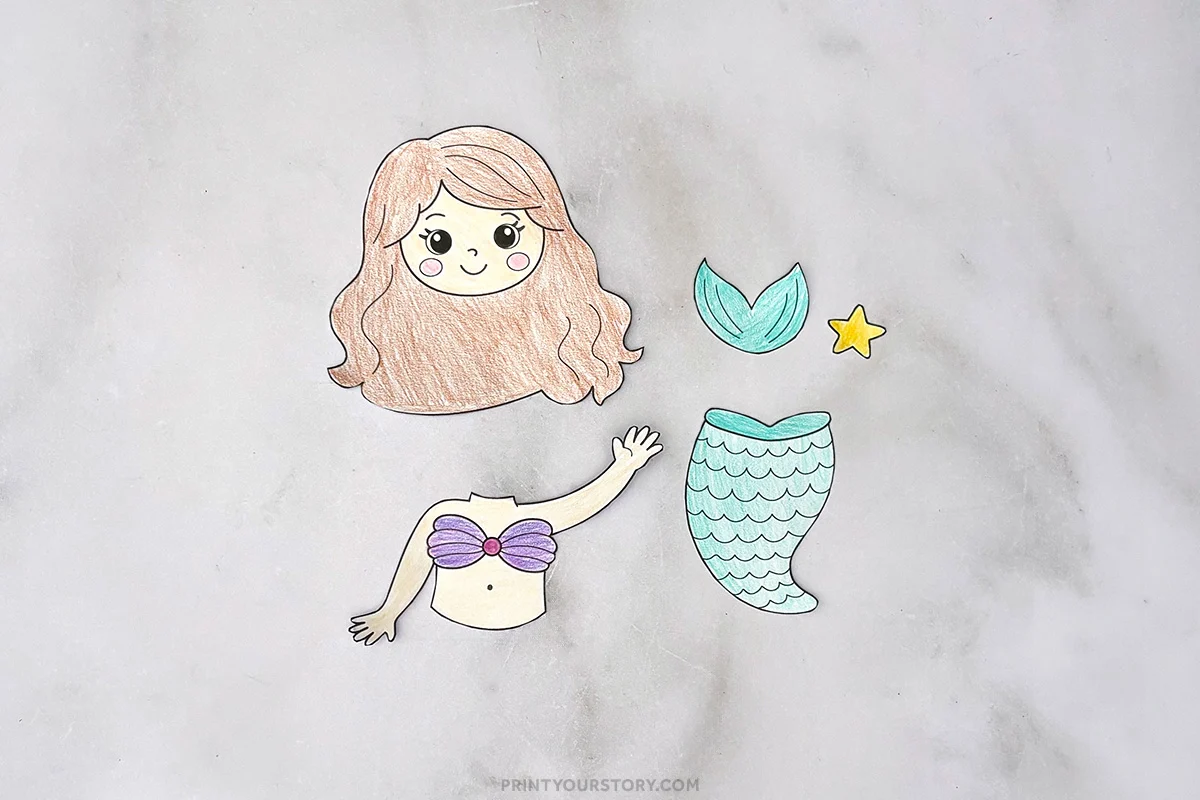
Carefully cut out all the pieces from the template. Take your time around smaller details like the hands and hair to help everything line up nicely later. Younger crafters may need a little help with this step, especially for the smaller or more detailed areas.
Step 4: Glue the body onto the hair
Place the body piece on top of the hair and glue it down. Make sure it’s centered so the hair shows evenly around the head.
Step 5: Glue the tail onto the body
Attach the tail to the bottom of the body piece. Press it down firmly so it stays in place.
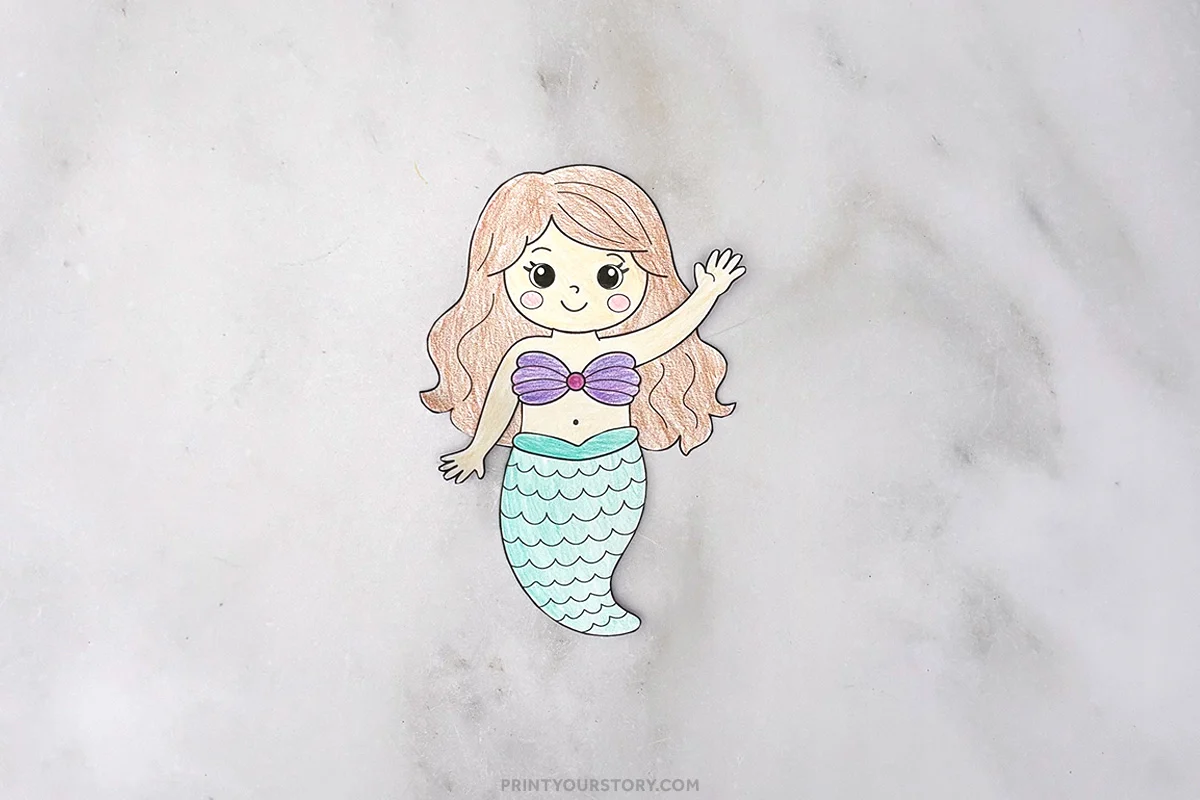
Step 6: Glue the tail fin to the bottom of the tail
Add the tail fin piece underneath the main tail. Line it up with the bottom edge and glue it securely.
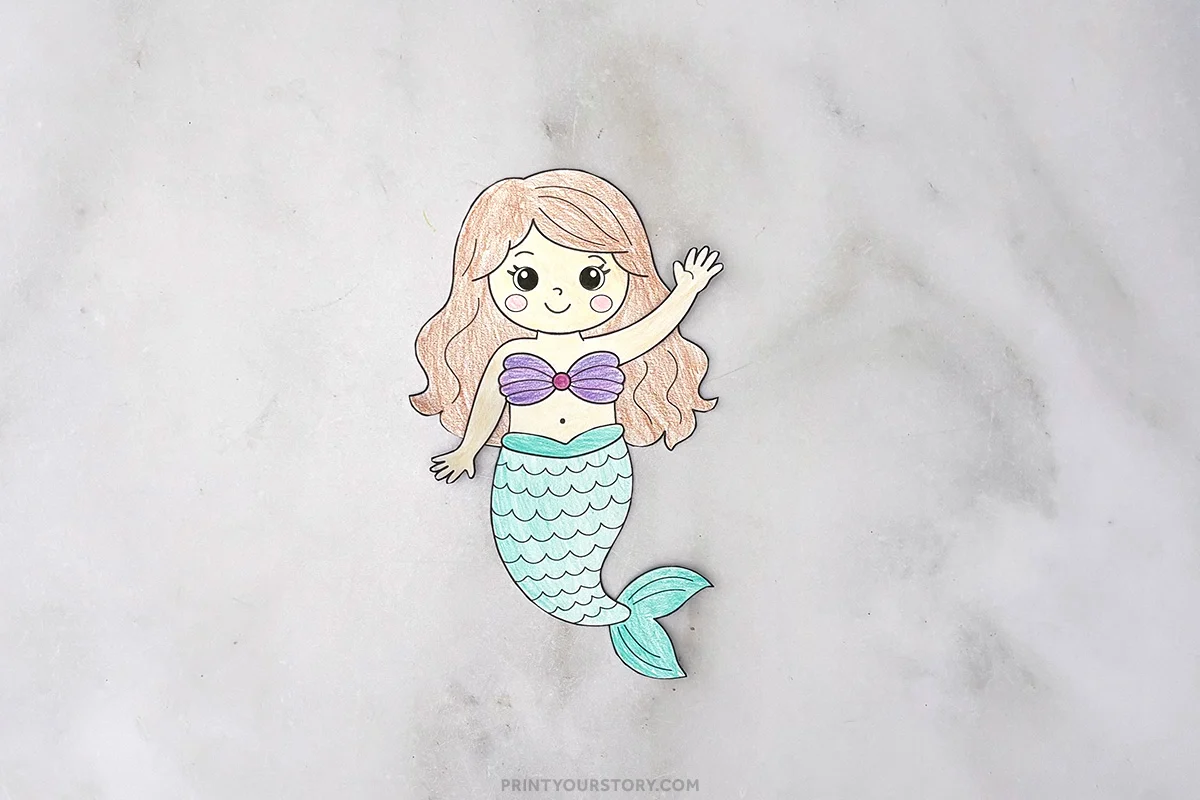
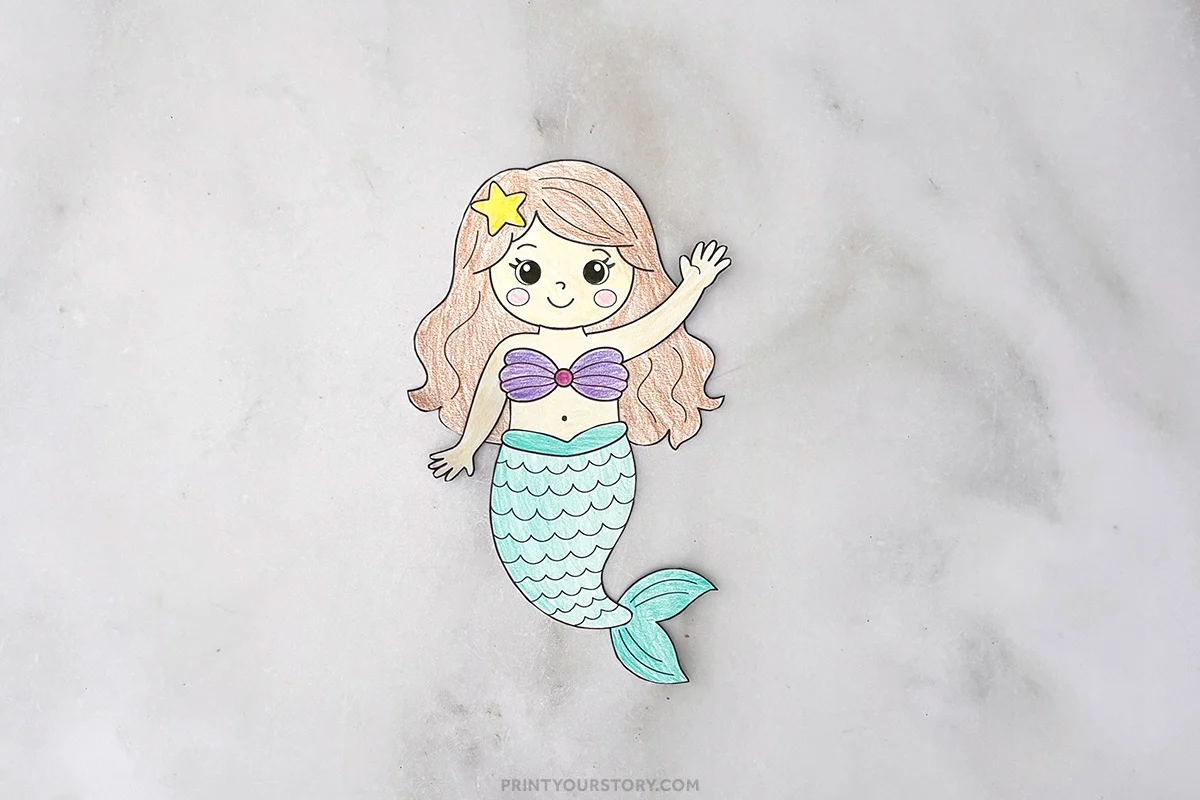
Step 7: Add the starfish to the hair
Glue the starfish onto the hair. You can place it to the side for a cute finishing detail.
Some tips for the best mermaid craft
- Color the pieces before cutting to make everything easier to handle and less likely to bend.
- Use cardstock if you want the mermaid to feel more sturdy and last longer.
- Add glitter to the tail or starfish for a fun beach-themed touch.
- Try different coloring styles like patterns, stripes, or ombre for a unique look.
- Glue the finished mermaid onto blue paper and draw an ocean background for a cute under the sea crafts display.
- Let the glue fully dry before moving the craft so everything stays in place.
A quick note on sharing this file
If you love this template and want to share it with friends, teachers, or fellow crafters, I’d be so happy! Please just share the link to this blog post instead of sending the file directly. It helps support my site and allows me to keep creating free crafts for everyone to enjoy.
Thanks for supporting my little corner of the internet!
👉 Grab the free mermaid template here
You might also like
If you love simple activities like this, you can find more cut and paste crafts that are easy to prep and fun to make. These are perfect for creative time when you want something hands-on without needing a lot of supplies.