Popsicle Stick Mother’s Day Photo Frame Craft
I really love crafts that turn into keepsakes. Especially ones that don’t require anything complicated at all. This popsicle stick photo frame is one of those projects that feels thoughtful but is still very easy to make. It uses basic supplies, a favorite photo, and the printable template with flowers and hearts for decorating.

The frame comes together quickly, and the printable decorations are where all the personality comes in. Coloring, cutting, and gluing everything by hand makes this craft feel relaxed and creative without being overwhelming. It’s a nice reminder that simple materials can still turn into something meaningful.
Every finished frame ends up looking a little different. Between the colors, decoration placement, and photo choice, no two ever look exactly the same. That’s always my favorite part of this kind of project.
What you’ll need
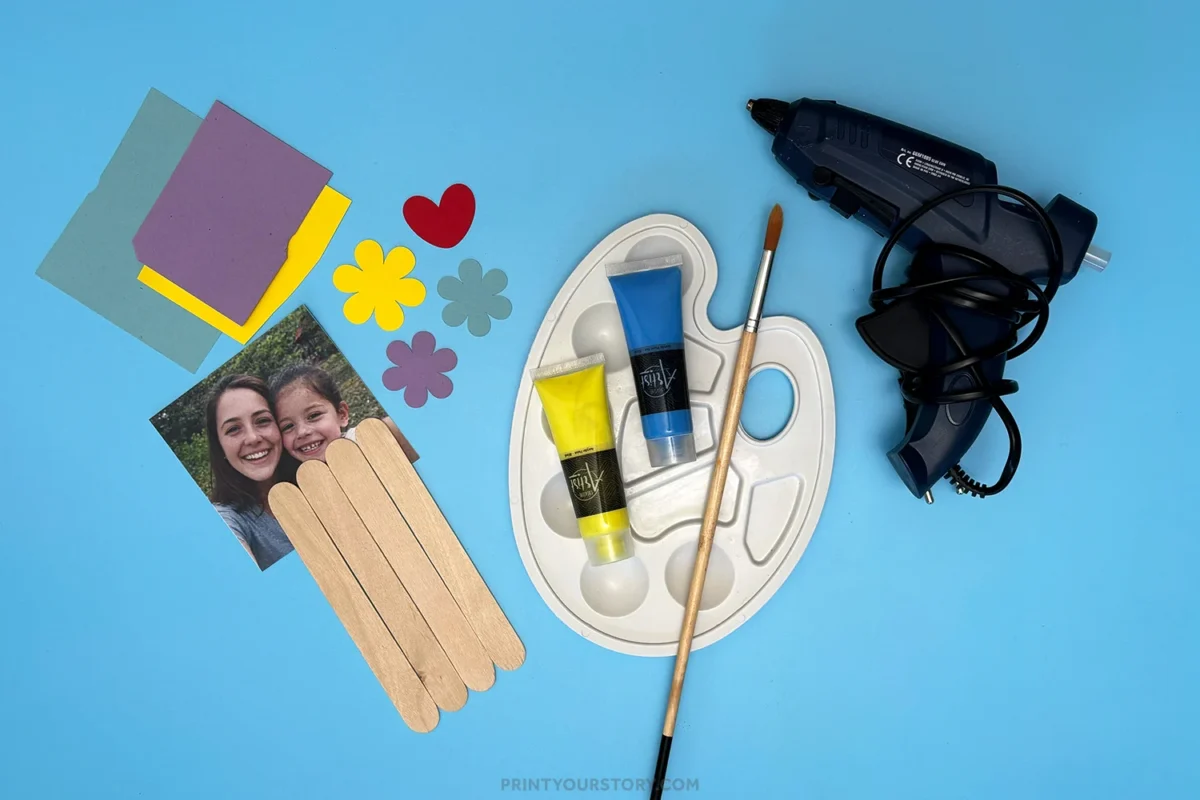
How to make this Mother’s Day popsicle stick photo frame
Step 1: Paint the popsicle sticks
Paint the popsicle sticks using acrylic or washable paint. Apply an even coat and let them dry completely. Add a second coat if needed for brighter color, then set them aside until fully dry.
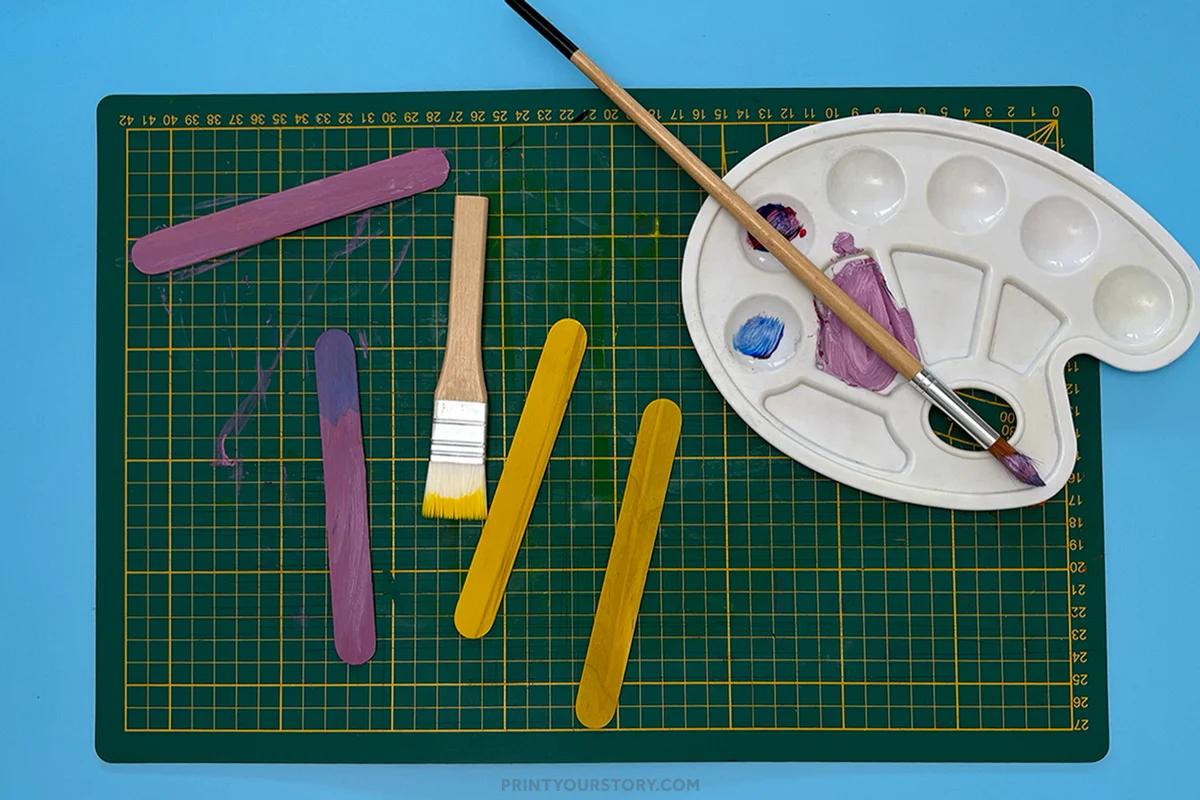
If the child or student is younger, an adult can prep this step ahead of time by painting the popsicle sticks and gluing the frame together. That way, the focus can stay on decorating and personalizing the frame.
Step 2: Build the popsicle stick frame
Once the paint is dry, lay four popsicle sticks on a flat surface to form a square or rectangle.
Adjust the opening until it fits your photo, then use a glue gun or wood glue to attach the sticks where they overlap. An adult must assist with this step, especially when using a glue gun.
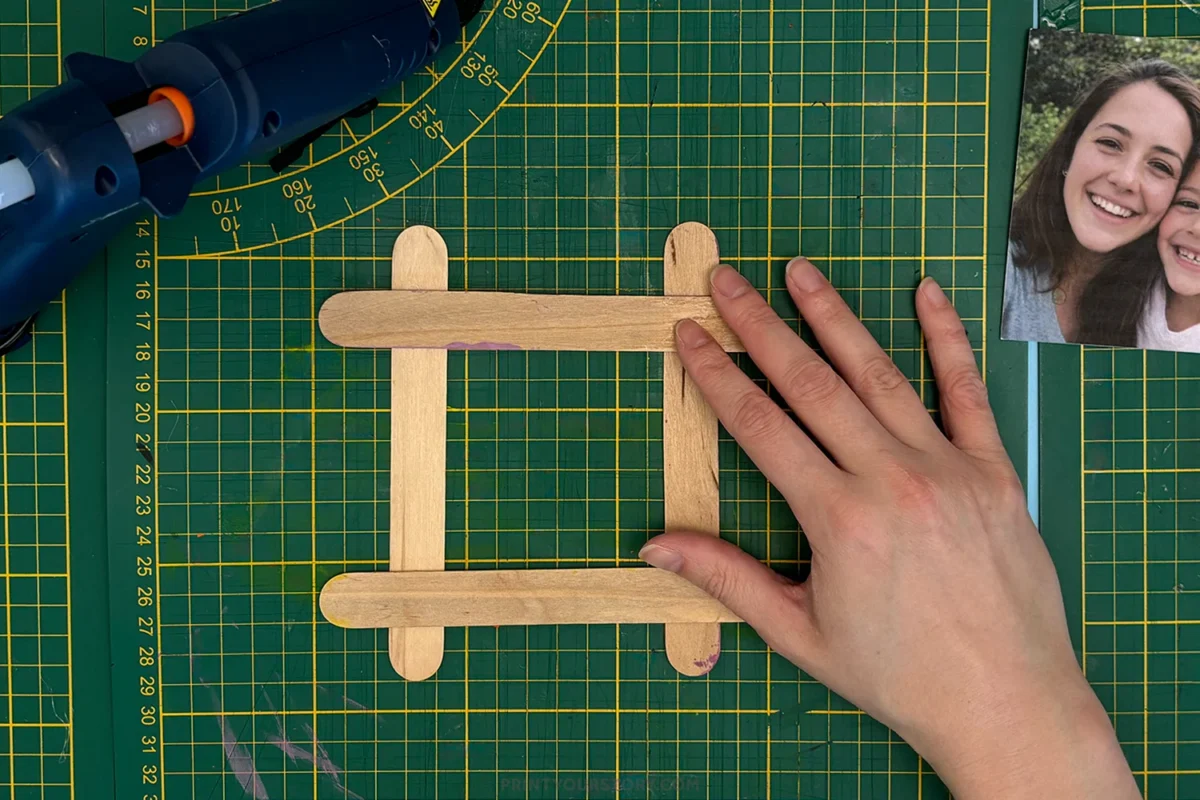
Let the frame dry completely so it stays sturdy and secure.
Step 3: Attach the photo
Flip the frame over and center the photo behind the opening. Glue it in place, making sure it is straight and secured around the edges.
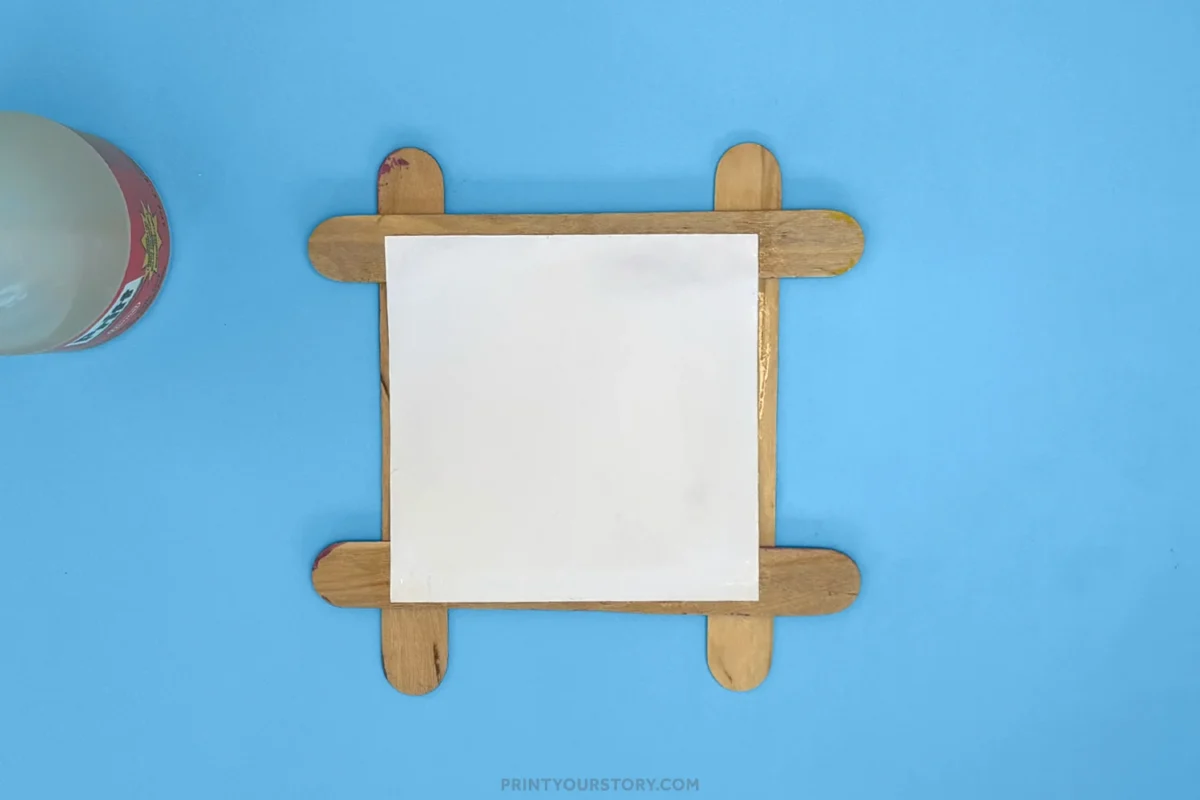
Step 4: Prepare the decorations
Decide whether you want to draw flowers and hearts by hand on cardstock or use the optional printable template. Color the shapes using markers, crayons, or colored pencils, or trace them on construction paper, then carefully cut them out.
This is also a great project for using up paper scraps, especially those colorful little pieces you have been saving.
Step 5: Decorate the frame
Arrange the flowers and hearts on the front of the frame without gluing first. Once you’re happy with the layout, glue everything in place. Add sequins, gems, or stickers if you’d like extra detail.
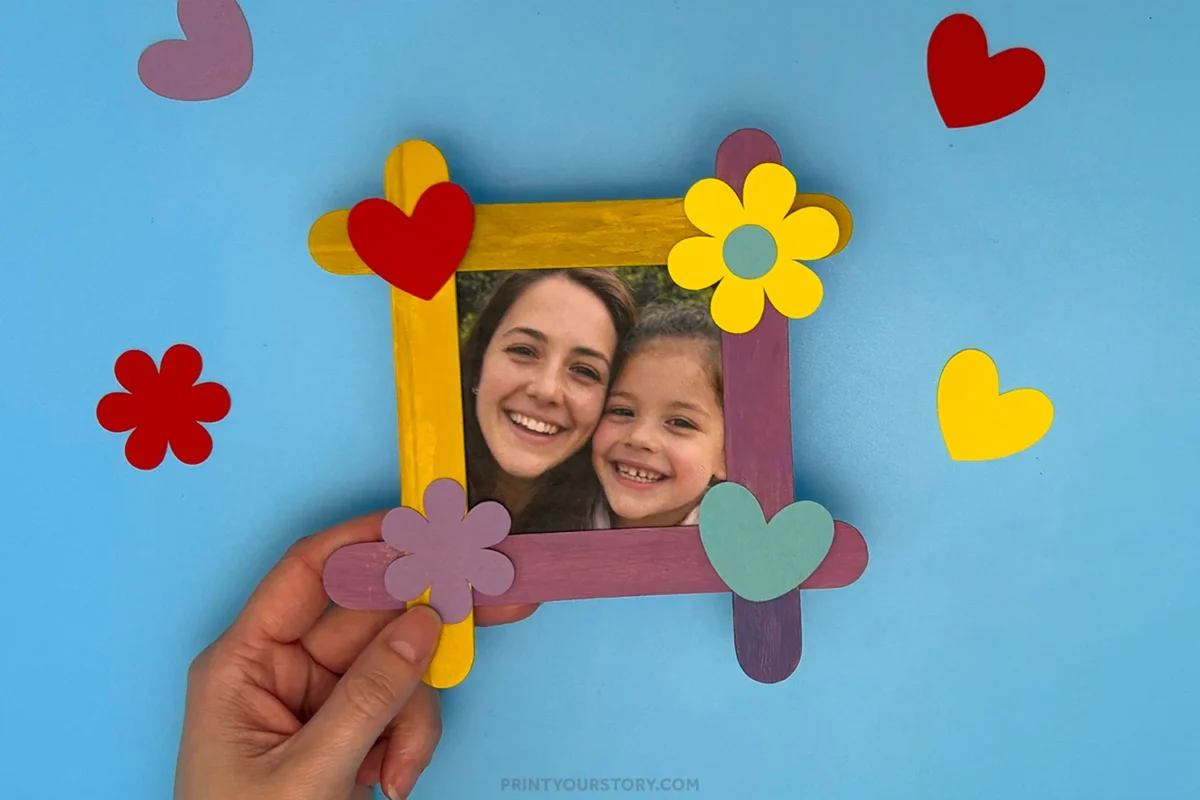
Let the finished frame dry completely before handling or displaying it.
Decorating tips and ideas
There’s a lot of flexibility with this craft, which makes it easy to customize.
- Painting each stick a different color creates a playful look.
- Using the same color family keeps the frame more cohesive.
- Layering a heart on top of a flower adds dimension without much effort.
I recommend laying everything out before gluing. It makes the final result feel more intentional and avoids having to pull pieces back up.
For another creative and easy popsicle stick project, try the Father’s Day Popsicle Stick Toolbox Craft that makes a thoughtful keepsake.
A quick note on sharing this file
If you love this template and want to share it with friends, teachers, or fellow crafters, I’d be so happy! Please just share the link to this blog post instead of sending the file directly. It helps support my site and allows me to keep creating free crafts for everyone to enjoy.
Thanks for supporting my little corner of the internet!
Grab the hearts and flowers outline template here:
If you’d like a little help with decorating, you can grab the optional flower and heart outline template below. It’s there if you want it, but the craft works just as well without it.