Mother’s Day Flower Pot Craft with Photo (+ Grandma Version)
I made this little Mother’s Day flower pot craft the other day, and it turned out so sweet I had to share it. I wanted something simple and personal for a Mother’s Day keepsake, and this one is honestly so easy to put together.
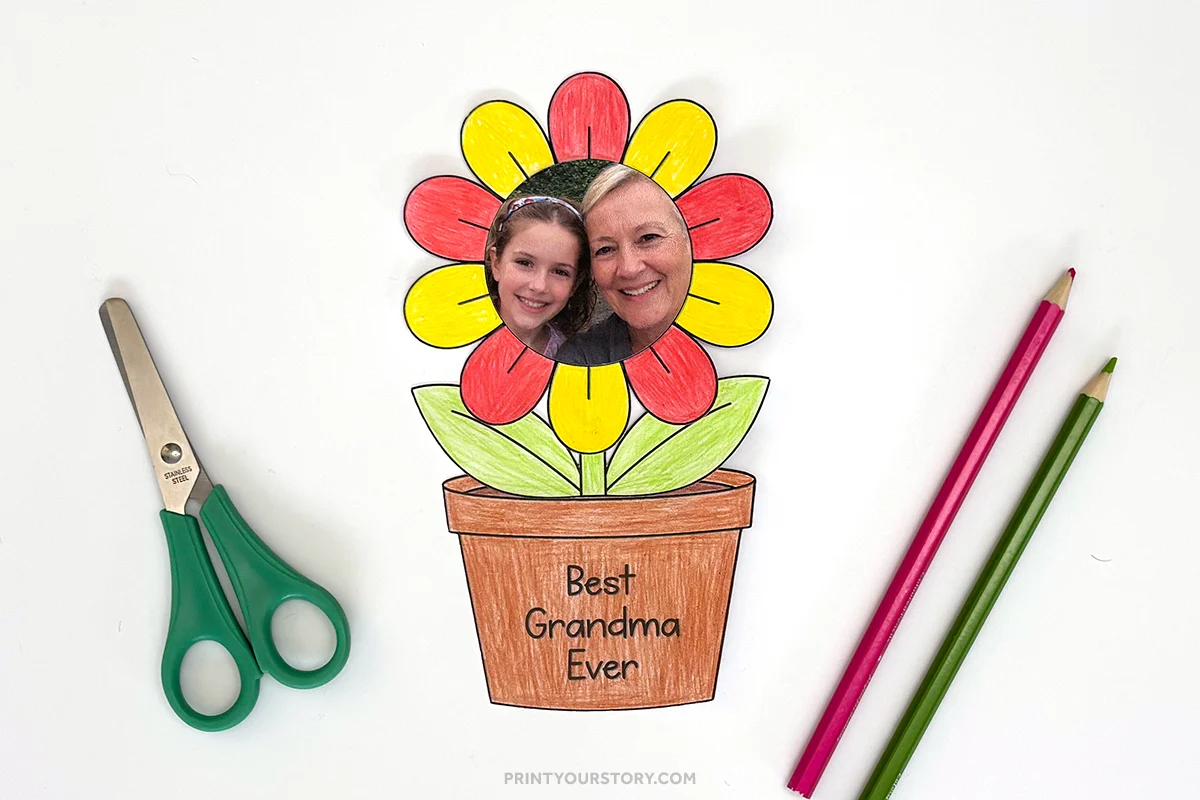
I also included a grandma version of the template that says “Best Grandma Ever” on the flower pot, so you can make one for Grandma too.

It’s a perfect go-to for a quick classroom craft, and it works really well as a gift for grandparents too. It’s simple enough for younger kids to make on their own, and the added photo makes it feel extra special and personal.

If you’ve been looking for an easy photo craft or something fun to do with kids for Mother’s Day, this is a great option. Just print, color, and add a photo. No fancy supplies needed.
What you’ll need

How to make your flower pot photo craft:
Step 1: Print the template
Start by downloading and printing the free Mother’s Day flower pot craft template. I really recommend using 90 lb cardstock if your printer supports it. It makes the final craft sturdier and more gift-worthy.
Regular printer paper works too, especially if you’re doing this as a quick classroom activity, but cardstock definitely holds up better if it’s going to be displayed or saved as a keepsake.

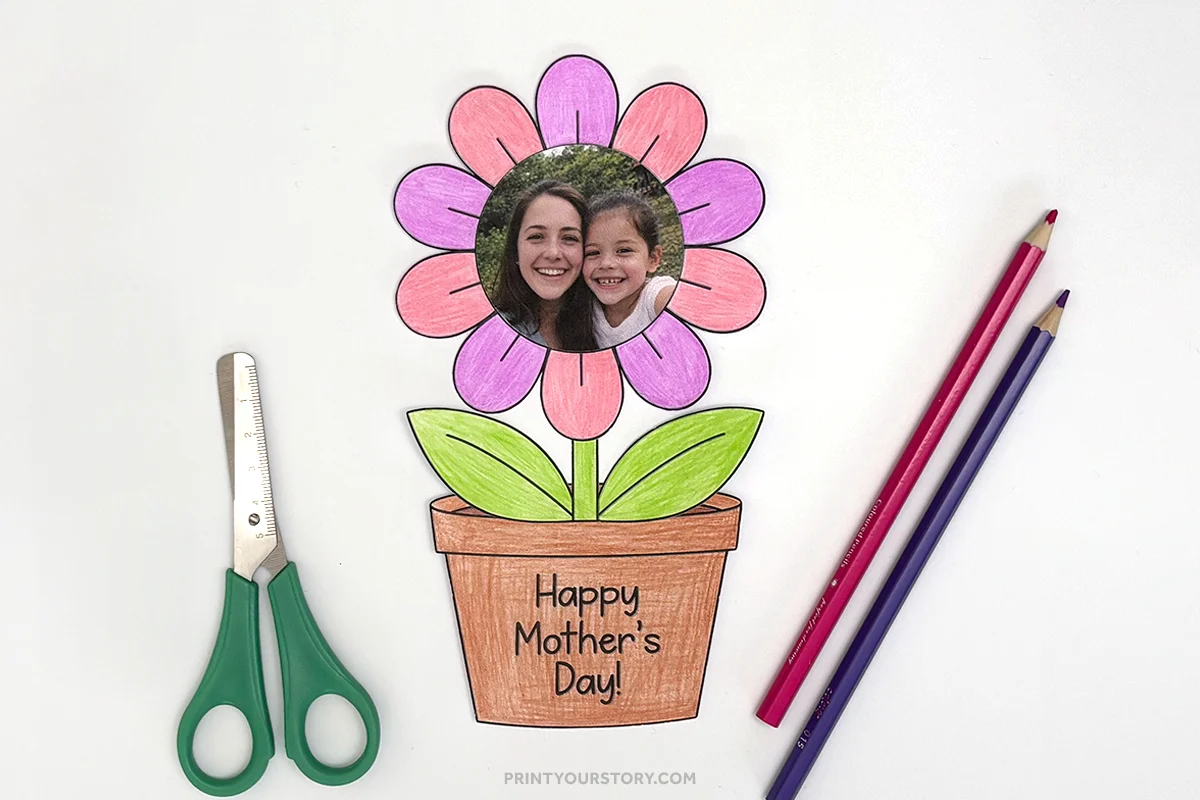
There are two versions included: one that says “Happy Mother’s Day!” and another that says “Best Grandma Ever.” Both versions are available in black and white (for coloring) and full color (ready to cut and glue). Just pick the version that fits who you’re making it for, and print that one out.
Step 2: Color the flower, leaves, and flower pot
This part is always the most fun to watch. Kids get really into picking their colors, and no two flowers ever turn out the same.
You can give them crayons, markers, and colored pencils to choose from, but personally I lean toward colored pencils. They don’t smear or make the ink bleed, especially when we’re printing on cardstock. Markers can sometimes blur the outlines.

Either way, it’s a great way for kids to personalize their flower. Some go bold, some go soft and pastel, it’s all beautiful.
Step 3: Cut out all three shapes
Once everything is colored, it’s time to cut. I usually demonstrate how to cut out each piece one at a time: start with the flower, then the stem with leaves, and finally the flower pot.
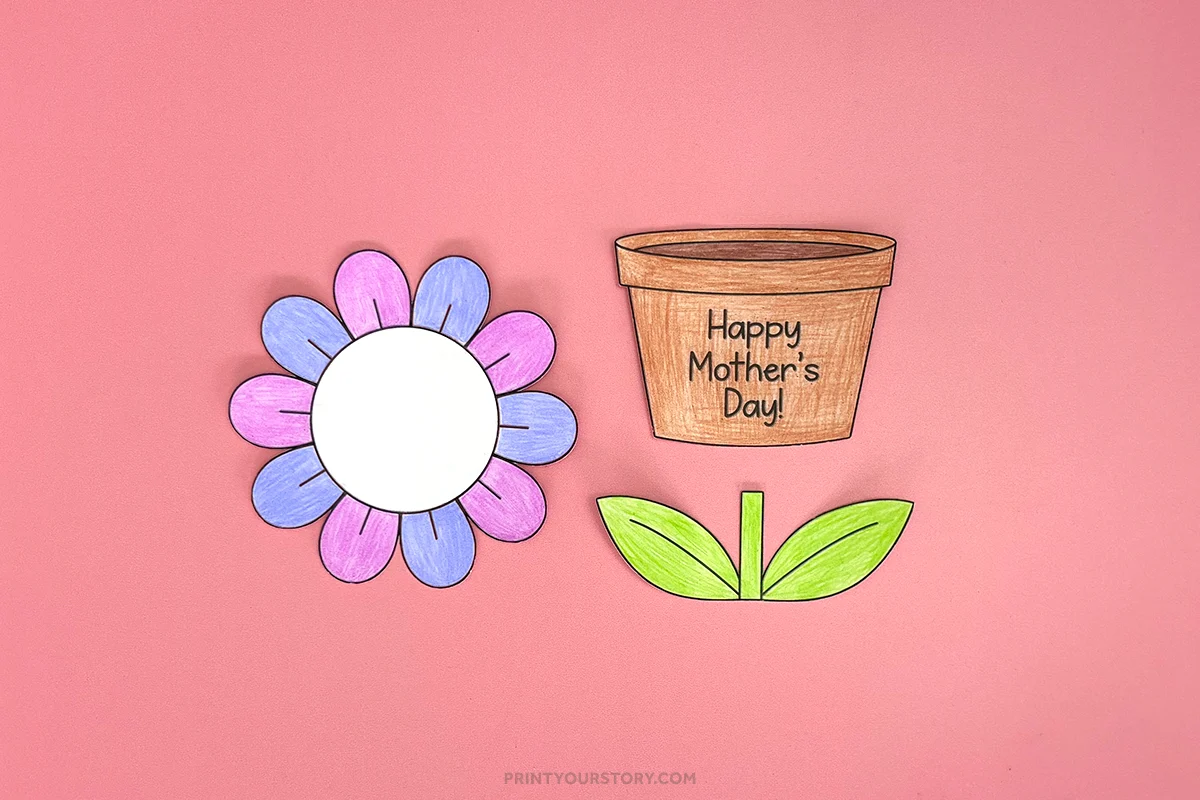
Depending on the age group, you might have to step in to help with tricky corners. If you’re doing this in a classroom or with a group, it can help to pre-cut the pieces for younger kids.
Step 4: Cut out and add the photo to the flower
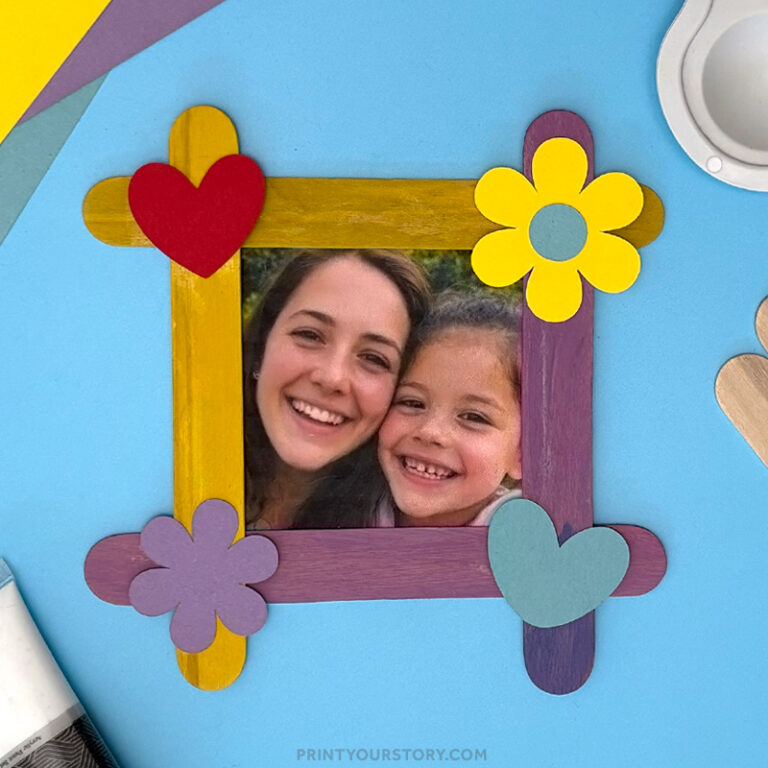
The circle in the middle of the flower is where the photo goes. Cut the photo into a circle first, then glue it right on top of the flower center.
You can trace a small cup or lid onto the back of the photo to help get a nice round shape. It doesn’t need to be perfect, just make sure the face is showing clearly in the middle.
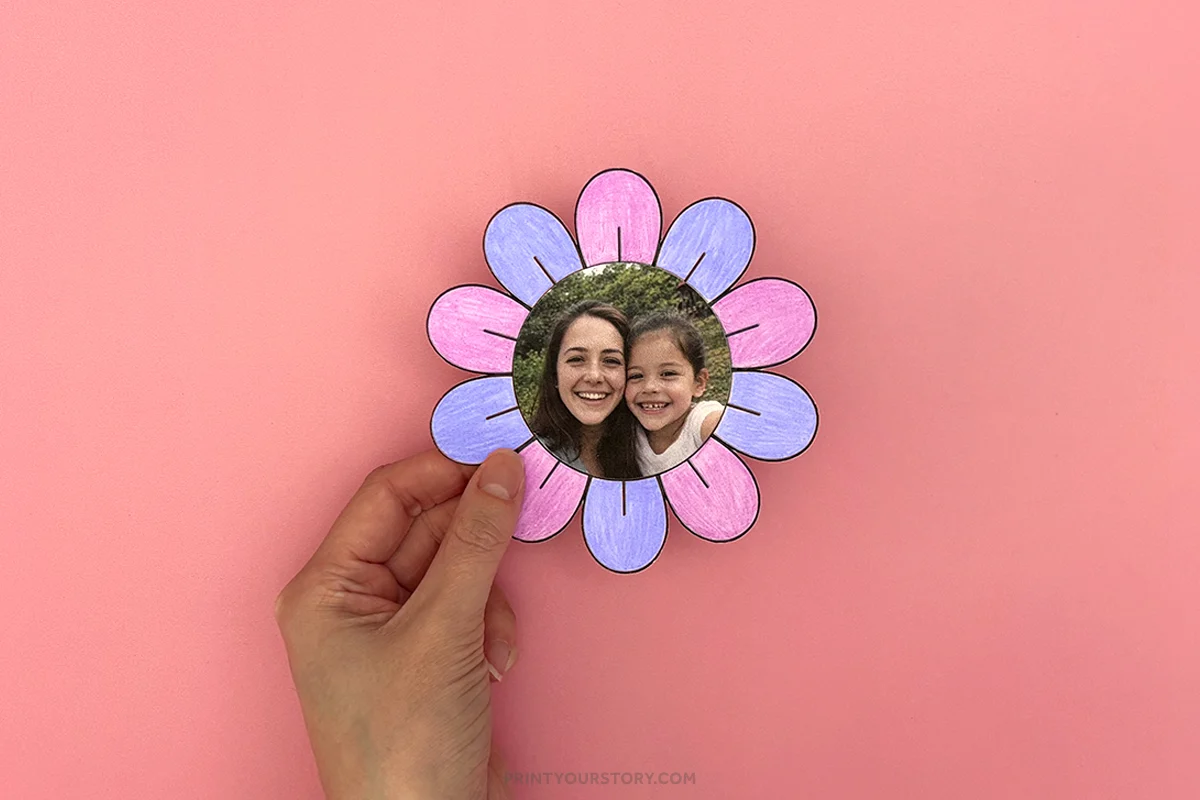
If you’re making several, a 2″-2.5″ circle punch can definitely save time, but scissors work just fine too.
If you don’t have a photo, no worries! Kids can draw a self-portrait instead. It’s just as sweet.
Step 5: Glue all the pieces together
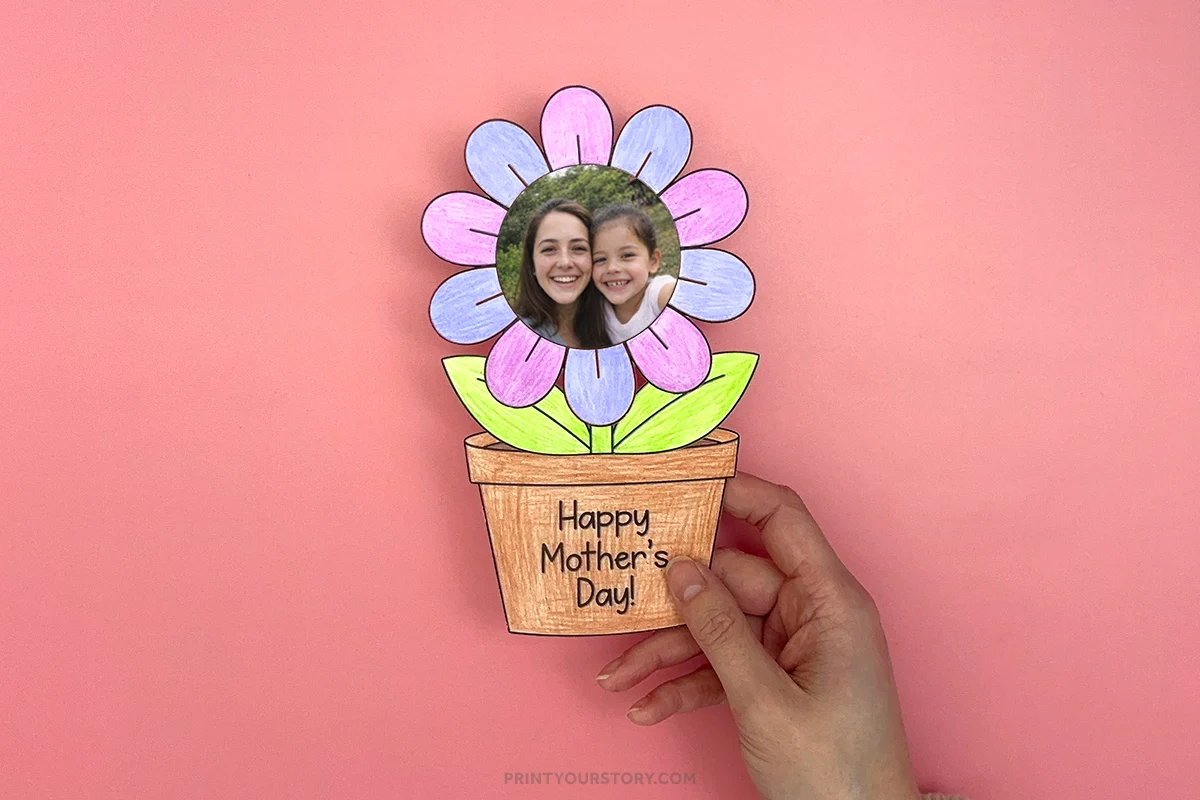
This is where it starts to come together! First, help kids glue the stem with leaves onto the back of the flower. Once that’s secure, they can attach the flower to the pot. It doesn’t have to be perfectly aligned. There’s something extra sweet about the handmade look. I usually use glue sticks for this part because they’re less messy and dry quickly.
Step 6: Add any extra touches
The flower pot already says “Happy Mother’s Day!” but you can absolutely personalize it more. Let kids write their name, the year, or even add little doodles or heart stickers. You can also punch a hole at the top of the flower and add a ribbon loop if you’d like to hang it.
Mother’s Day Craft for Grandma
I also included a version of the template that says “Best Grandma Ever” on the flower pot. It’s a small change, but it makes the craft feel so much more personal when kids are making it specifically for their grandma.
You can use it for Mother’s Day, Grandparents Day, or just as a sweet surprise to brighten her day. It’s the same easy project, just with a little extra love for someone really special.
Classroom tips and ideas
If you’re using this craft in a classroom setting, here are a few ideas to make it run smoothly:
- Prep the pieces ahead of time: The template includes three separate parts: the flower, the leaves/stem, and the pot. Depending on the age group, you might want to pre-cut the shapes, especially if you’re short on time or working with younger kids. Or, if cutting is part of your lesson, it’s a great way to practice scissors skills!
- Pre-cut the photo circles: If possible, print and cut out the photos ahead of time so kids can focus on coloring and assembling.
- Skip the photo, draw instead: If collecting and printing photos isn’t realistic, kids can simply draw their own faces in the flower center. It keeps things simple and gives them a chance to be extra creative.
- Add writing: Want to sneak in a little writing practice? Have students write a sentence or short message on the back of the pot like “I love you because…” or “My mom is special because…” and help them sign their name. It’s a sweet personal touch and adds a little writing moment to the craft.
This is one of my favorite kids Mothers Day crafts for school because it’s easy to manage, quick to finish, and everyone ends up with something beautiful to take home.
A quick note on sharing this file
If you love this template and want to share it with friends, teachers, or fellow crafters, I’d be so happy! Please just share the link to this blog post instead of sending the file directly. It helps support my site and allows me to keep creating free crafts for everyone to enjoy.
Thanks for supporting my little corner of the internet!