
Handprint Bunny Craft with Printable Template

Anyone who loves animals is going to adore this sweet handprint bunny craft for spring. Handprint crafts are so fun and personal. There is just something special about turning a simple hand shape into an animal.
It is easy, cute, and perfect for a relaxed afternoon of crafting.

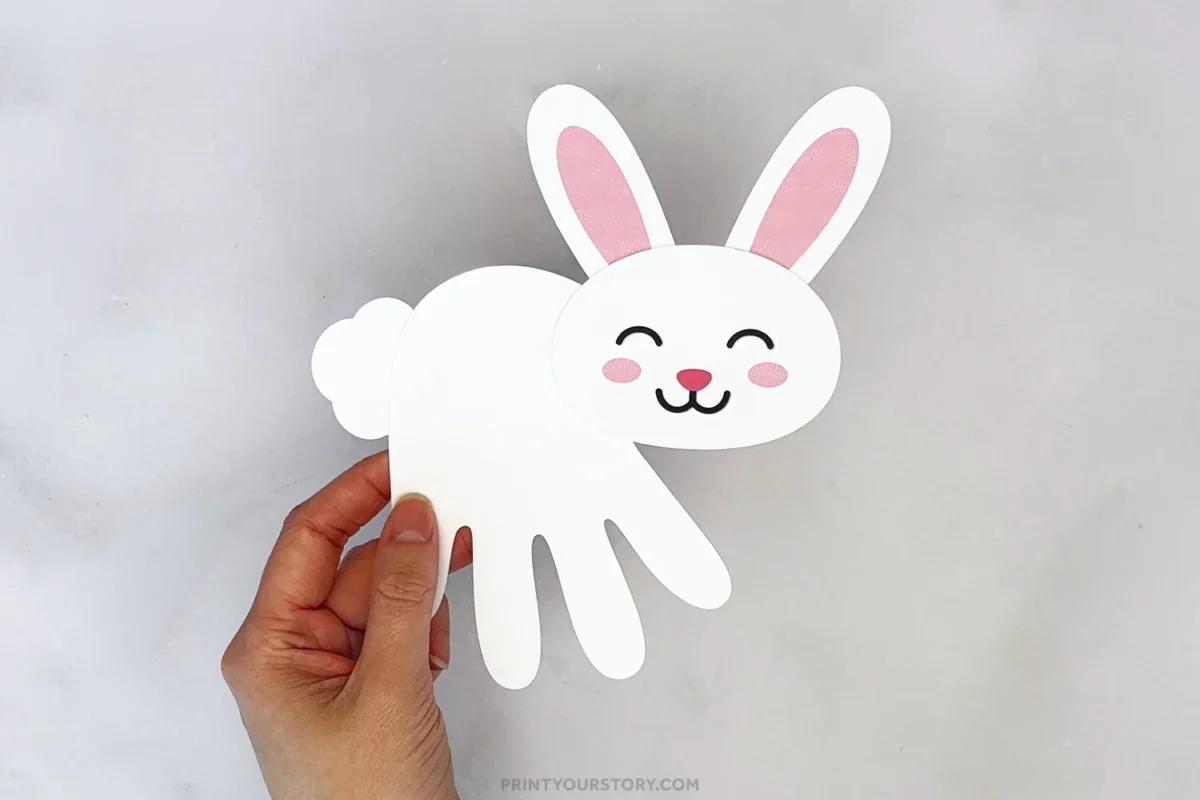
This handprint craft comes together with basic supplies and a little creativity. The finished bunny looks adorable with its long ears and tiny pink cheeks, and each one turns out slightly different.
Let’s get started.
What you’ll need
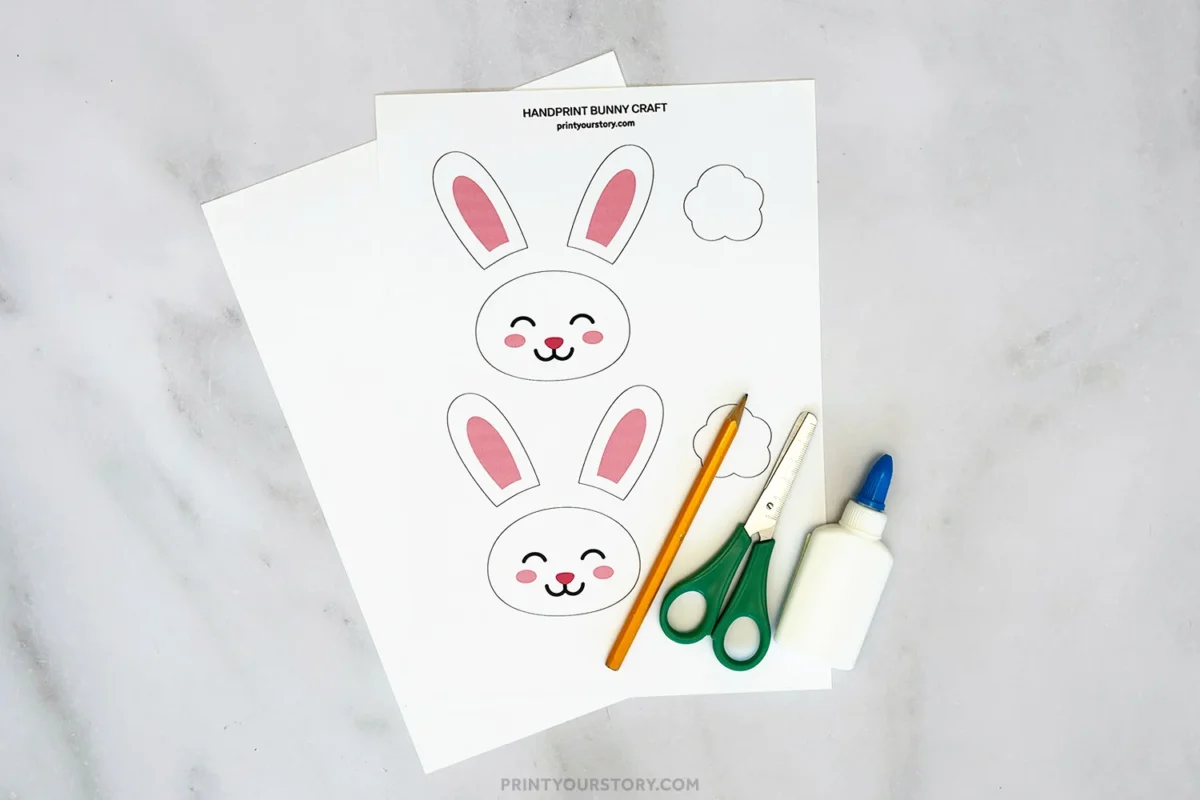
How to make this handprint bunny craft
Follow these steps to create your bunny craft. Let your kids take the lead where possible. That is part of what makes a handprint craft so special.
Step 1: Download, print, and cut the template
Download the free bunny template and print it on white cardstock for best results. The template includes the head, ears, and tail.
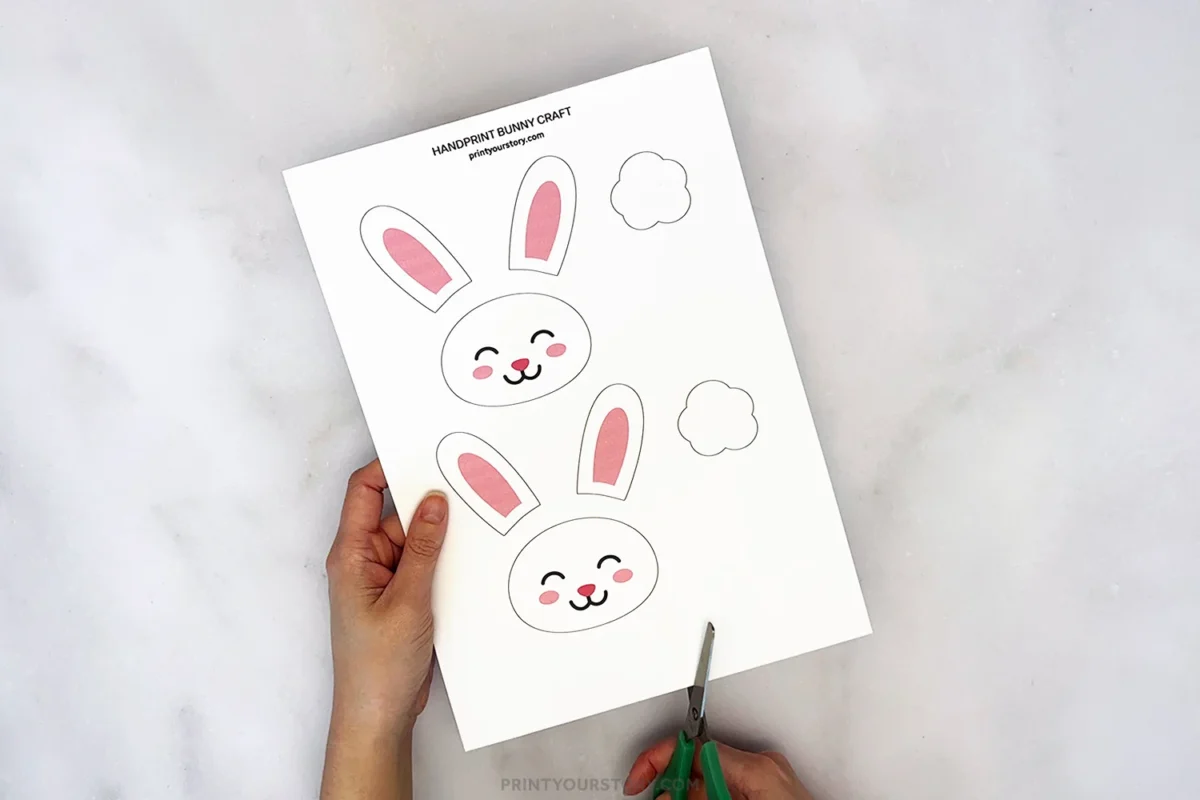
Carefully cut out the template pieces before starting the rest of the craft. Having everything ready makes the project flow much more smoothly.
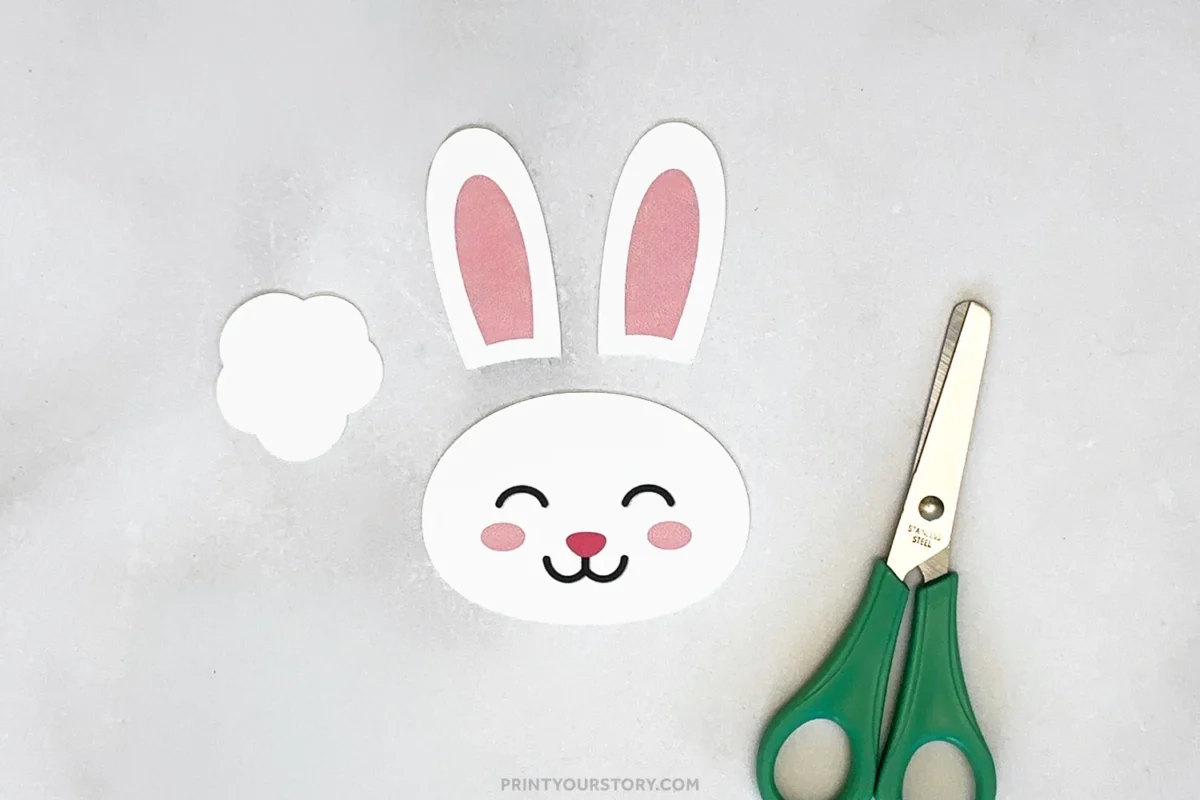
Step 2: Trace the hand
Place the hand flat on a piece of white cardstock with the fingers slightly spread apart. Help hold the fingers still if needed, then carefully trace around the entire hand with a pencil.
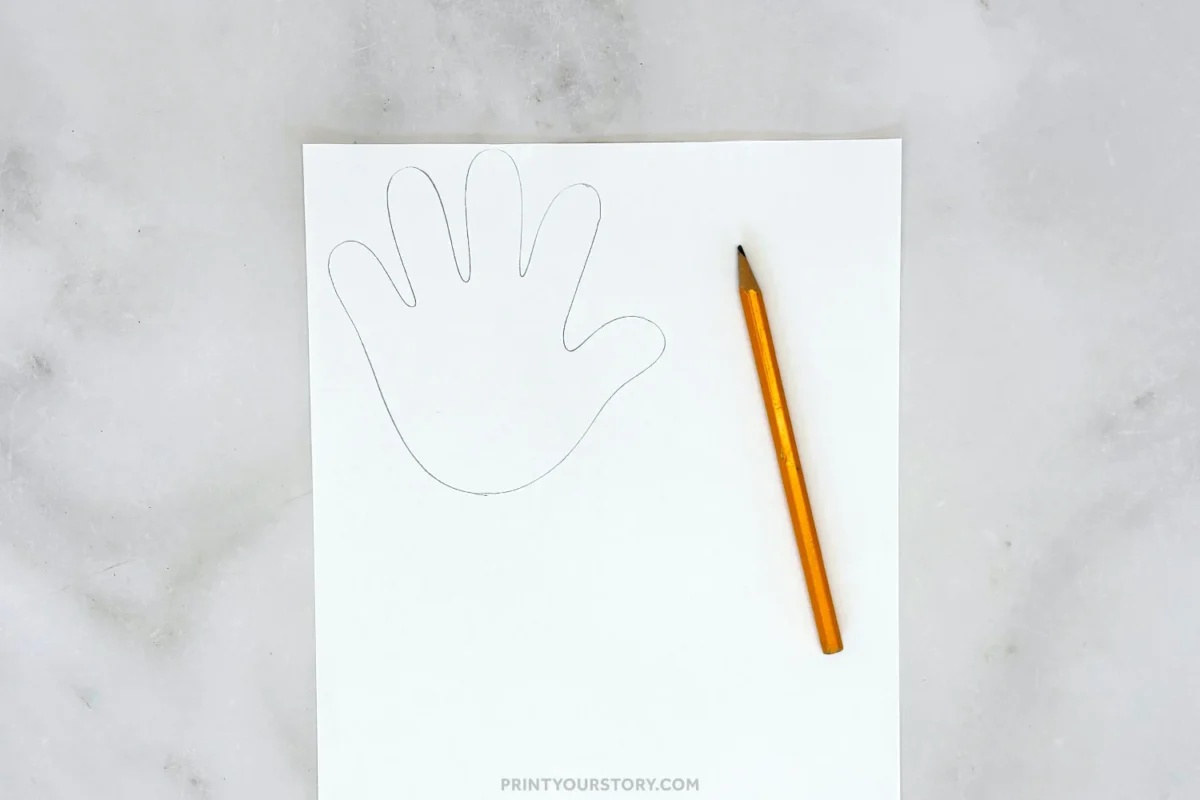
Encourage spreading the fingers just a little so the bunny’s legs will be clearly defined. If you are making more than one bunny, trace a few hands before moving on.
And I know not every child loves sitting still long enough to trace their hand. That is why I also added a free handprint shape template down below. It keeps the craft stress free and fun.
Step 3: Cut out the handprint
Carefully cut along the traced lines. Move slowly around the fingers to keep the shape smooth. This is a great step to practice careful scissor skills.
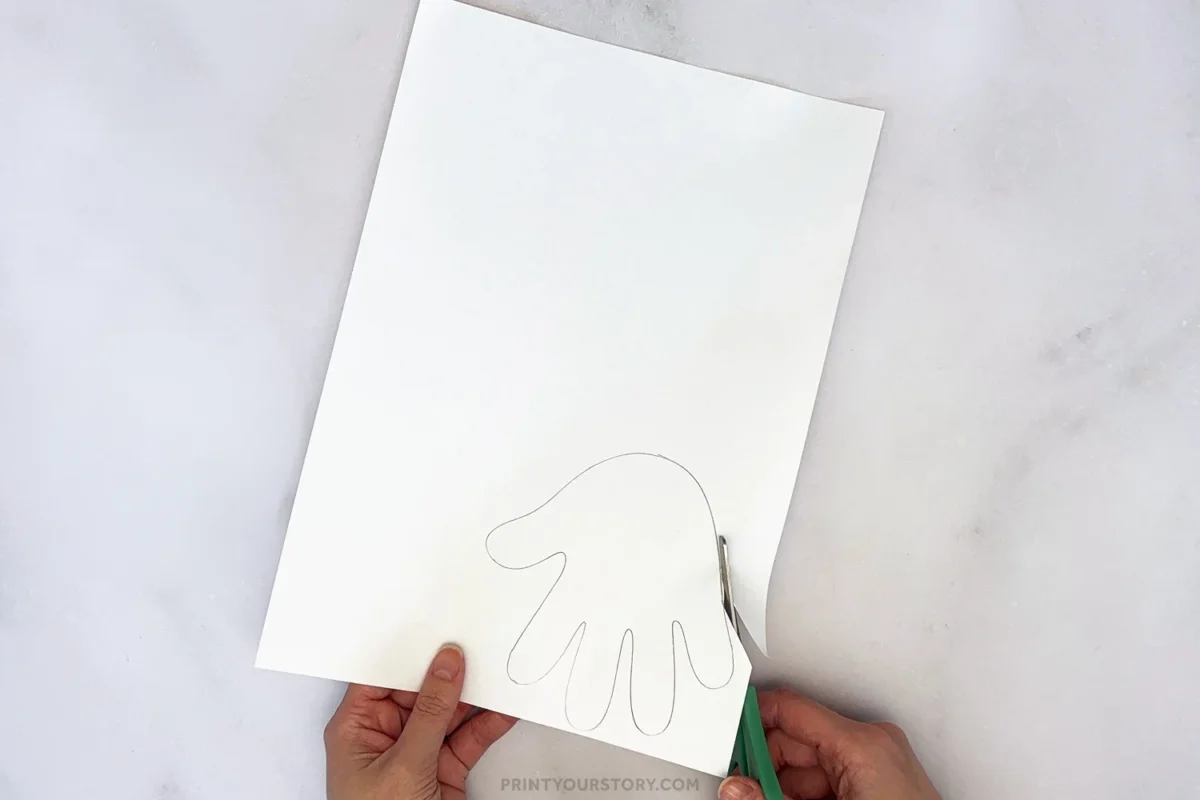
The four fingers will become the bunny’s legs, so try not to cut them too thin. A slightly rounded edge looks best and helps the bunny stand out more clearly.
Step 4: Turn the hand into a bunny body and attach the head
Rotate the cut out hand sideways so the thumb is at the side. The four fingers now become the bunny’s legs, and the thumb area becomes the neck.
Glue the ears onto the bunny’s head first.
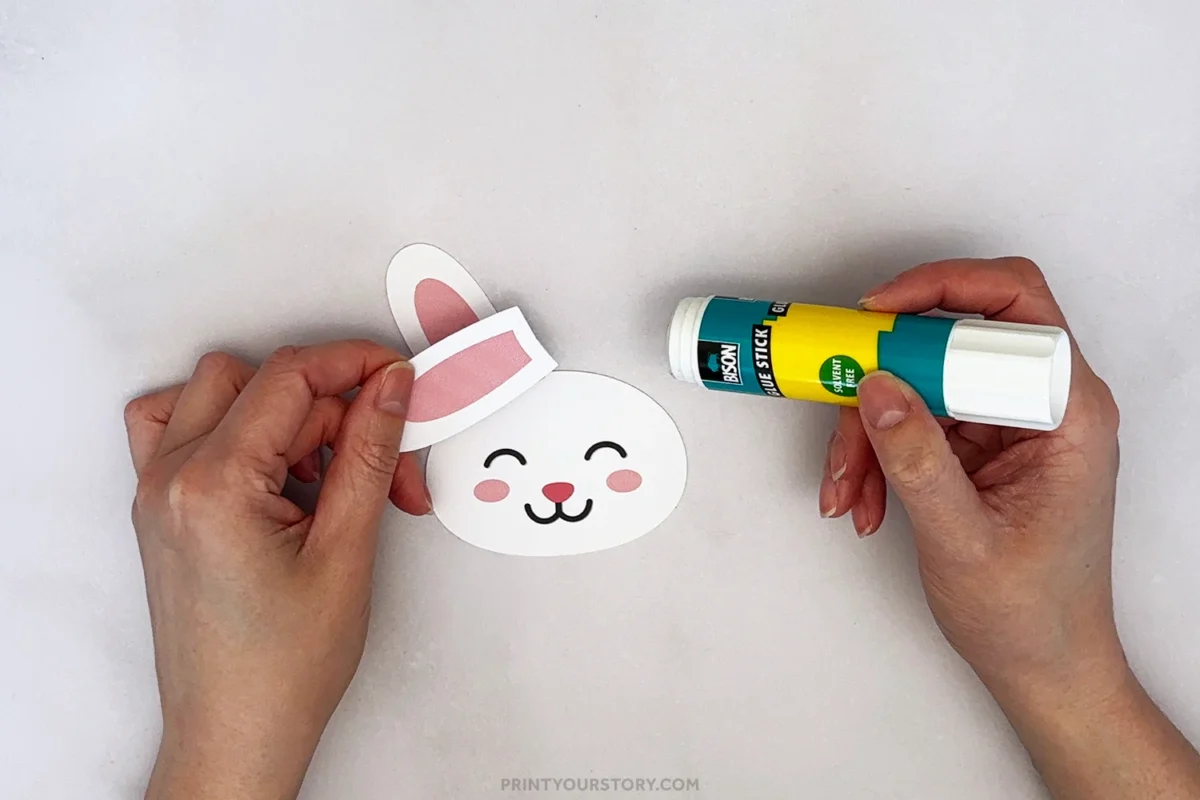
Next, glue the assembled bunny head onto the thumb area so it slightly overlaps the handprint body.
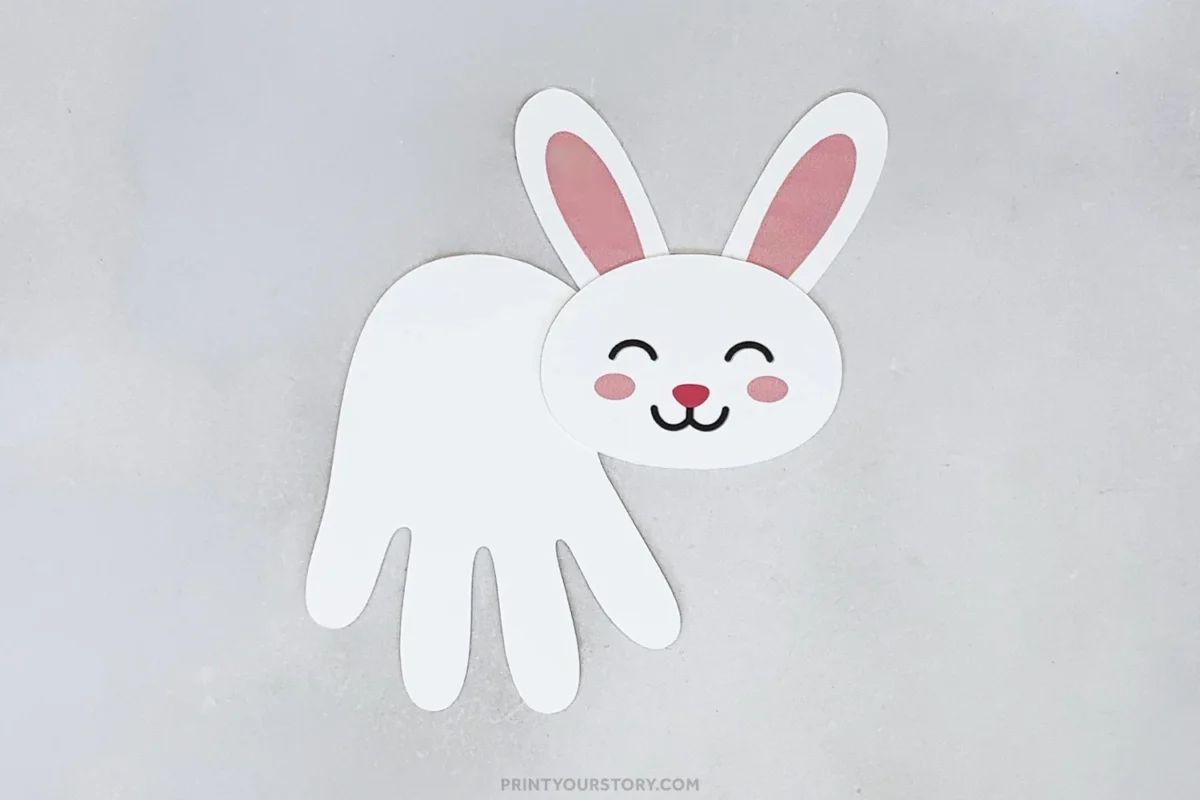
Press down firmly to secure it in place. This is usually the moment when the handprint really starts to look like a bunny.
Step 5: Add the tail
Use the small round tail piece from the template, or cut a simple circle from white paper.
Glue the tail near the base of the fingers on the back of the handprint. For extra texture, you can glue a cotton ball on top.
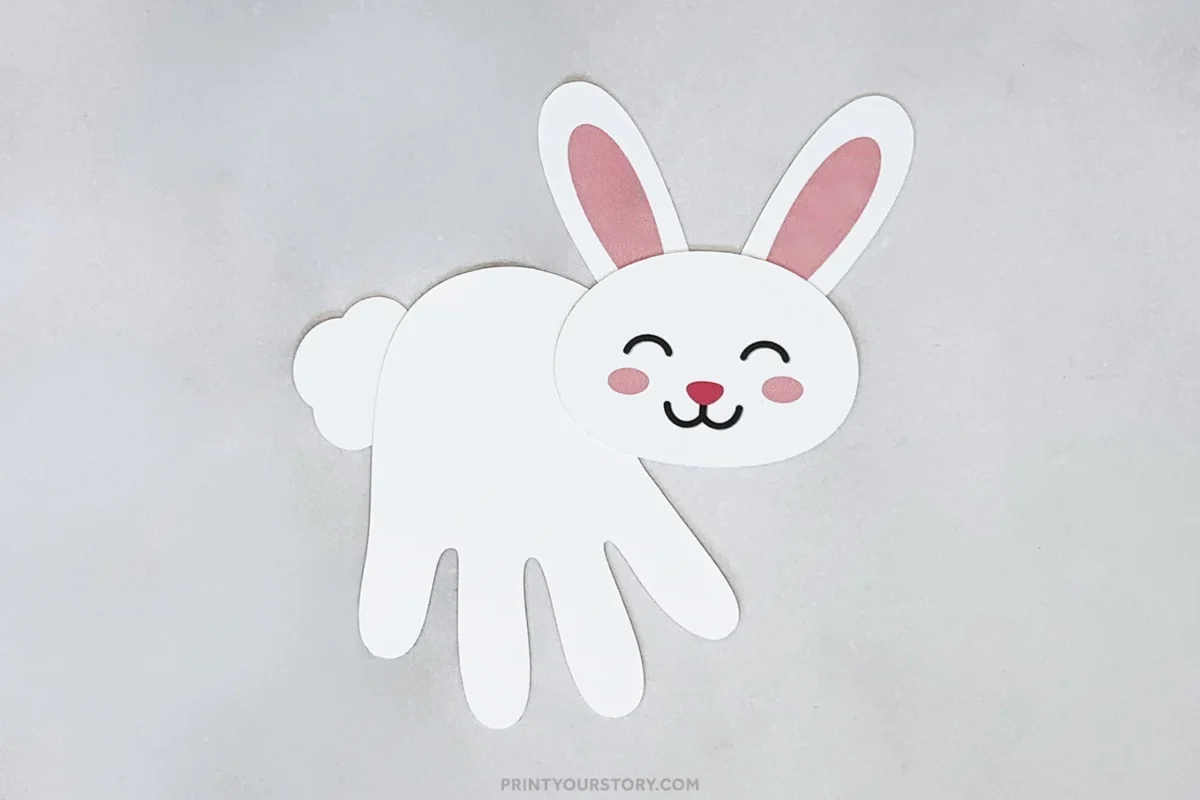
Once dry, your handprint bunny craft is ready to display for spring.
A quick note on sharing this file
If you love this template and want to share it with friends, teachers, or fellow crafters, I’d be so happy! Please just share the link to this blog post instead of sending the file directly. It helps support my site and allows me to keep creating free crafts for everyone to enjoy.
Thanks for supporting my little corner of the internet!
You might also like
A sweet and easy spring craft
This handprint bunny craft is one of those projects that feels calm and easy. There are no complicated steps and no fancy supplies. Just paper, glue, and a little creativity.
If you decide to make this bunny craft, I hope it brings a little extra joy to your spring days. Sometimes the simplest crafts end up being the ones we remember most.
I’d love to see your finished craft! Follow me on Pinterest or Instagram.