Build an Easter Bunny Printable Craft Template
I always get in the mood for simple printable crafts as soon as spring starts. The days feel lighter, I want fresh flowers on the table. I start thinking about easy Easter activities that do not require a lot of prep.
This Build an Easter Bunny printable is exactly that kind of craft.

It is low prep, easy to set up, and just really fun to make. You can color your bunny any way you like, add the Easter basket, and create your own little Easter scene.
Some will choose soft pastel colors for a classic Easter look. Others will go bold and bright. And when you see them all finished and displayed together, it really brings that cheerful spring feeling into the room.
Spring can still be a bit unpredictable. Some days are sunny and bright, and other days it feels like the rain just will not stop. On those rainy afternoons, this little bunny is such a sweet way to brighten the mood and bring a bit of Easter cheer indoors.
What you’ll need

If you are working with a larger group, I recommend printing a few extra copies of the template just in case someone makes a cutting mistake and wants to redo a piece. It saves time and keeps things running smoothly.
How to make your Easter bunny
Step 1: Print the Easter bunny template
Start by printing the Build an Easter Bunny template on white printer paper or cardstock.
I recommend printing on slightly thicker paper. It makes the finished bunny sturdier and easier to glue without tearing. If you only have regular printer paper, that works perfectly fine too. You can always mount the finished bunny onto colored cardstock later.

Before handing it out, quickly check that all pieces printed clearly and at the right size.
Step 2: Color all the pieces
Next, let everyone color in their bunny and all the Easter accessories.
This is honestly my favorite part because every bunny turns out completely different. Some choose soft pastel shades for a classic Easter look. Others go bold with bright pink, blue, or even rainbow bunnies.

Encourage creativity here. The basket can be brown, but it could also be purple. The eggs can have stripes, dots, zigzags, or tiny hearts.
If you are doing this in a classroom, you can turn it into a mini design challenge. Ask everyone to create a unique egg pattern. It keeps things fun and gives a little creative direction without being too structured.
Step 3: Carefully cut out each piece
Once everything is colored, it is time to cut.
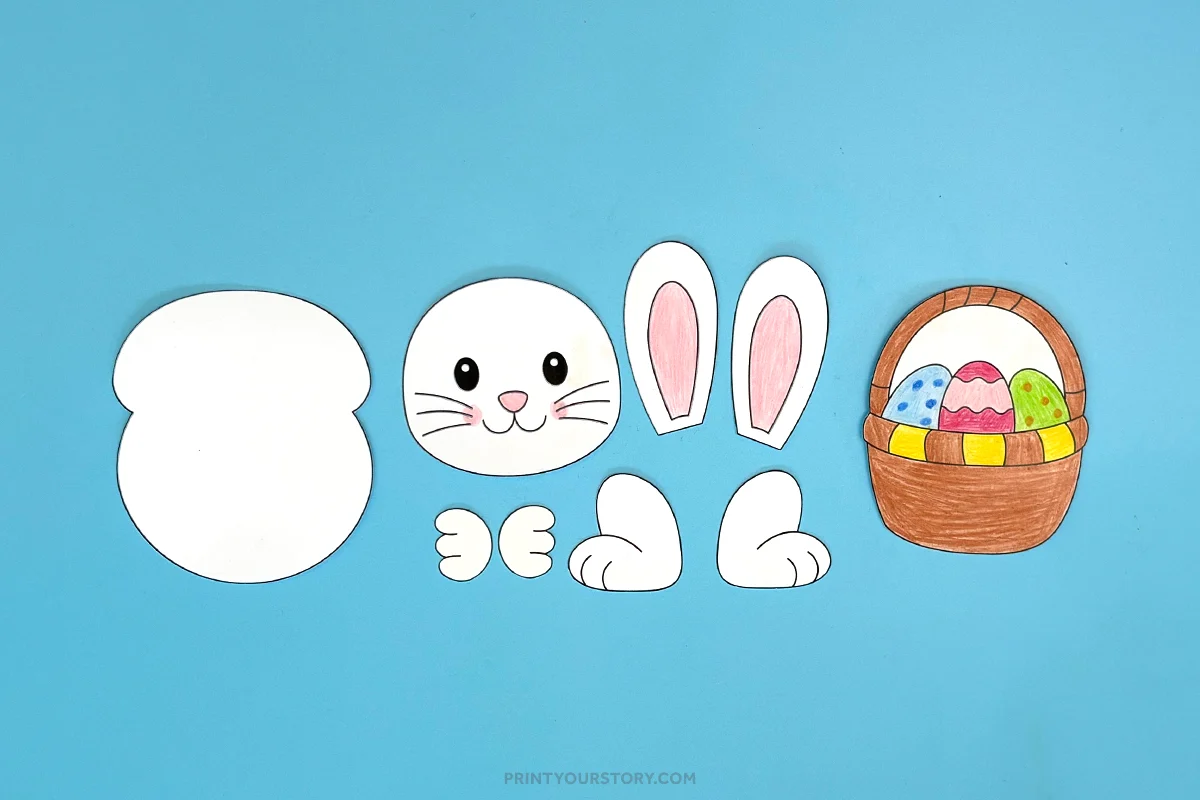
Cut out the bunny body, face, basket, hands, feet and ears along the outlines. Take your time with smaller curves around the feet and hands. If you are working with younger crafters, you can pre cut some of the smaller pieces to make it easier.
For mixed age groups, this step is great for fine motor practice. Slower cutting is completely fine. There is no rush.
It does not have to be perfect. A slightly wobbly edge just makes it look more handmade.
Step 4: Assemble the bunny base
Start by gluing the bunny head onto the top of the body.

Next, attach the ears behind the head so they stick up. You can angle them slightly inward or outward for different expressions.
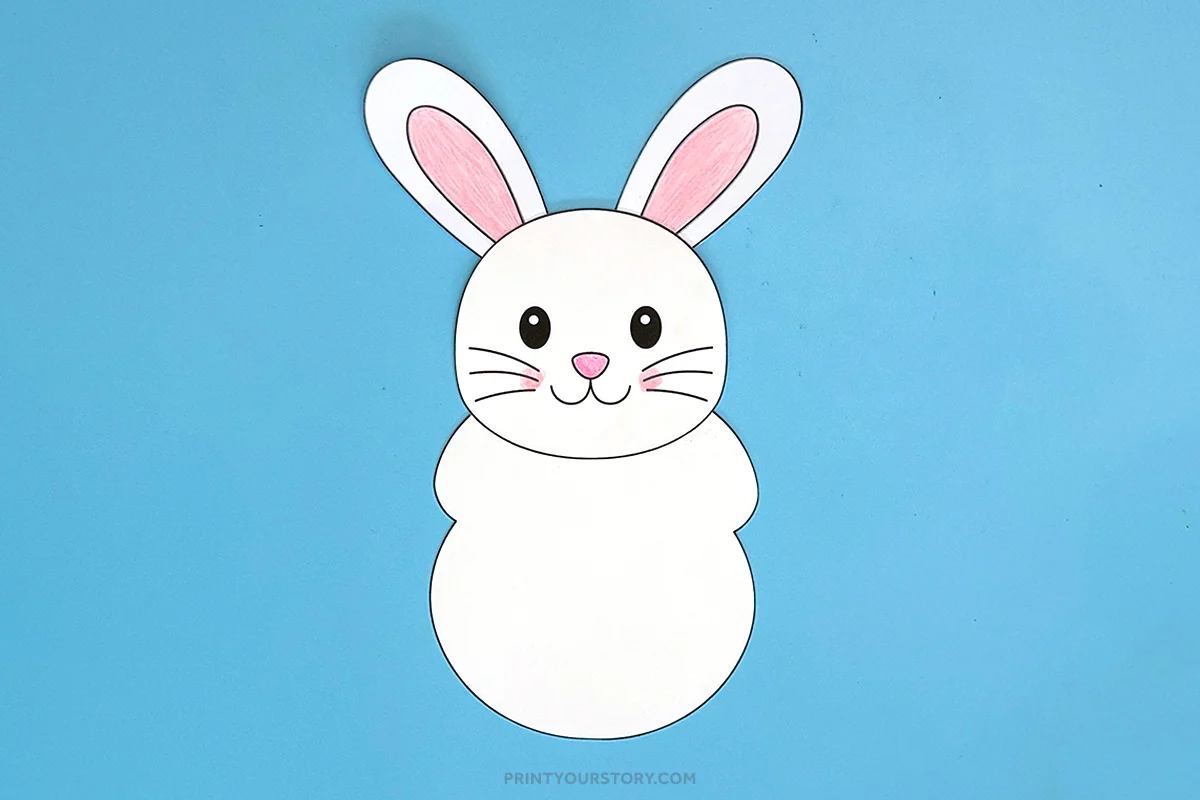
Then glue the feet to the bottom of the body.
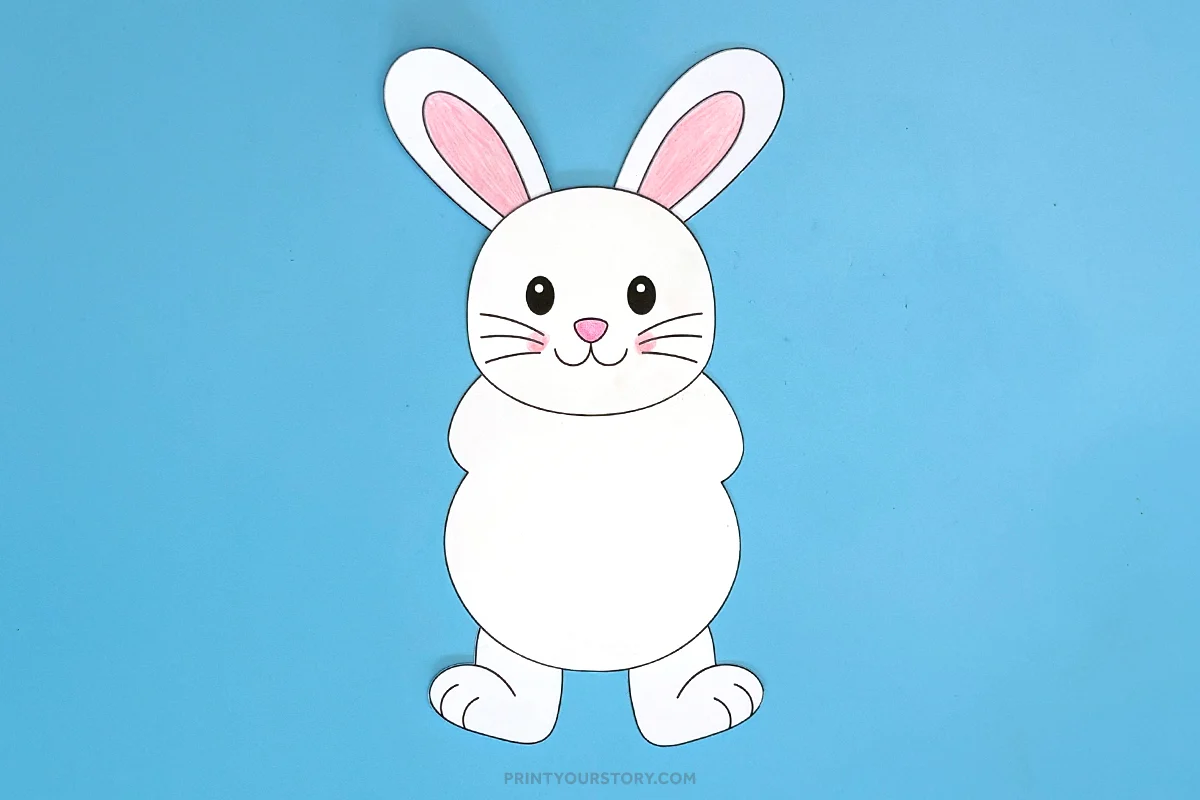
Press each piece down firmly for a few seconds so it sticks well.
Step 5: Attach the basket and arms
Glue the basket onto the front of the bunny’s body first. Position it in the center so it sits nicely at the bottom of the head.
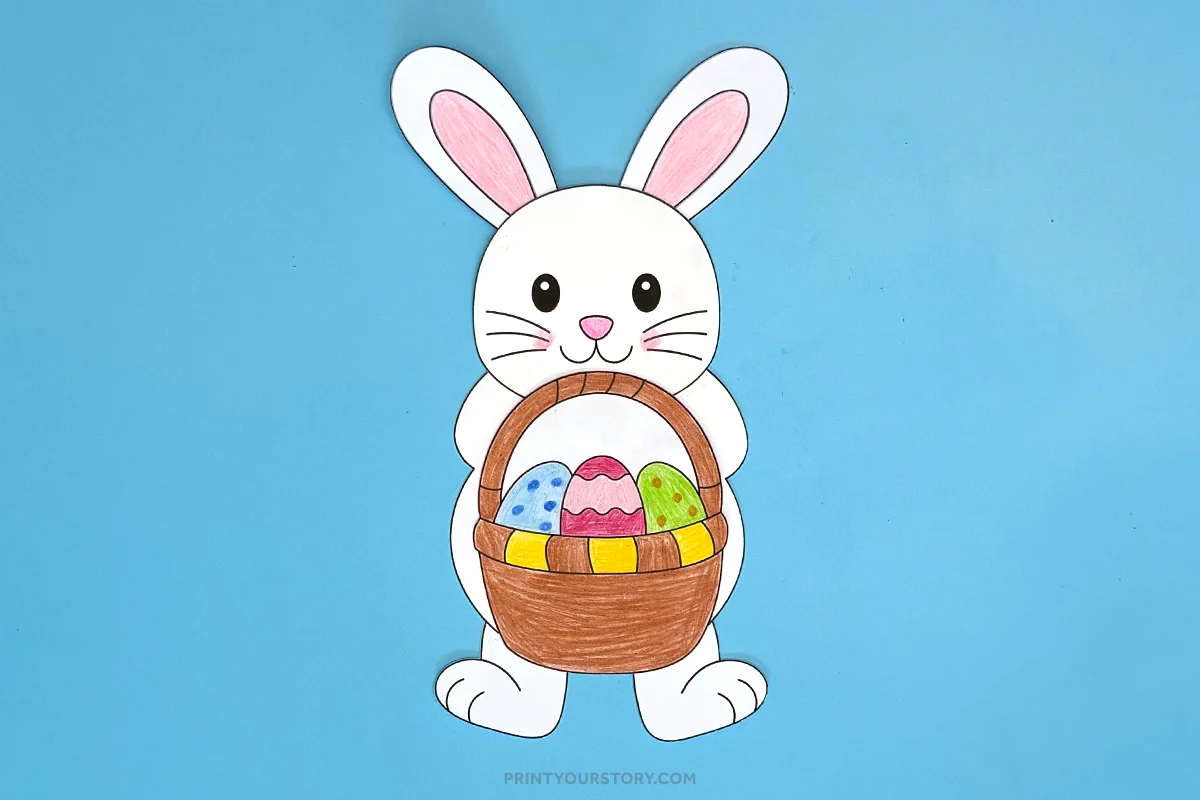
Next, glue the hands on top of the basket so it looks like the bunny is holding it. Overlap the hands over the basket edge. This layering creates a more realistic look and makes the bunny feel finished.
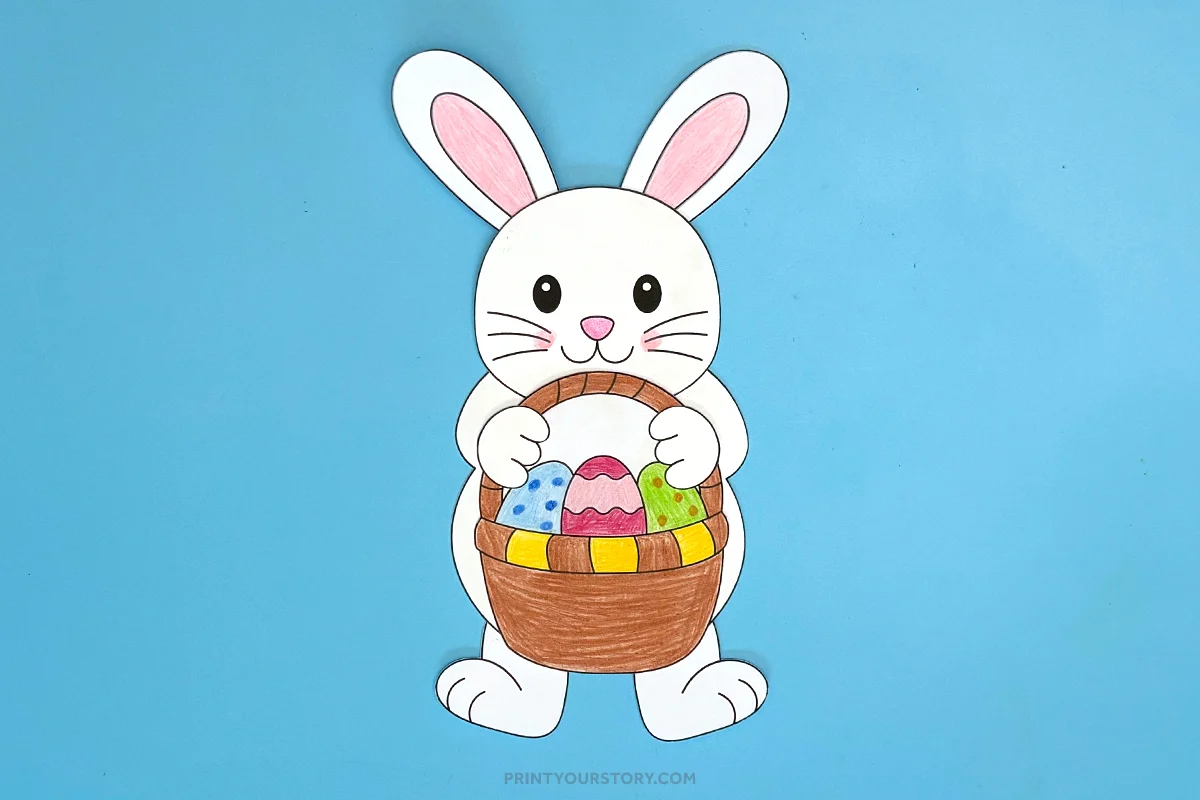
Press everything down firmly and hold for a few seconds so it sticks well.
Step 6: Add final details
Once the basket and arms are secure, you can add the finishing touches.
Glue a cotton ball to the back for a fluffy tail if you like. Add glitter glue to the Easter eggs for sparkle. You can also mount the finished bunny onto colored cardstock and draw grass or flowers around it to create a full spring scene.
A quick note on sharing this file
If you love this template and want to share it with friends, teachers, or fellow crafters, I’d be so happy! Please just share the link to this blog post instead of sending the file directly. It helps support my site and allows me to keep creating free crafts for everyone to enjoy.
Thanks for supporting my little corner of the internet!
Ready to make your own Easter bunny?
You can grab the Build an Easter Bunny printable template below. Simply print it out, grab your coloring supplies, and start creating.
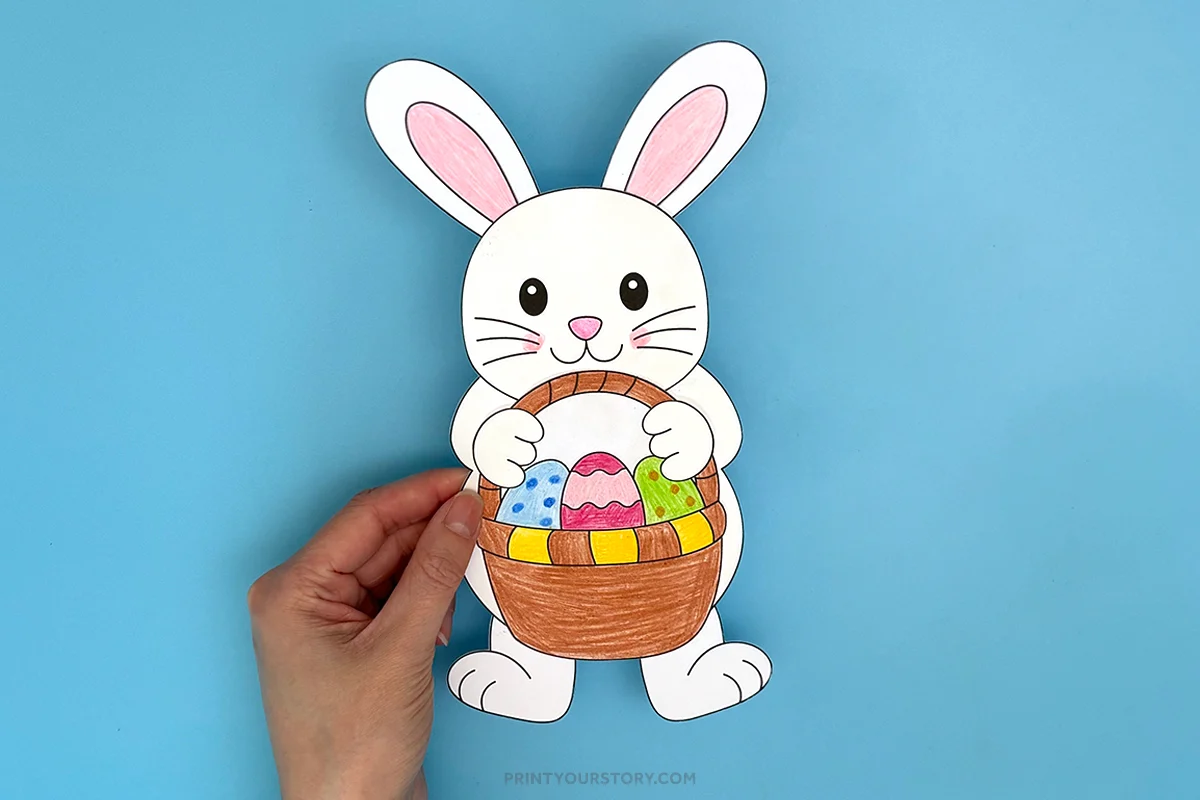
Easter Bunny Template