Hatching Chick in Egg Craft (Printable with Popsicle Stick Slider)
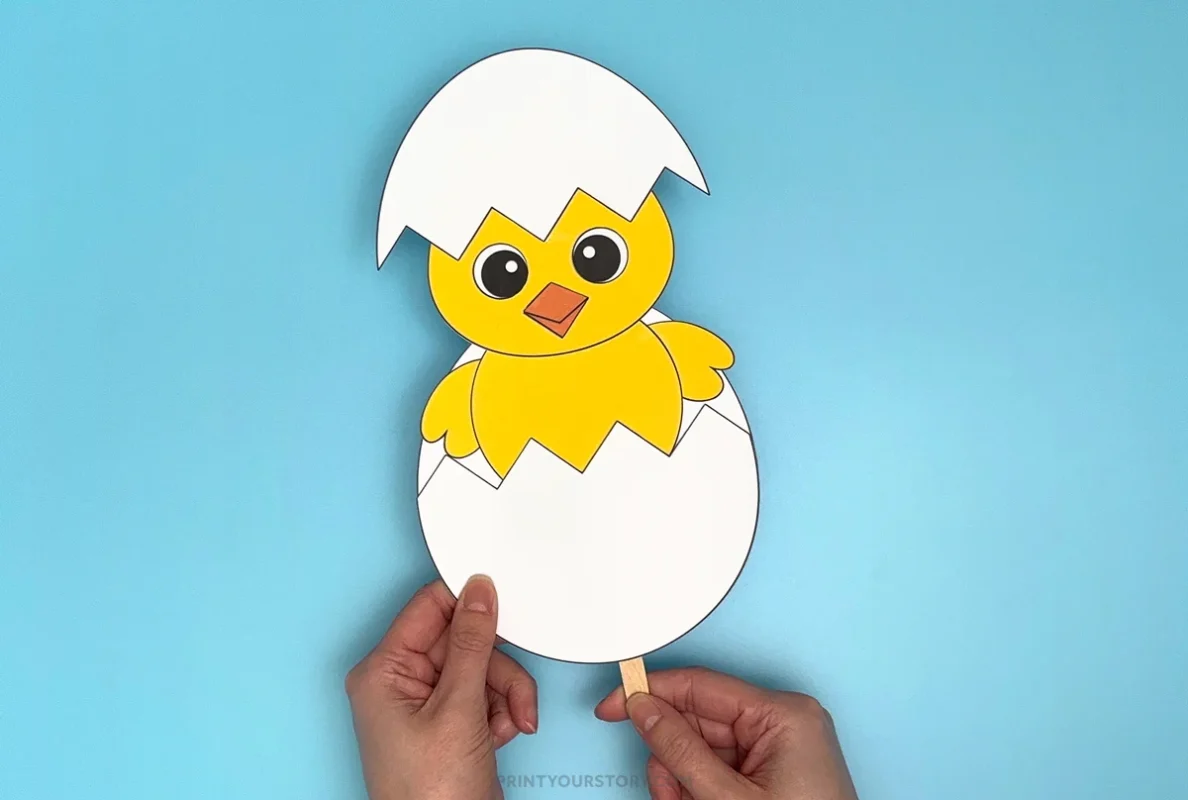
This printabe hatching chick in egg craft is such a cute and easy project for spring. It’s made with a free printable template and a popsicle stick that lets the chick slide up and down like it’s hatching right out of the egg.
The best part is that it only takes a few supplies and a little bit of glue, but the end result feels interactive and fun. It’s perfect for spring themes, Easter week, or even a farm animal unit.

You can print the full-color version for a quick craft or use the black and white version to color it yourself. I’ve included both so you can pick whatever fits your mood (or your craft stash).
Once everything is cut out and assembled, the chick hides inside the cracked egg and pops up when you move the stick from the back. It’s simple, sweet, and so perfect for spring.
Here’s how to make your own movable chick in egg craft with a popsicle stick.
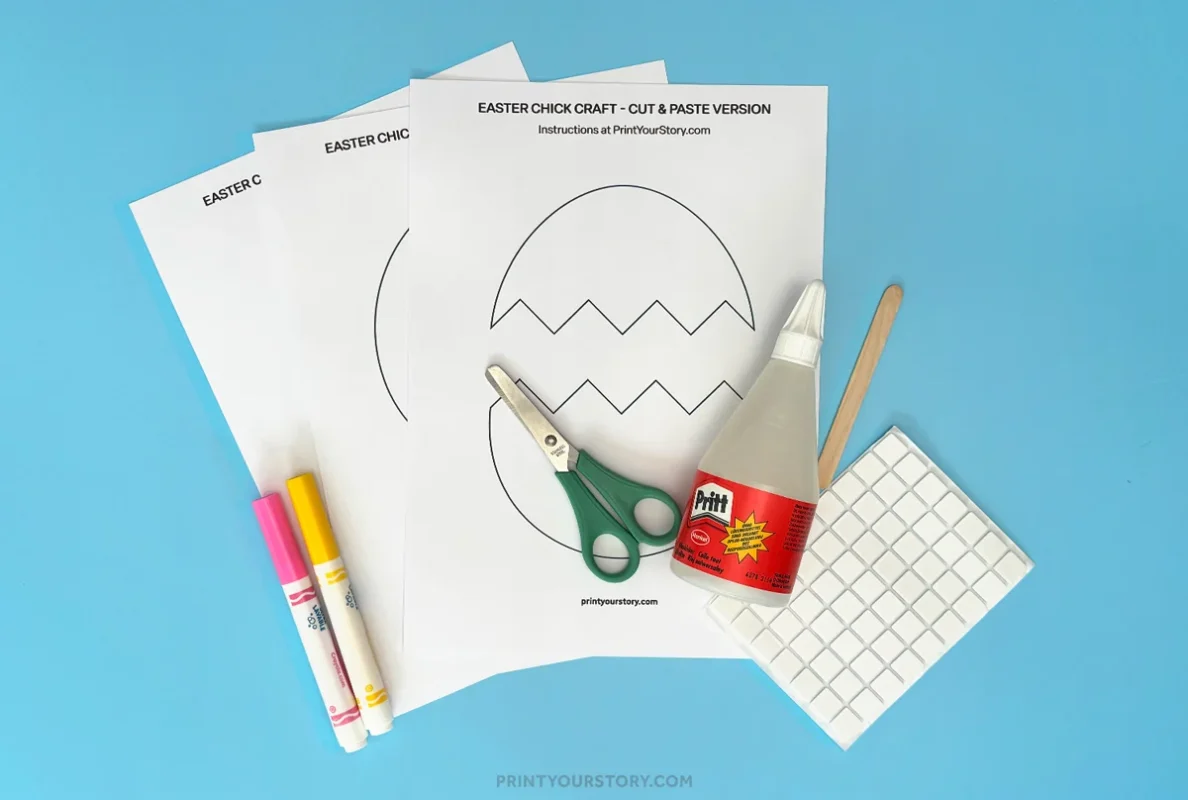
What you’ll need
How to make this Hatching Chick in Egg Craft
Step 1: Print the template
Choose between the full-color version or the black and white version. I recommend cardstock if you have it. But regular paper works too.

Step 2: Color (if needed) and cut out the pieces
If you printed the black and white version, have your child color in all the pieces before cutting.
Once everything is colored (or if you’re using the color version), cut out:
- The cracked top egg piece (used as a “hat” for the chick)
- The cracked bottom egg piece
- The full egg shape (used to make the pocket)
- The chick’s body, wings, beak, and eyes
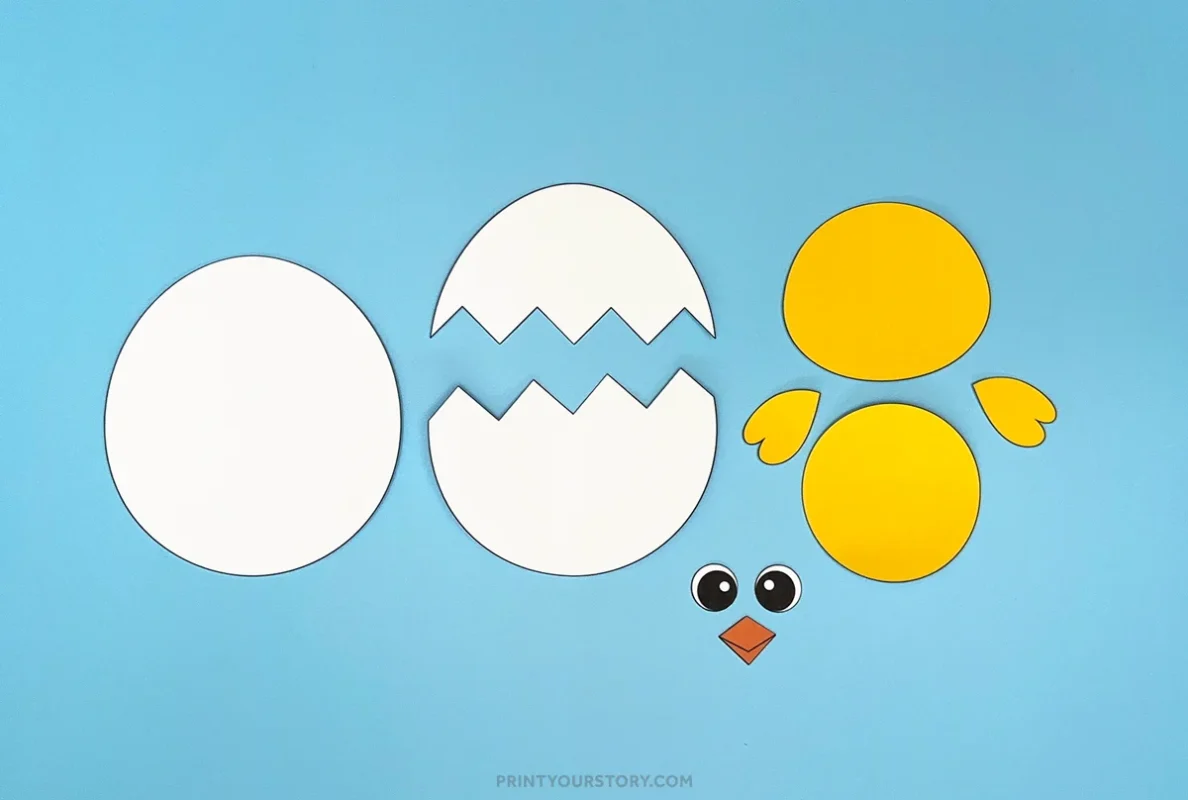
If you printed the color version, you can skip the coloring part and go straight to cutting and assembly.
Step 3: Build the chick
Have your child start by gluing the head and wings onto the chick’s body.
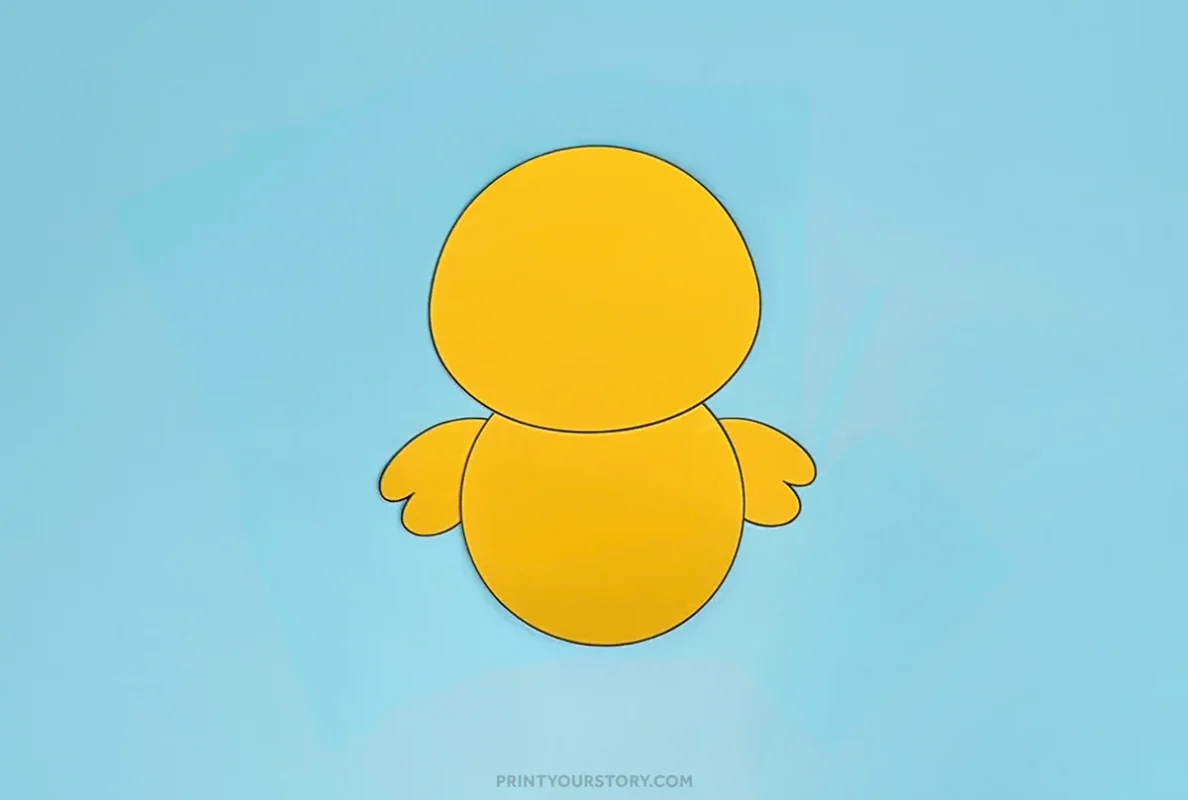
Next, add the cracked top egg shell to the chick’s head like a little hat.
Finally, glue on the eyes and beak to complete the face.
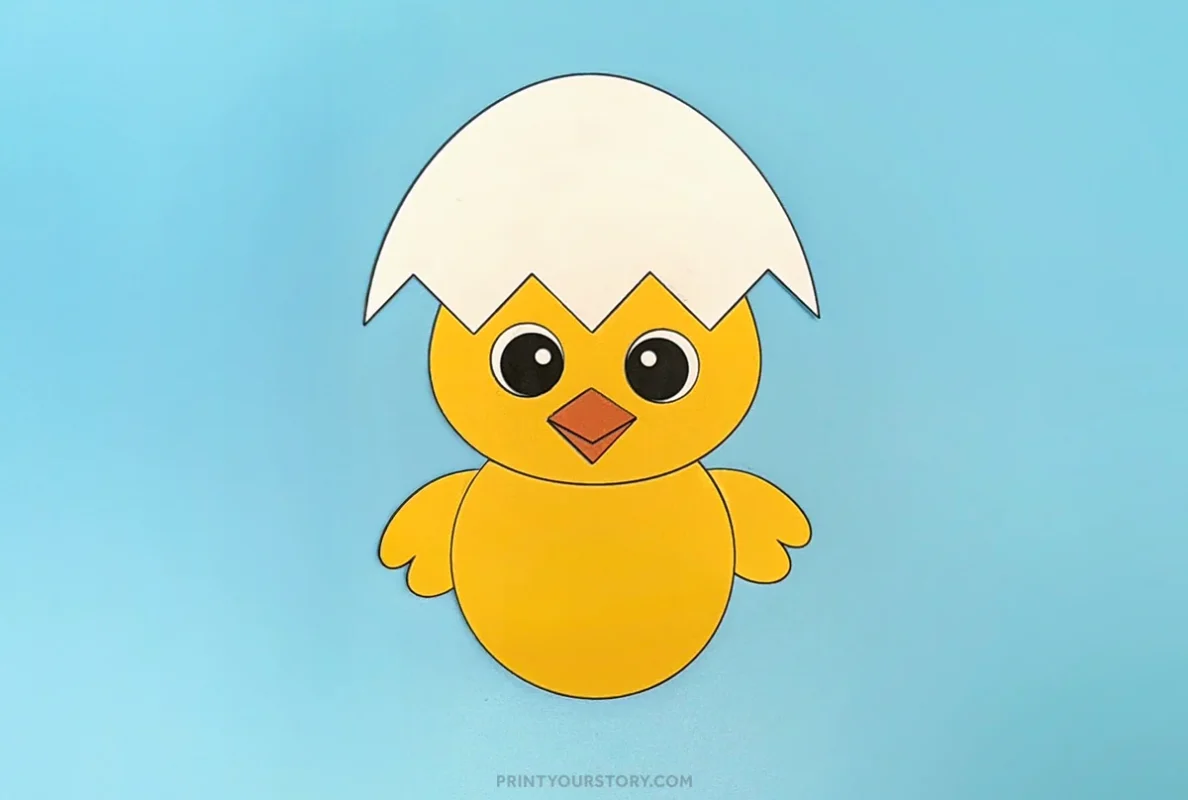
This part is perfect for preschoolers to do mostly on their own with just a little help if needed!
Step 4: Decorate the egg (optional but fun!)
Before you assemble the sliding mechanism, take a minute to decorate the egg! Kids can use crayons, markers, or stickers to add polka dots, stripes, or even their names.
Step 5: Make the egg pocket
Take the full egg shape and lay it flat. Then attach the cracked bottom egg shell to the bottom, using adhesive foam squares around the outer edges to create a pocket with a little extra space. This helps the chick slide in and out more easily.
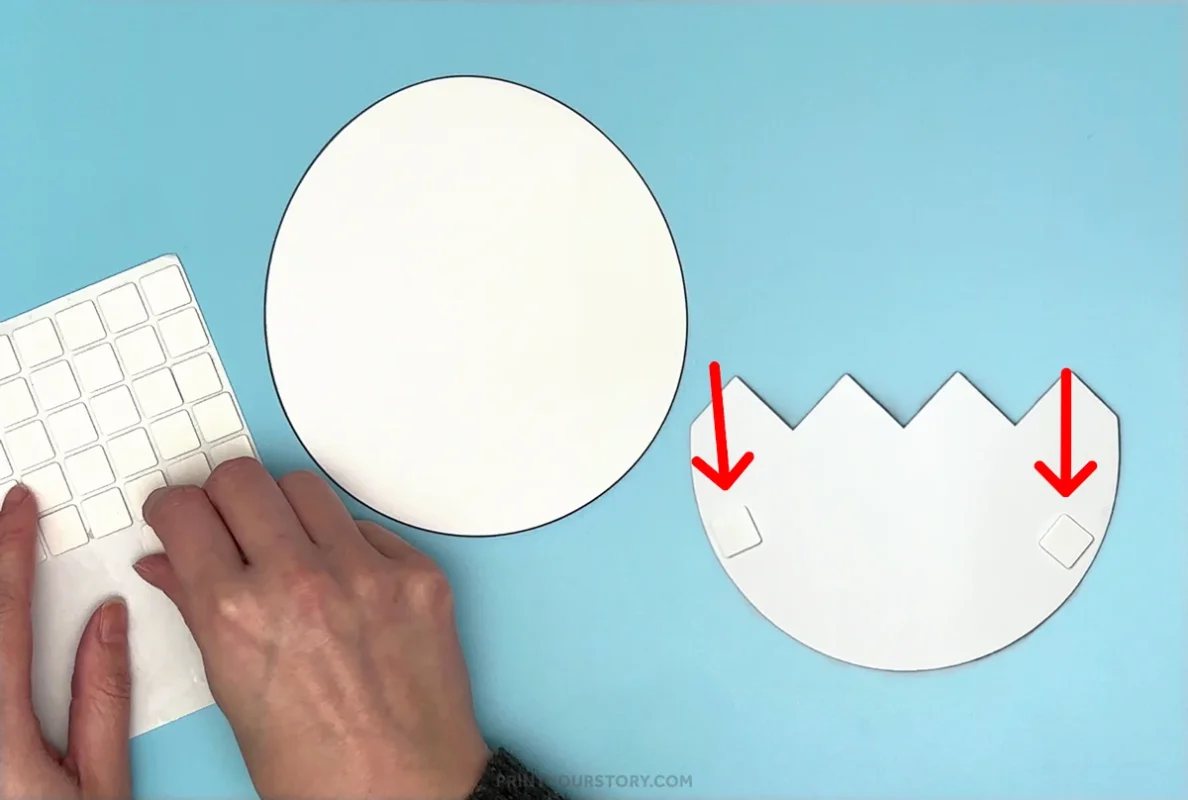
If you don’t have foam squares, you can use regular glue instead. Just apply it carefully along the edges and avoid the center and bottom so the chick has room to move.
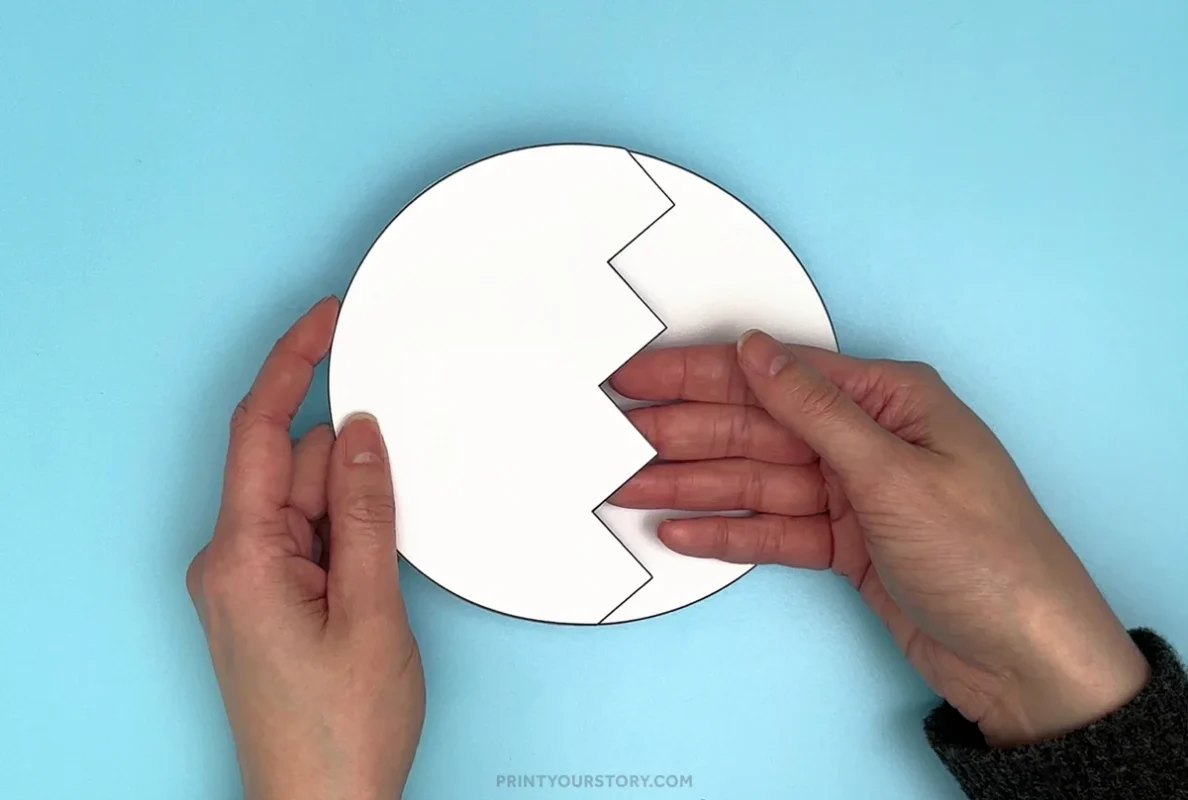
Step 6: Add the popsicle stick
Flip the chick over and tape or glue a popsicle stick to the back. For better hold, an adult may need to help with this step. Especially when using a glue gun or superglue to attach the stick firmly. This helps the chick slide smoothly without coming loose during play.
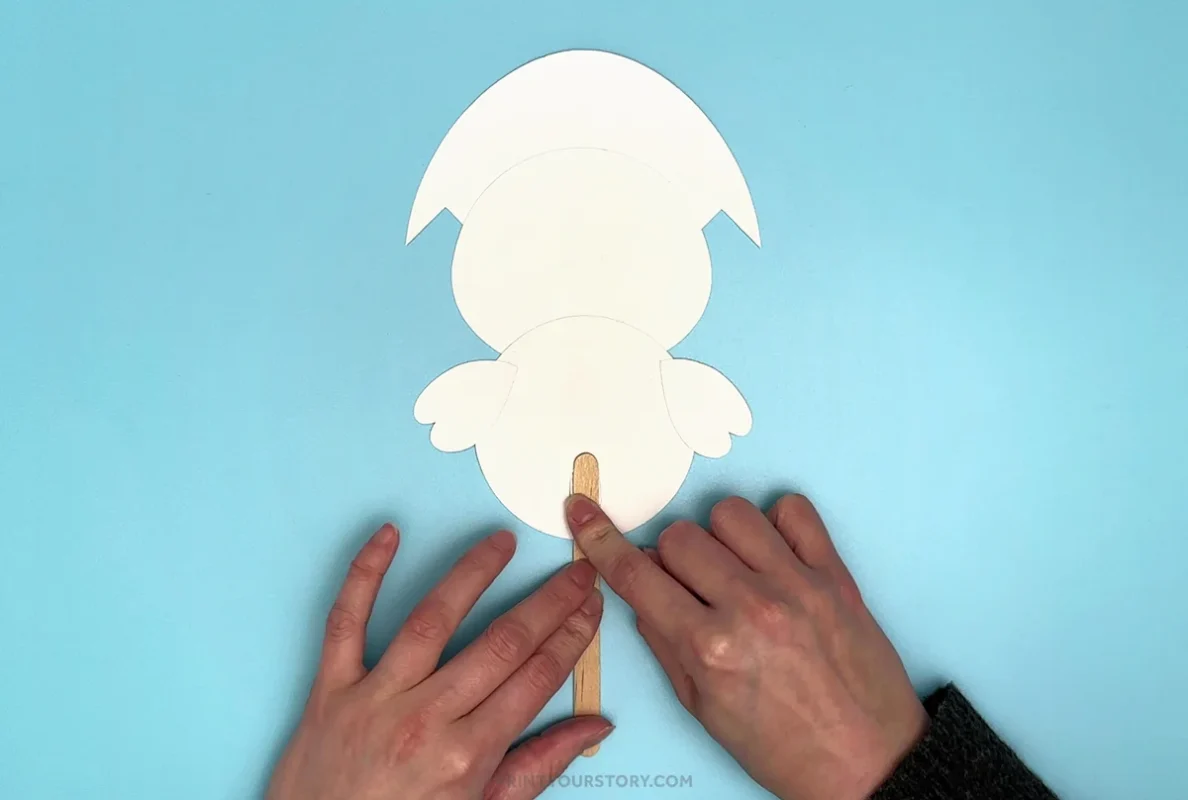
Then slide the stick into the egg pocket so the chick can pop in and out when the stick moves. Kids love this part!
Tips for preschool kids:
- Let little ones color and decorate while a parent or teacher handles the cutting and gluing.
- If your child is still working on scissor skills or gets overwhelmed by too many steps, you can skip the slider and just glue the chick on top of the egg pieces. It still looks super cute!
- Make a batch in different colors and display them for spring. They’re great for fridge art or classroom Easter bulletin boards.
Whether you’re prepping for a classroom craft or just want a seasonal activity to do at home, this one is super adaptable. Print as many copies as you need, and make it your own.
A quick note on sharing this file
If you love this template and want to share it with friends, teachers, or fellow crafters, I’d be so happy! Please just share the link to this blog post instead of sending the file directly. It helps support my site and allows me to keep creating free crafts for everyone to enjoy.
Thanks for supporting my little corner of the internet!