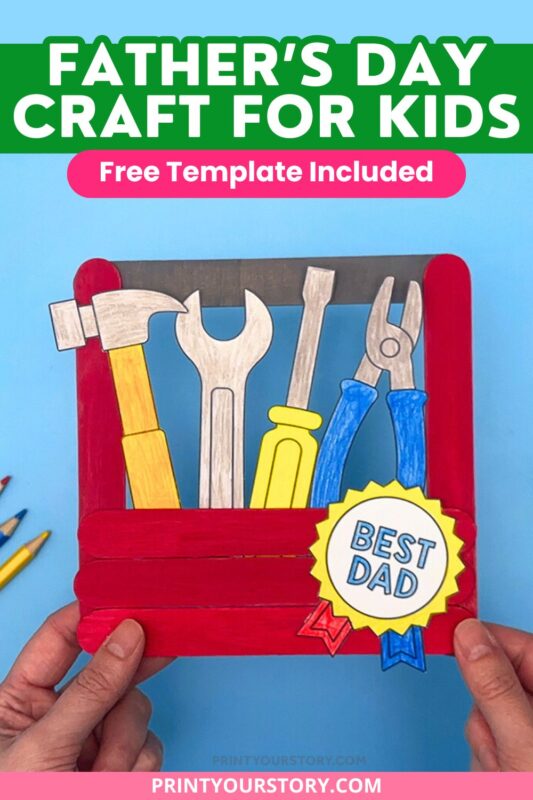
Father’s Day Popsicle Stick Toolbox Craft
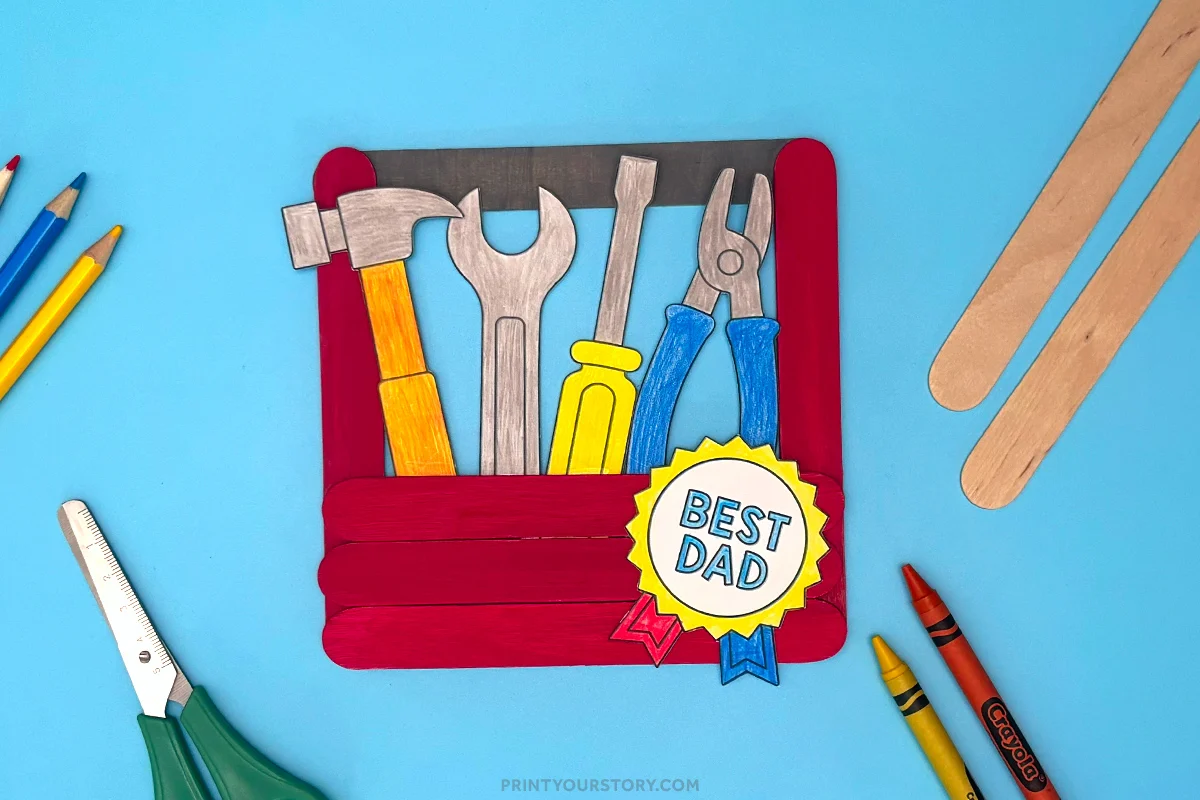
Father’s Day is a fun opportunity to make a special handmade craft together at home or in the classroom. For this Father’s Day popsicle stick toolbox craft you do not need anything fancy. Just a few basic supplies and a little creativity.
This popsicle stick toolbox craft is perfect for celebrating the occasion in a hands on way.

It is colorful, easy to put together, and makes such a thoughtful keepsake. If you enjoy simple Father’s Day crafts that look impressive but are actually very doable, this one is a favorite.
And the best part is that everything comes together with just six popsicle sticks and a printable template.
What you’ll need
- 6 jumbo popsicle sticks
- Red paint
- Gray paint (or black + white)
- Paintbrush
- White cardstock and printer
- Scissors
- Craft glue, wood glue or hot glue
- Crayons, markers, or colored pencils
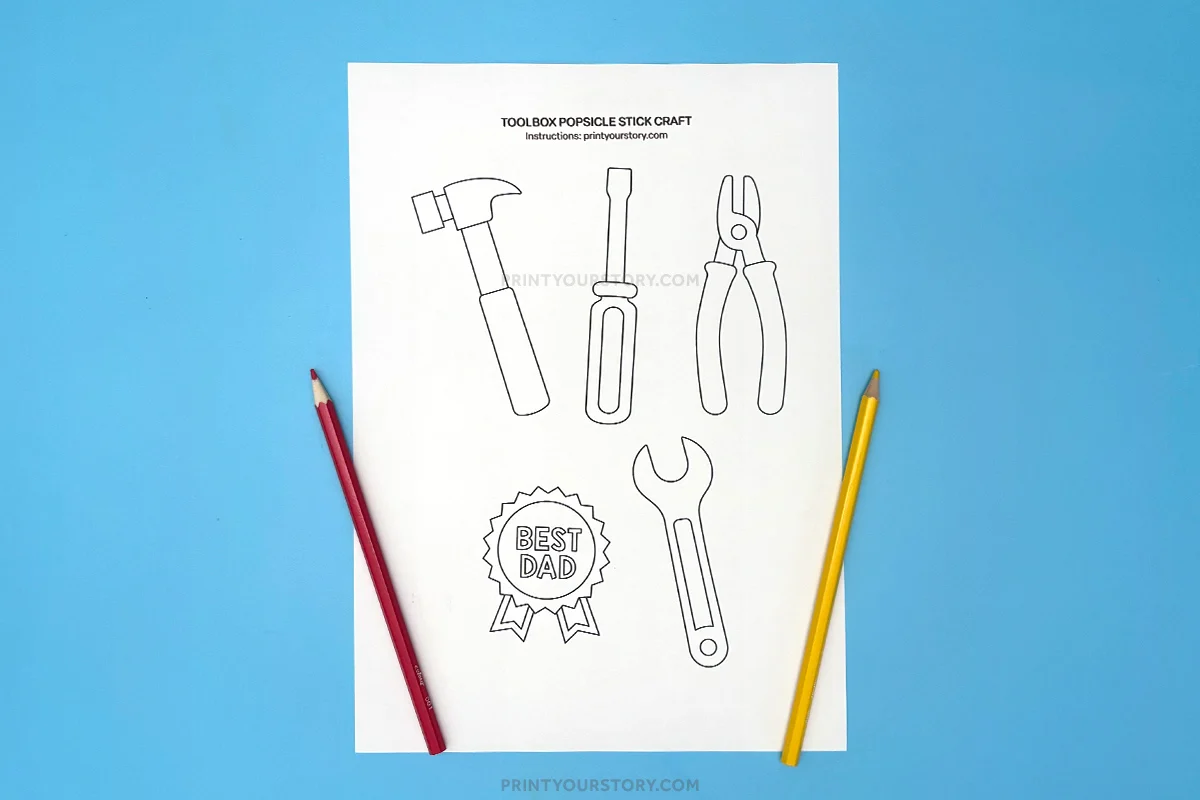
- Printable template with tools and badge
If you don’t have any jumbo popsicles at home, you can use regular popsicle sticks instead. Just make sure to print the template in a smaller size.

How to make this Popsicle Stick Toolbox Craft
Step 1: Paint five popsicle sticks red
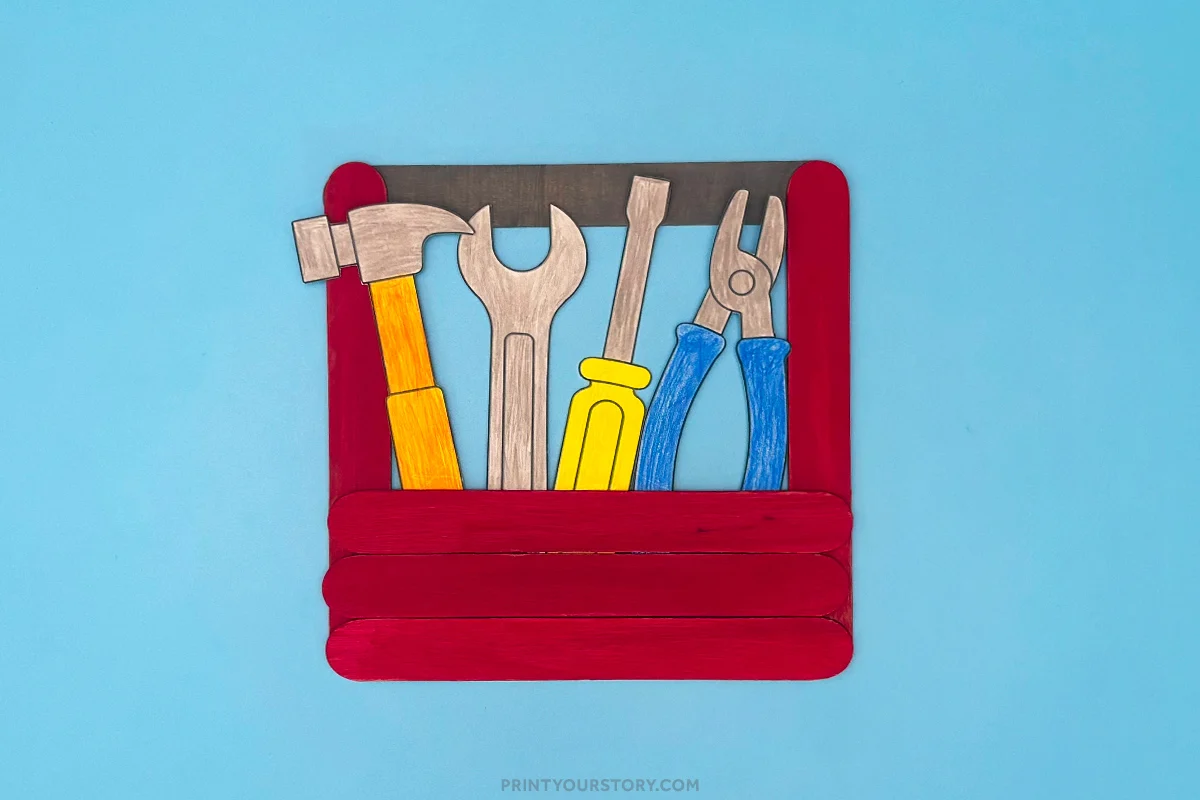
Paint five of the six popsicle sticks with red acrylic paint. These will form the front and sides of the toolbox. Paint the remaining popsicle stick gray. This will be the top support piece and gives the toolbox a more realistic look.

Let all the painted sticks dry completely before moving on to the next step.
Step 2: Assemble the toolbox base
Lay two red popsicle sticks vertically on your work surface. Place three red popsicle sticks horizontally on top of them to form the front of the toolbox.
For a stronger hold, adults can use wood glue or hot glue.

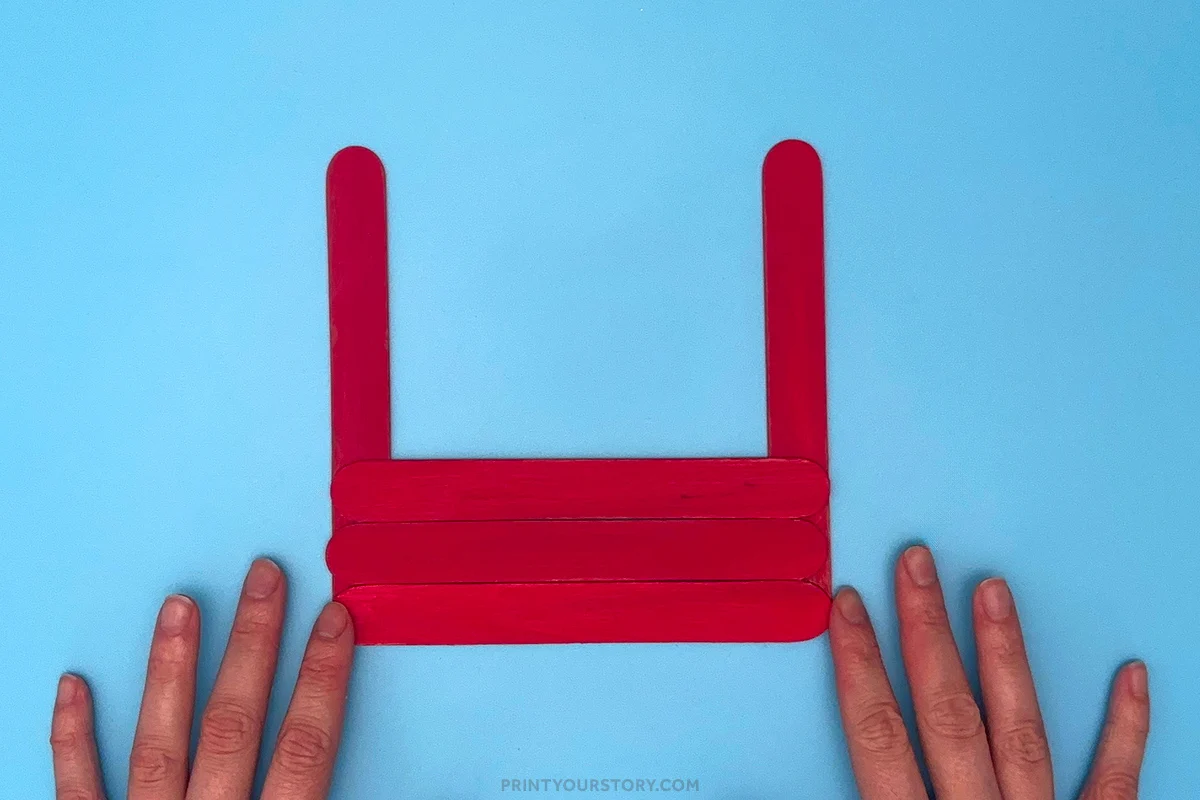
Glue where the sticks overlap to secure them together. Then glue the gray popsicle stick horizontally across the back at the top for extra support.
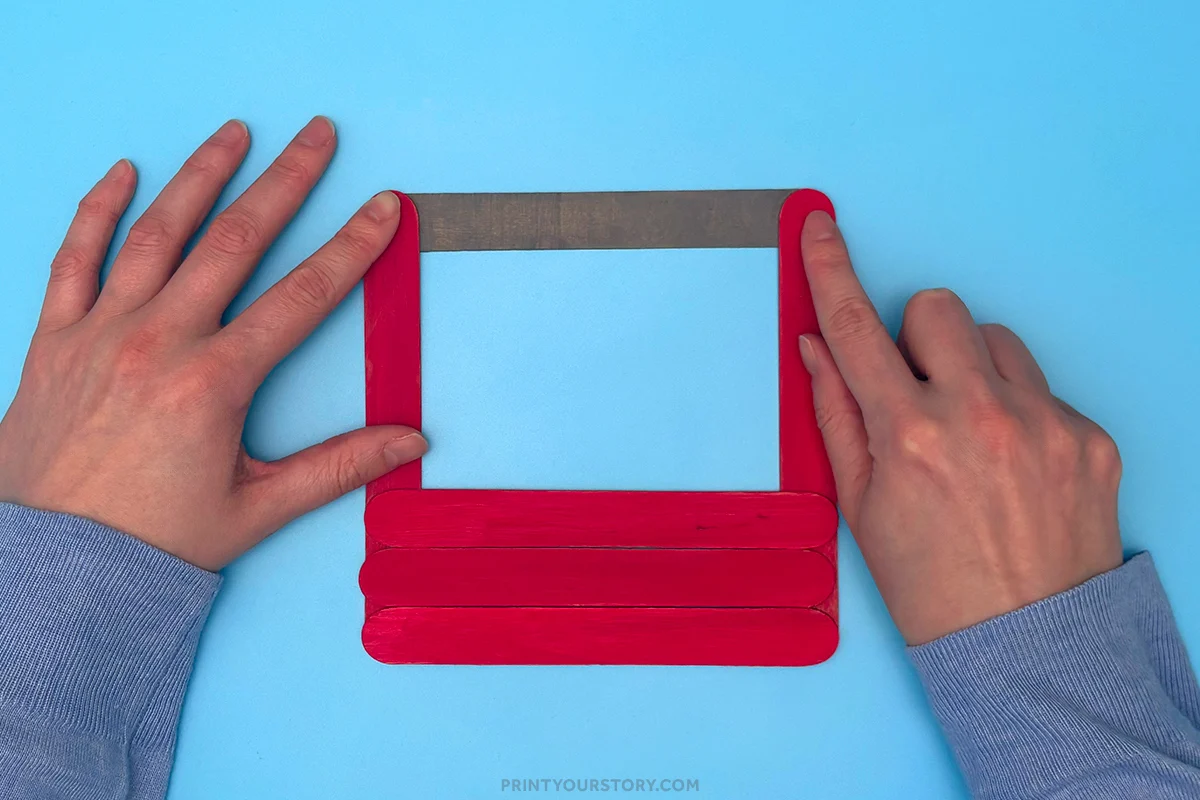
Allow the glue to dry completely.
Step 3: Color and cut out the tools and badge
Have your child color in the tools and badge using colored pencils. You can encourage them to think about which tools Dad might use and choose colors they love. Maybe the hammer is bright yellow, the wrench is gray, or everything gets fun bold colors.
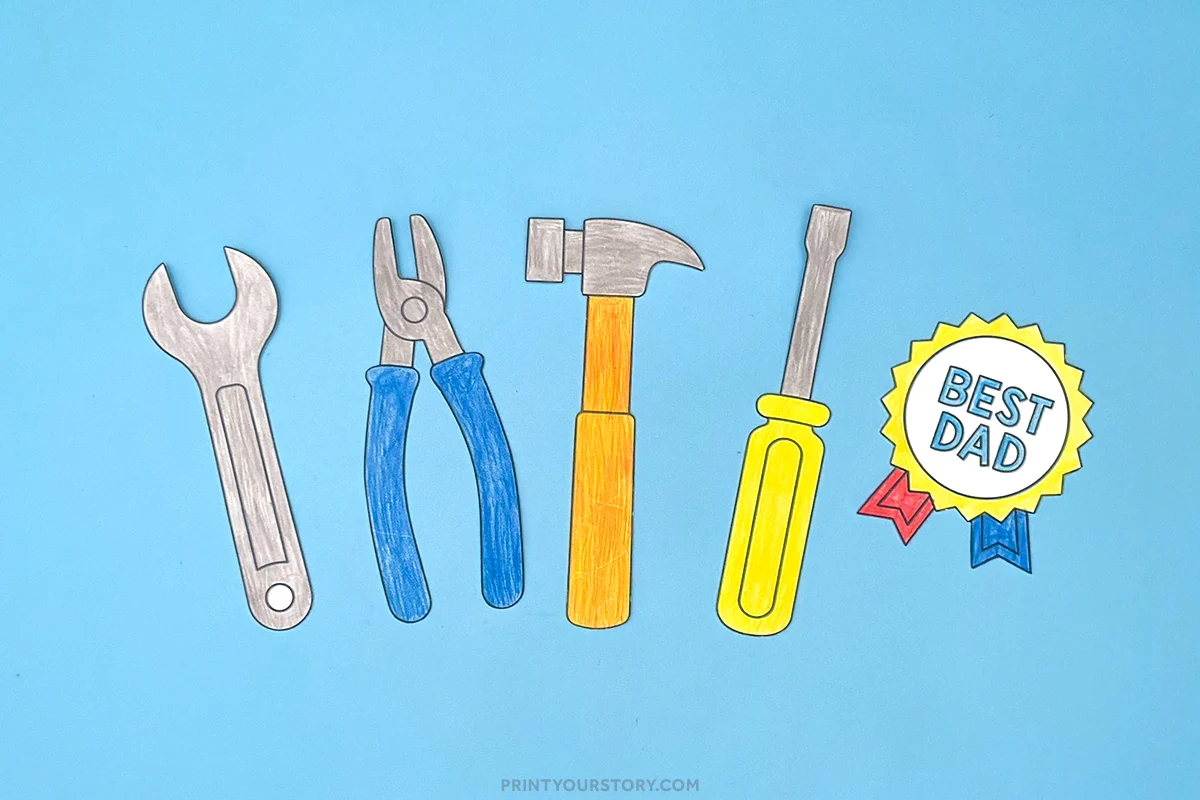
Let them take their time and enjoy the coloring part. Once everything is nicely colored, help them carefully cut out each shape so they are ready to glue onto the toolbox.
Step 4: Glue the tools into the toolbox
Arrange the tools so they look like they are sticking up out of the box. Glue the bottom portion of each tool behind the top edge of the toolbox front. Make sure they are spaced evenly so each one is visible.
Step 5: Attach the badge
Glue the colored “Best Dad” badge to the front corner of the toolbox. This adds the perfect finishing touch.
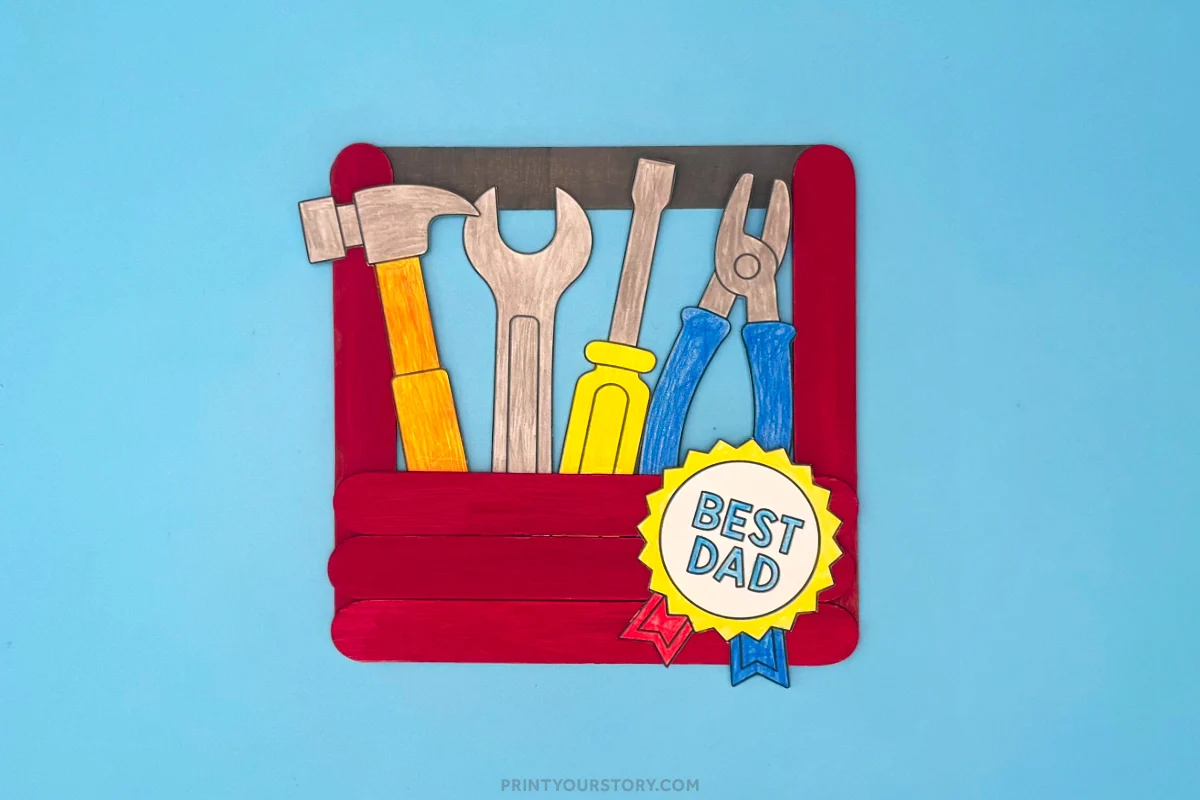
Check that all the pieces are glued down securely and let the toolbox dry completely. Once everything is set, it is ready to gift.
Tips for the Best Results
- Let the paint dry completely before gluing the sticks together. Popsicle sticks absorb paint quickly, and even if they feel dry, they can still be slightly tacky underneath.
- If you want a richer red color, apply a second coat of paint after the first coat dries. This makes the toolbox look brighter and more polished.
- Using the downloadable template keeps everything neat and consistent. It also makes this project much easier to prepare ahead of time if you are making multiple toolboxes.
A quick note on sharing this file
If you love this template and want to share it with friends, teachers, or fellow crafters, I’d be so happy! Please just share the link to this blog post instead of sending the file directly. It helps support my site and allows me to keep creating free crafts for everyone to enjoy.
Thanks for supporting my little corner of the internet!