
Bumble Bee Paper Plate Craft (With Free Template)
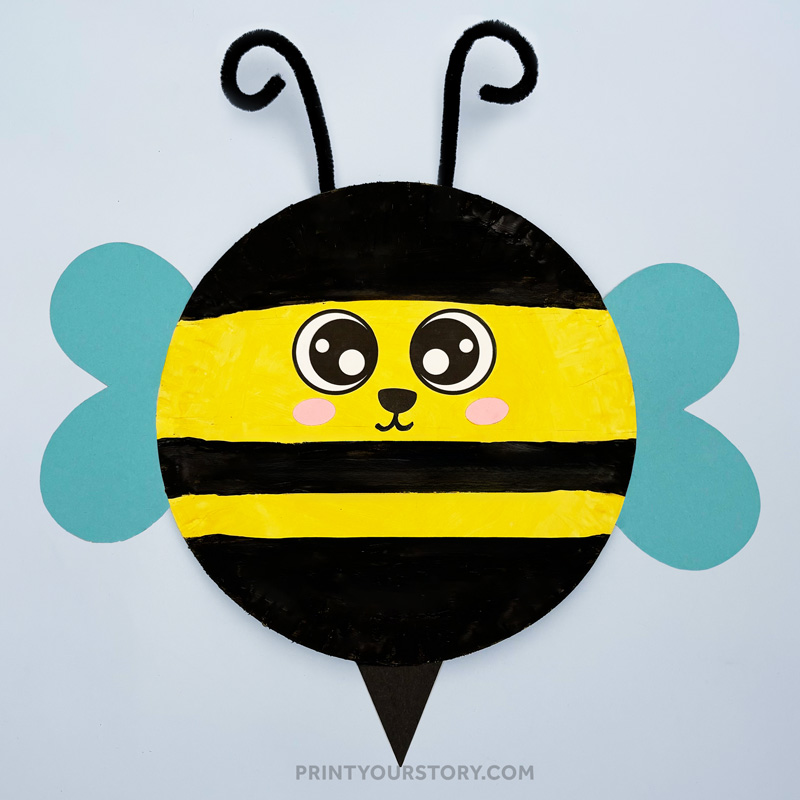
This little bee paper plate craft turned out so cute. It’s super easy to make, and perfect for a spring or bug-themed craft day. The curly pipe cleaner antennae might be my favorite part.
I love simple crafts that still look like something special when they are done. The wings and big friendly eyes on this bee always make me smile.
It is also a great project for helping kids with scissor and painting skills, while letting them use color and creativity.

You can make one bee, or make a whole bunch of them. They look great hung on a wall, pinned to a bulletin board, or even put together as part of a spring display.
If you’re collecting crafts ideas for spring, be sure to check out my full section of spring crafts. I’ve been adding more every week, from toilet paper roll animals to rainbow printables


What’s Included in the free printable template
The free printable includes all of the parts you need to make your bee’s face and body details:
- Big cartoon-style eyes
- Small triangle nose
- Two oval cheeks
- Heart-shaped stinger
- Bee wings
There are two ways to use the template. You can print the colored version and cut the pieces out directly. This is the fastest option and great if you want to skip extra cutting.
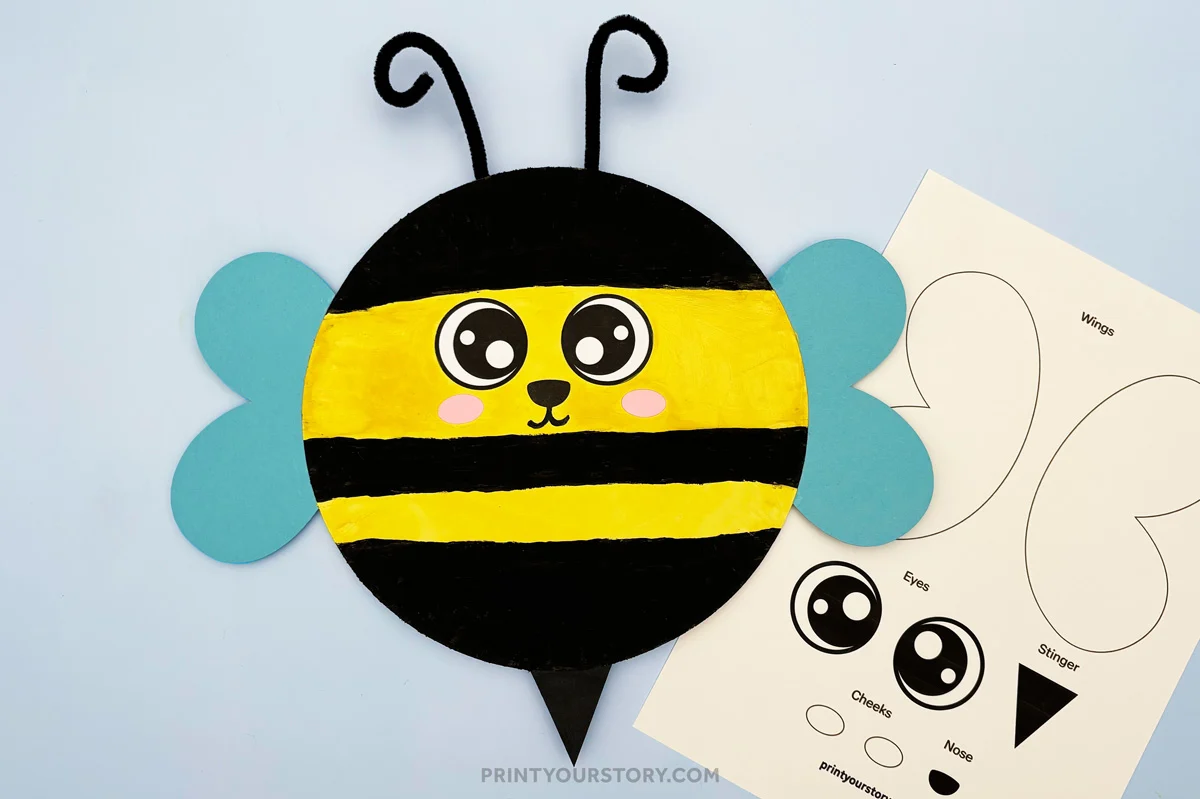
Or you can print the black and white version, and trace the shapes onto your colored paper. This tracing option gives you more control over the colors and lets kids get involved in cutting and tracing before gluing.
In this tutorial we are working with the tracing version, but feel free to use the colored version if you prefer.
How to make the Bumble Bee Paper Plate Craft
Step 1: Paint the paper plate
Start by painting the front of your paper plate yellow. Cover the whole surface and let it dry.
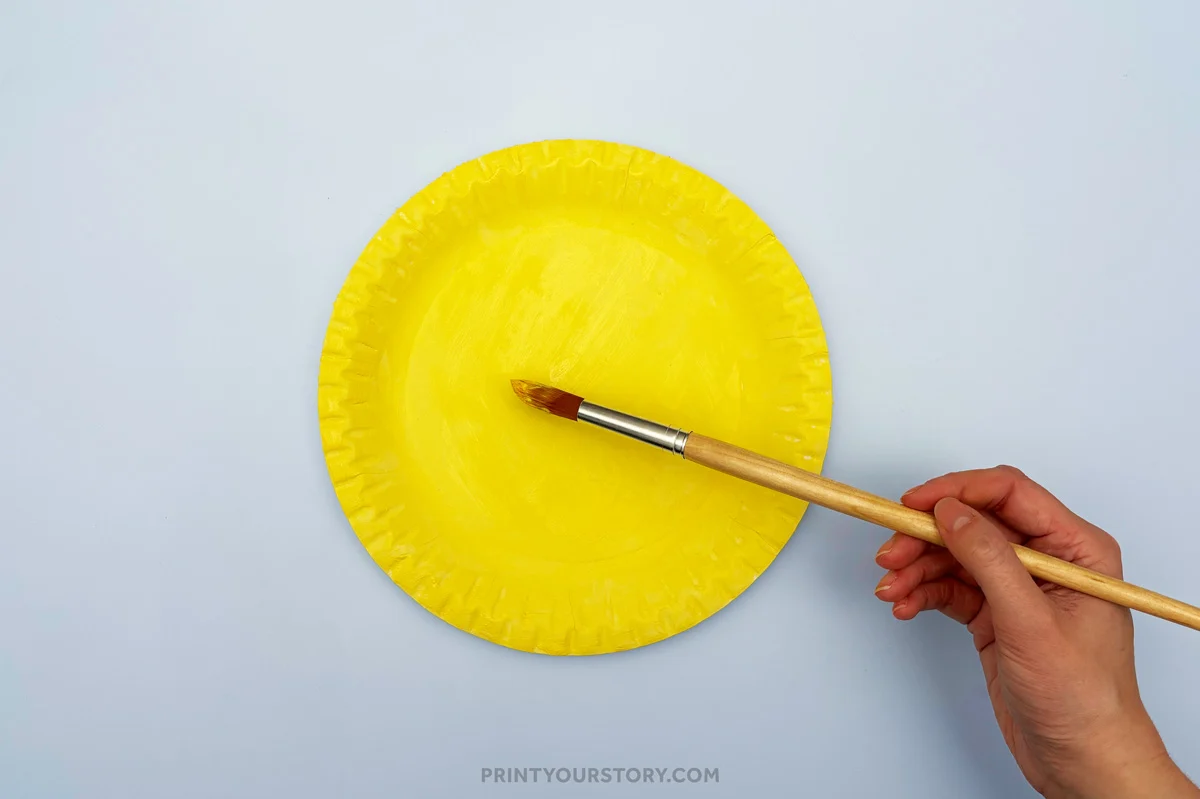
Once the yellow layer is dry, add thick black stripes across the plate using black paint. You can freehand the stripes or mark them lightly with pencil first if you want them even. Allow all paint to dry before gluing anything on.
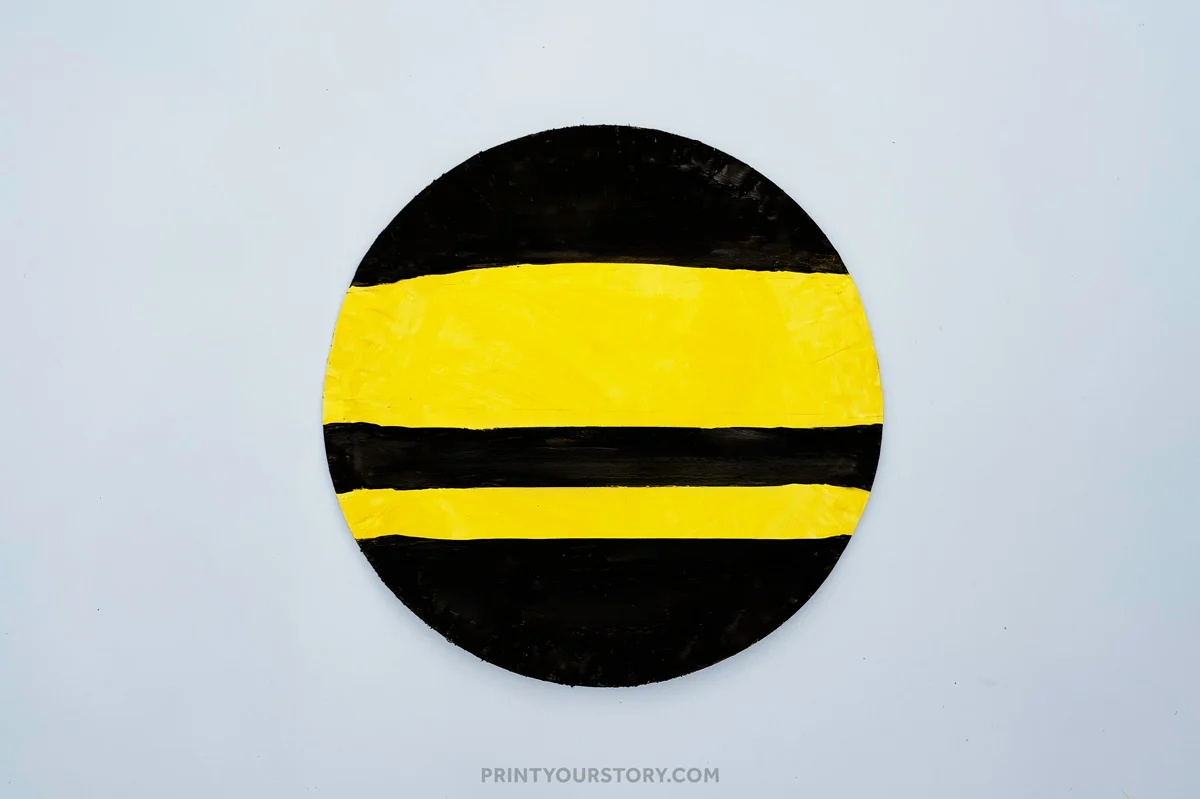
The stripes give your bee that classic look. Don’t worry if they look a little imperfect. A wobbly stripe can look playful and fun.
Step 2: Cut out the stinger
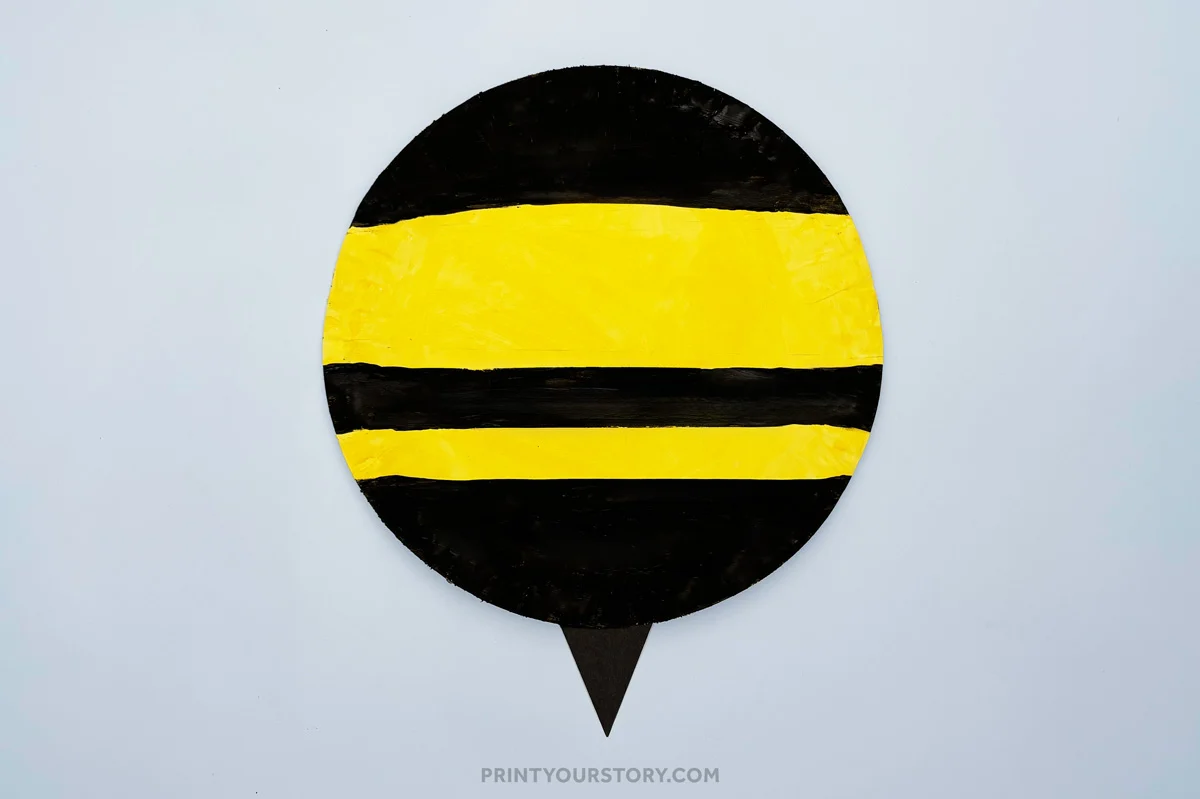
Trace the triangle-shaped stinger from the template onto black paper. Cut it out carefully and glue it to the bottom back edge of your paper plate. This gives the bee its little pointy stinger at the bottom.
Step 3: Make the wings
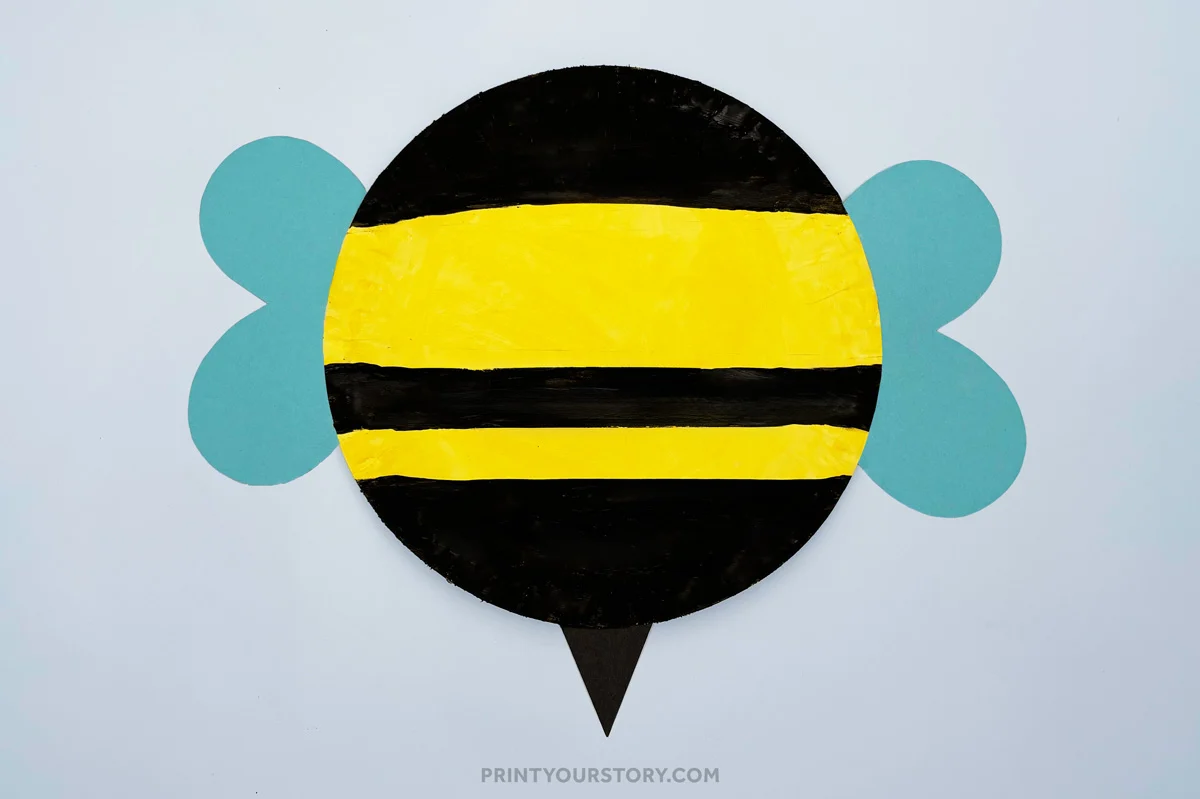
Trace the wing shape onto light blue cardstock or sturdy paper and cut them out. If you have coffee filters or white cupcake liners, those can also make fun wings with more texture. Glue the wings to the back of the paper plate, placing one on either side.
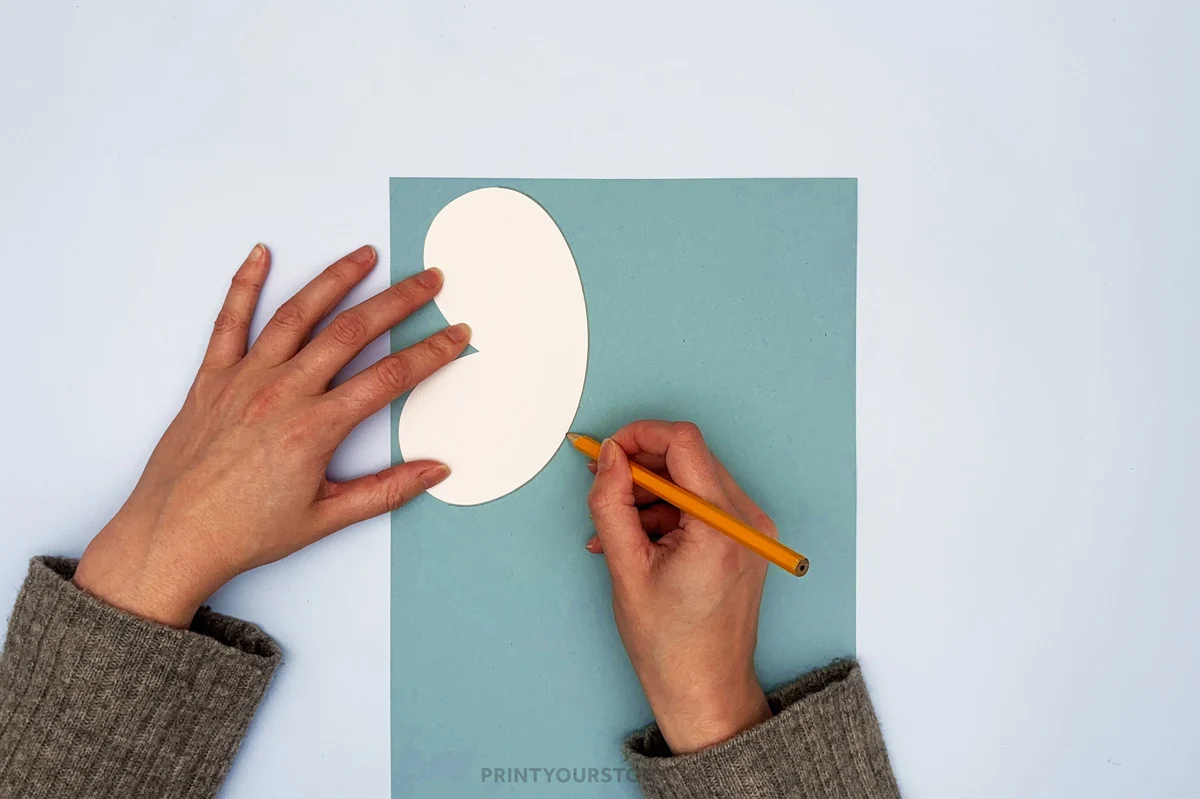
You can position them however you like. Having them slightly angled looks like your bee is ready to fly.
Step 4: Attach the face pieces
Cut out the eyes from the template and glue them toward the top center of the plate. Then trace the small triangle nose onto black paper and two oval cheeks onto pink paper. Glue the nose and cheeks in place under the eyes. Finish it off by drawing a small mouth with a black marker.
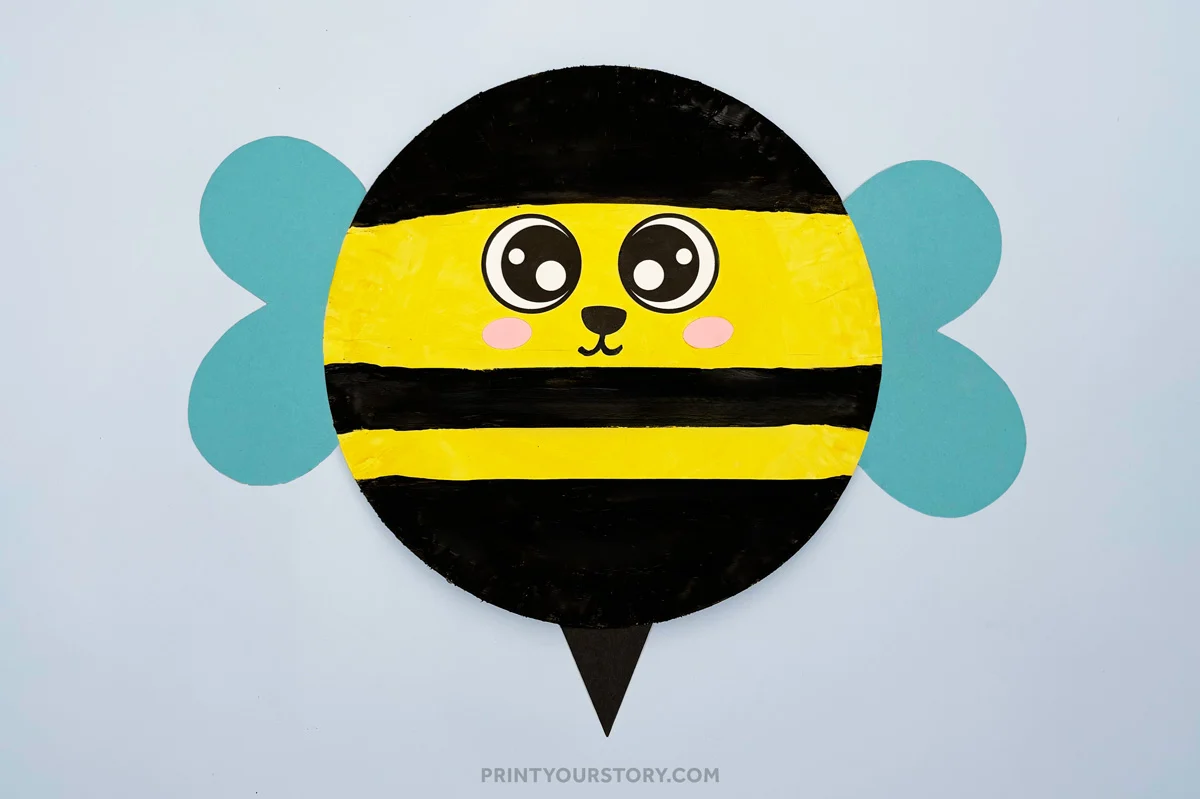
You can use googly eyes if you have them for extra fun. Either way, the big friendly eyes give the bee lots of personality.
Step 5: Add the antennae
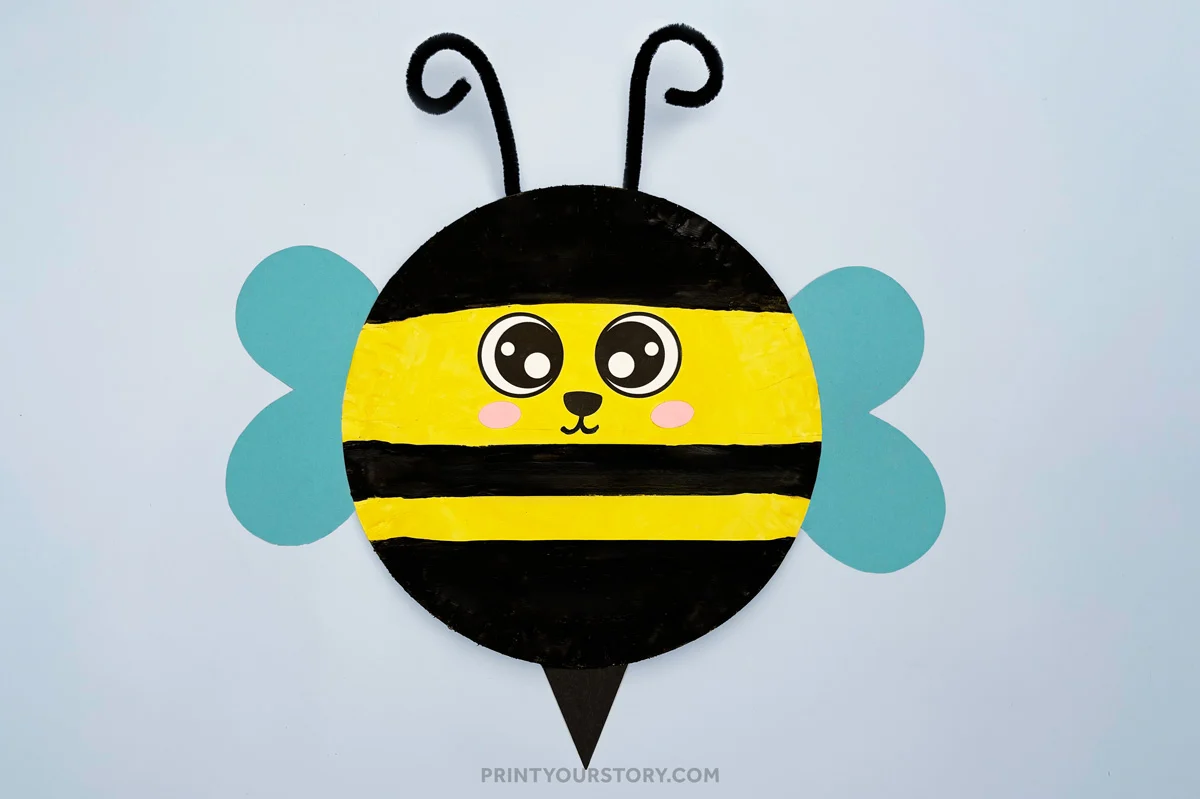
Take two black pipe cleaners and bend the ends into little curls. Tape or glue them to the back of the plate above the eyes so they poke up like bee antennae.
If you like, you can even curl them around a pencil first to make them neat and bouncy.
Some tips and tricks
- Let kids decorate the wings with glitter, stickers, or lines for more texture and detail.
- Use washable paint if you are worried about mess.
- If scissors are tricky for a young child, pre-cut the paper pieces and let them glue.
- Make several bees in different sizes and give them names. This makes a cute wall cluster or storytelling prompt.
A quick note on sharing this file
If you love this template and want to share it with friends, teachers, or fellow crafters, I’d be so happy! Please just share the link to this blog post instead of sending the file directly. It helps support my site and allows me to keep creating free crafts for everyone to enjoy.
Thanks for supporting my little corner of the internet!
You might also like
Print the instructions for this craft
Use this printable version to follow along while crafting or to prep in advance.
Paper Plate Bee Craft
This cheerful little bee is an easy spring craft made from a paper plate, perfect for a fun and simple afternoon activity.
- Difficulty:
- Easy
- Prep Time:
- 15 hrs
- Active Time:
- 15 hrs
- Total Time:
- 30 hrs
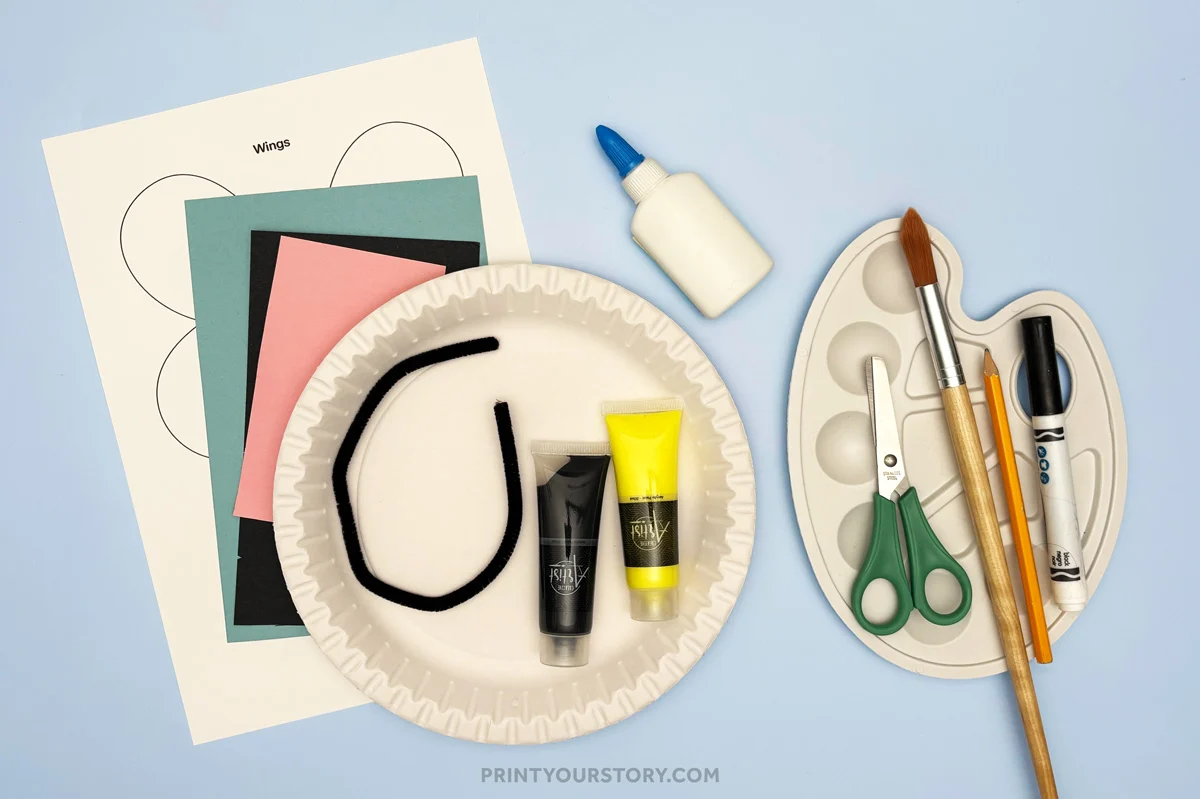
Materials
- One paper plate
- Yellow paint
- Black paint
- Black pipe cleaner
- Colored paper or cardstock (blue, pink, black)
- Free bee PDF template (includes eyes, cheeks, nose, stinger, and wings)
- Printer paper
Tools
- Black pen or marker for the mouth
- Scissors
- Glue
- Paint brush
- Pencil for tracing
- Printer
Instructions
- Step 1: Paint the paper plate. Start by painting the front of your paper plate yellow. Cover the whole surface and let it dry. Once the yellow layer is dry, add thick black stripes across the plate using black paint.
- Step 2: Cut out the stinger. Trace the triangle-shaped stinger from the template onto black paper. Cut it out carefully and glue it to the bottom back edge of your paper plate.
- Step 3: Make the wings. Trace the wing shape onto light blue cardstock or sturdy paper and cut them out. Glue the wings to the back of the paper plate, placing one on either side.
- Step 4: Attach the face pieces. Cut out the eyes from the template and glue them toward the top center of the plate. Then trace the small triangle nose onto black paper and two oval cheeks onto pink paper. Glue the nose and cheeks in place under the eyes. Finish it off by drawing a small mouth with a black marker.
- Step 5: Add the antennae. Take two black pipe cleaners and bend the ends into little curls. Tape or glue them to the back of the plate above the eyes so they poke up like bee antennae.
Share or save for later!
Make sure to pin this craft to your Spring Crafts or Preschool Activities board so you can find it again.
