
Shark Clothespin Puppet Craft
Today I’m sharing a really fun and simple shark craft that I ended up loving more than I expected. It’s one of those easy projects that comes together quickly but still feels interactive once it’s finished.
This shark clothespin puppet craft has been sitting on my desk lately, and I keep picking it up just to make the shark “chomp” over and over again.

If you enjoy beach crafts, this one fits in perfectly. It has that ocean theme, but with a playful twist since the clothespin turns it into a moving puppet.
The best part is that there’s a free printable included, and you get both a colored version and a black and white template.
What you’ll need
You only need a few basic supplies for this project.
- Free printable shark template (grab it down below)
- Wooden clothespins
- Scissors
- Glue or double-sided tape
- White printer paper or cardstock and printer
- Crayons, markers, or colored pencils (optional: for the black and white version)

How to make the shark clothespin puppet craft
Step 1: Print the template
Print out the free printable shark template. Choose the colored version for a quick craft, or the black and white template if you want to add your own colors.
Step 2: Color the shark (optional)
If you’re using the black and white version, take some time to color in the shark. This is a fun part to do together, and it’s nice to see how each one turns out a little different.

Step 3: Cut out the shark
Carefully cut out the shark. Follow the line to cut the shark in two parts. This will create the top and bottom pieces needed for the puppet to open and close.

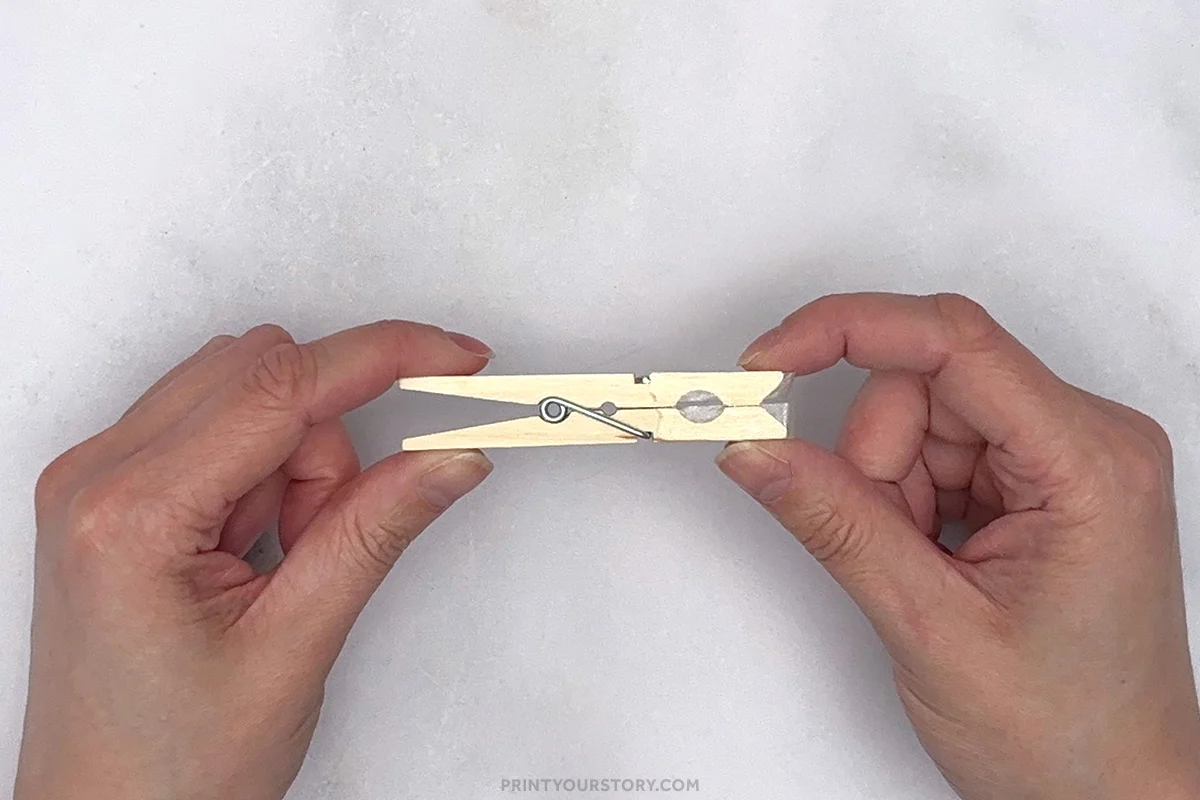
Step 4: Add glue or tape to the clothespin
Apply glue or double-sided tape to both the top and bottom sides of the clothespin. I personally prefer using double-sided tape because it’s mess free and a bit more forgiving if you need to reposition the pieces.
Step 5: Attach the shark pieces
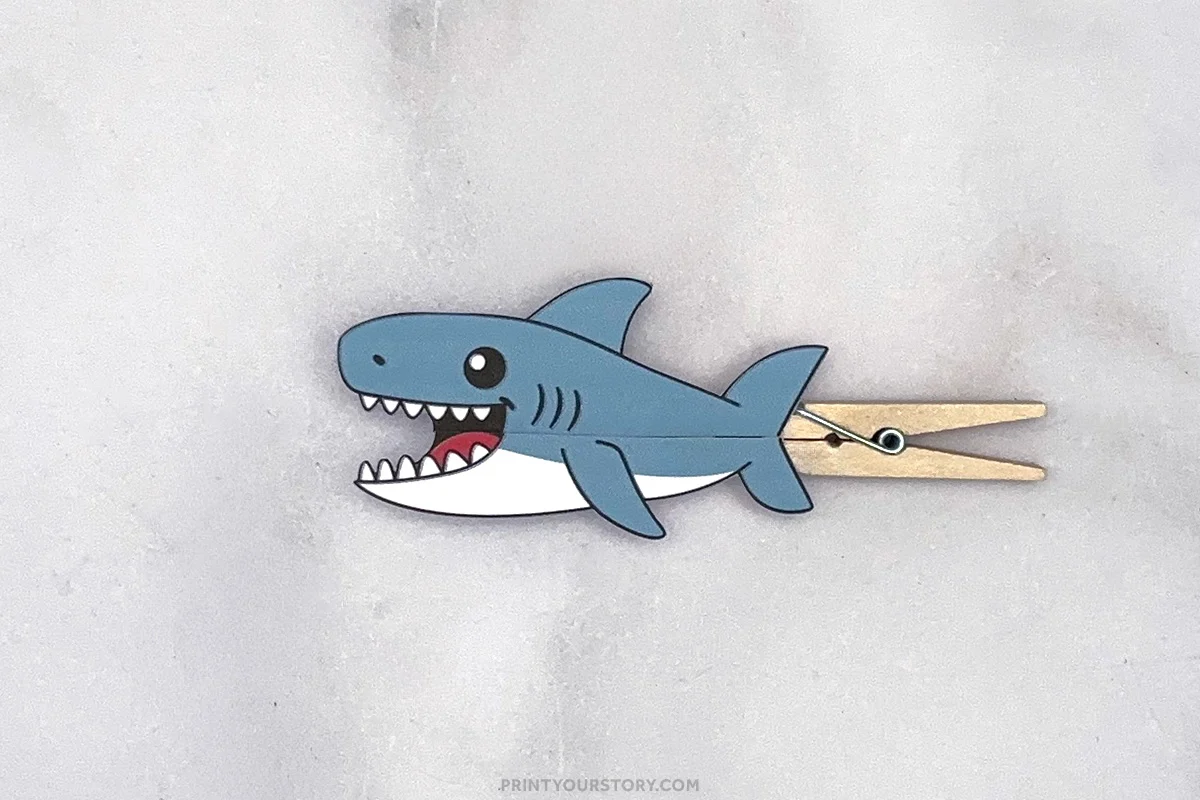
Place the top half of the shark onto the upper side of the clothespin, and the bottom half onto the lower side. Press gently to secure and line everything up so the mouth opens and closes smoothly.
Step 6: Let it dry and play
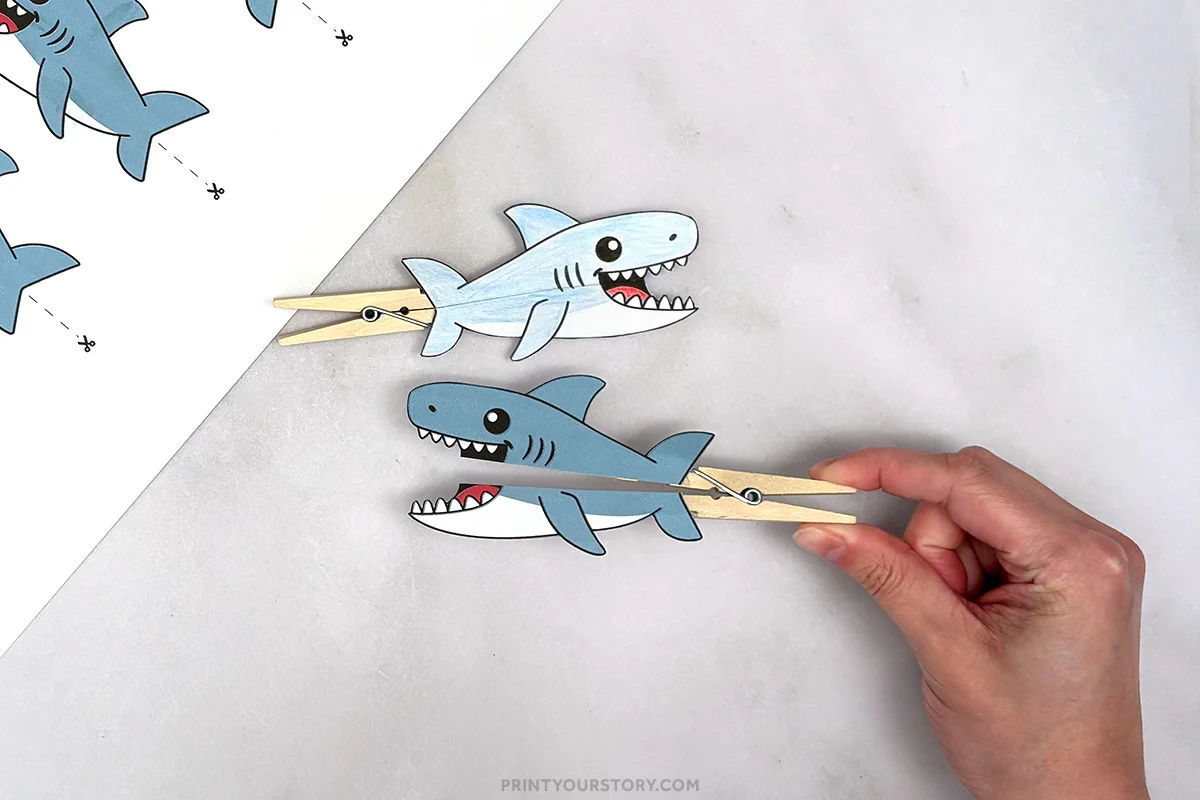
Let the glue dry for a minute if you used glue, then test your shark puppet by opening and closing the clothespin.
Tips from my experience
Using cardstock instead of regular paper is a great option if you have it. It makes the shark puppet feel sturdier and helps it last longer, especially if it gets a lot of use.
If you’re making more than one with a group, try using both the colored and black and white templates. It’s fun to mix them and see the different results.
Fun ways to use this beach craft
Once the shark puppets are finished, there are so many ways to keep the fun going.
You can turn them into a mini puppet show and create a whole ocean scene. It’s also a great idea to pair this with other beach crafts and make a full themed activity day.
I’ve noticed that this is one of those crafts that doesn’t just get made and set aside. It turns into something that gets played with, which always feels like a win.
A quick note on sharing this file
If you love this template and want to share it with friends, teachers, or fellow crafters, I’d be so happy! Please just share the link to this blog post instead of sending the file directly. It helps support my site and allows me to keep creating free crafts for everyone to enjoy.
Thanks for supporting my little corner of the internet!
You might also like
Printing tips
The template is designed in US letter size. If you’re printing on A4 paper, make sure not to scale the page. Set your printer to “actual size” or 100%. Keeping it at the original size makes everything line up much better.
If you enjoyed this one, you might also like some of my other easy cut and paste crafts and seasonal projects. I always love creating simple ideas that you can pull out without much prep, especially for those days when you just want something fun and low effort.