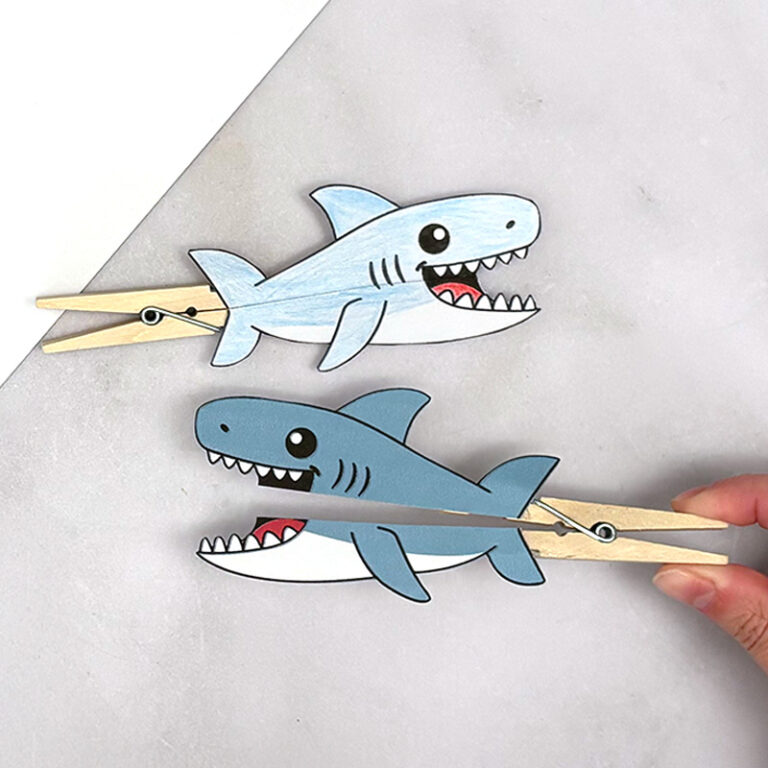
Flapping Build a Bat Craft for Halloween Fun
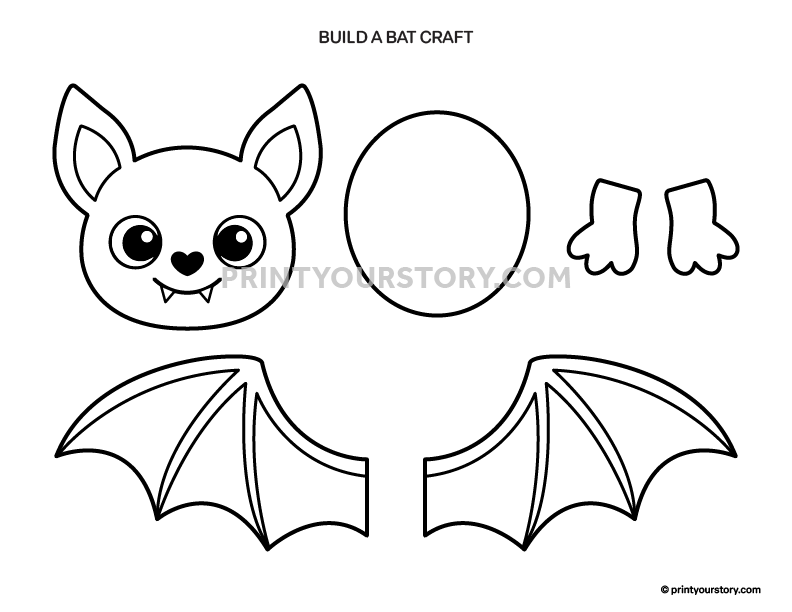
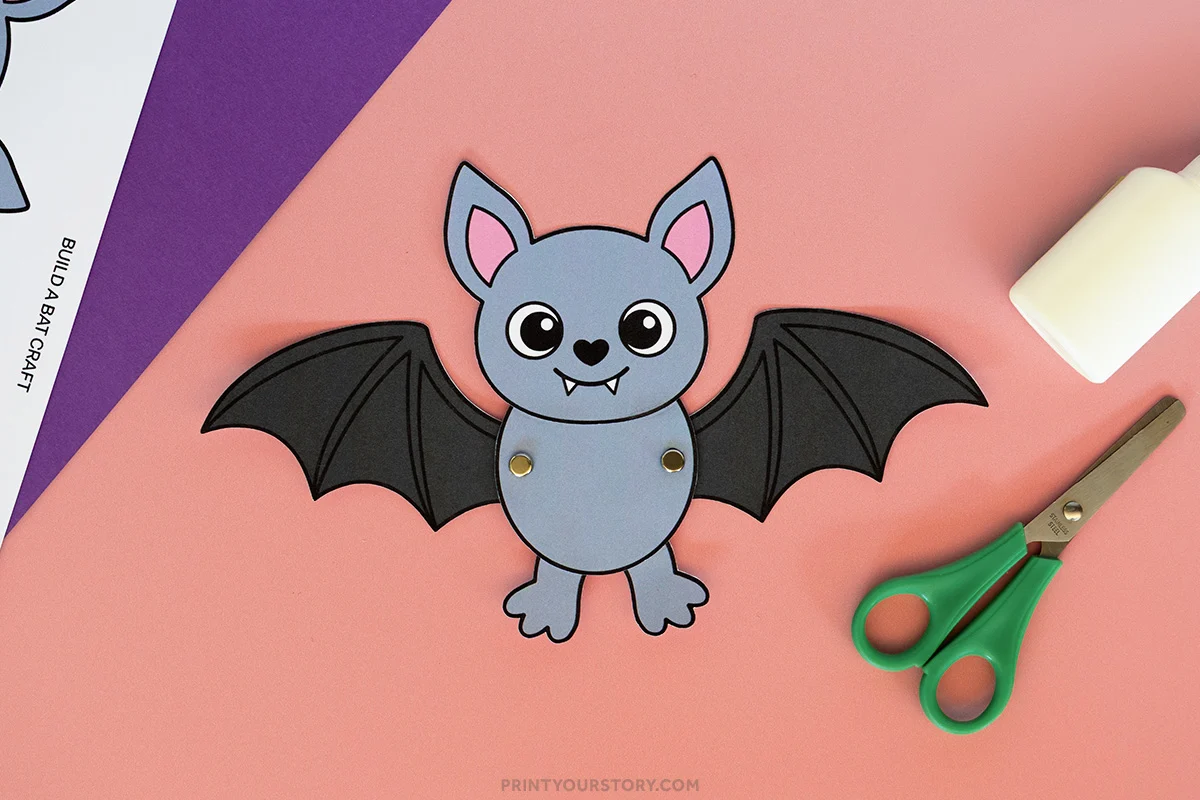
Today I’m sharing a fun Halloween paper bat craft. This flapping bat is easy to make and even more fun once it’s finished. Use brad fasteners to make the wings flap up and down.

I always love interactive crafts that move. They make the finished project feel a little more exciting. This bat is simple to put together with the free printable template and a few basic supplies.
It’s an easy Halloween craft that’s perfect for the spooky season. Once you’re done making it, you can flap the wings over and over again.
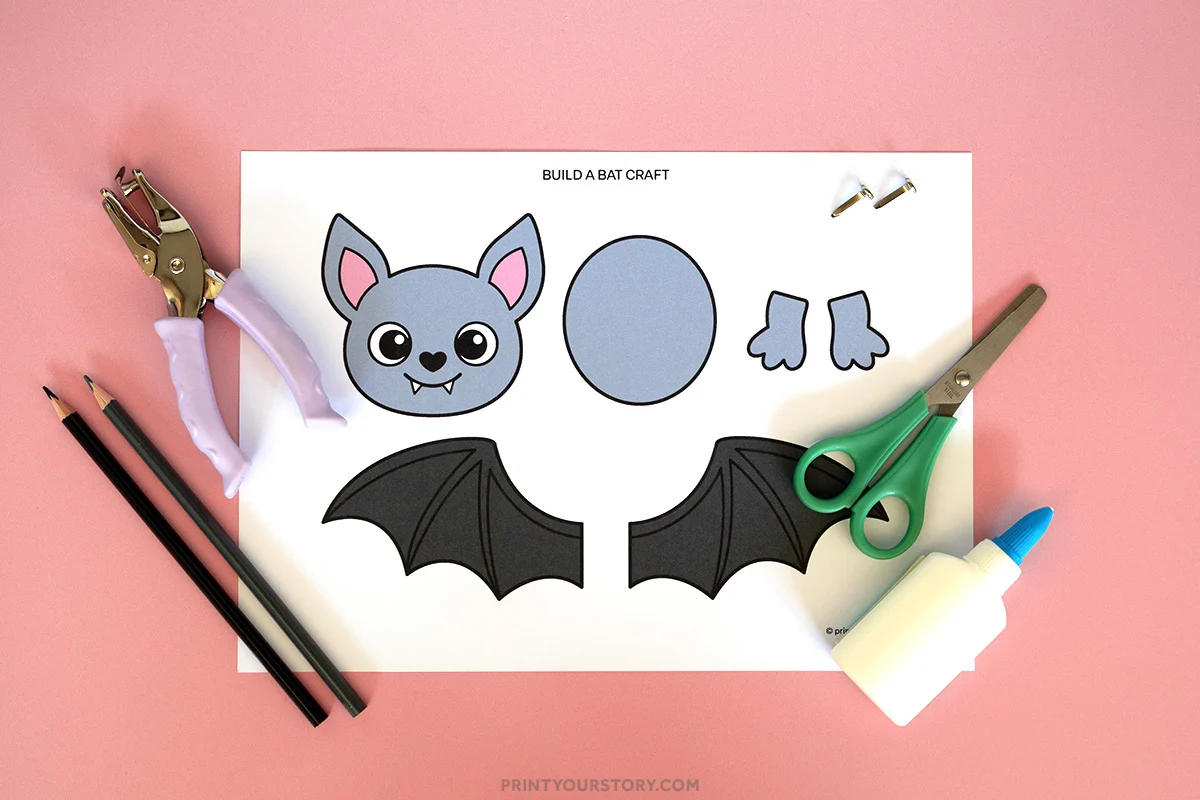
What you’ll need
- Free printable bat template – grab it down below!
- Heavy printer paper or cardstock
- Crayons, markers, or colored pencils (optional)
- Scissors
- Glue stick
- Brass fasteners or brads (optional: to make this interactive)
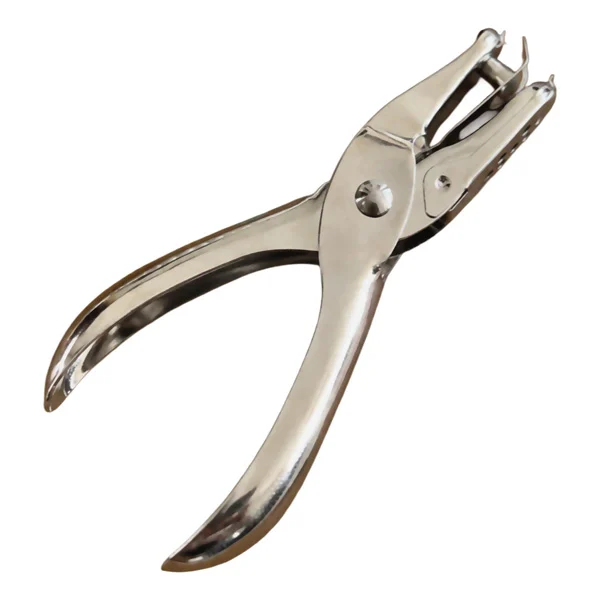
- Hole punch (optional: to make this interactive)
How To Make a Flapping Bat Craft
Step 1: Print the template
Download and print the flapping bat template onto cardstock if you’d like a sturdier craft. Regular printer paper also works, but cardstock holds up better with repeated use.
Step 2: Color the bat (optional)
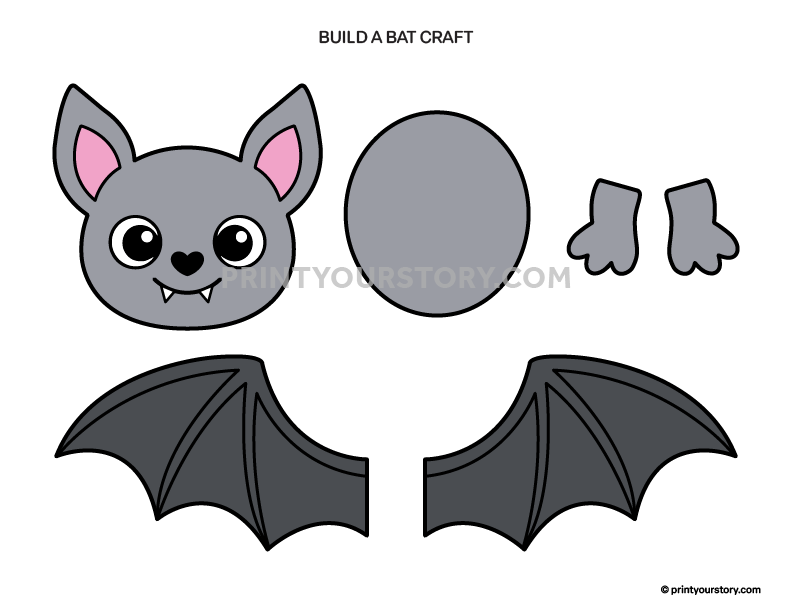
If you’re using the black and white version of the template, color the bat before cutting out the pieces. You can stick with traditional black or get creative with shades of purple, blue, or even add glitter for a magical Halloween look.
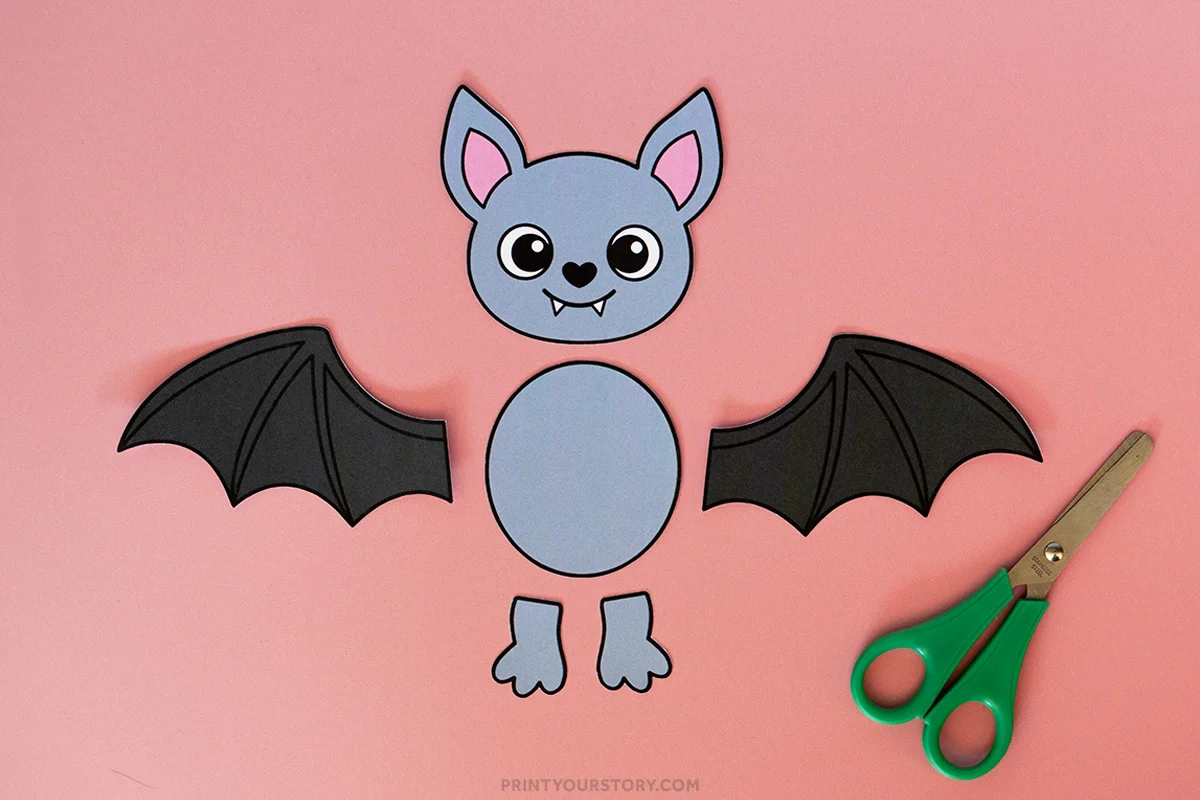
Step 3: Cut out the pieces
Carefully cut out all of the pieces from the printable template. You should now have everything you need to build a bat.
Step 4: Glue the head and feet to the body
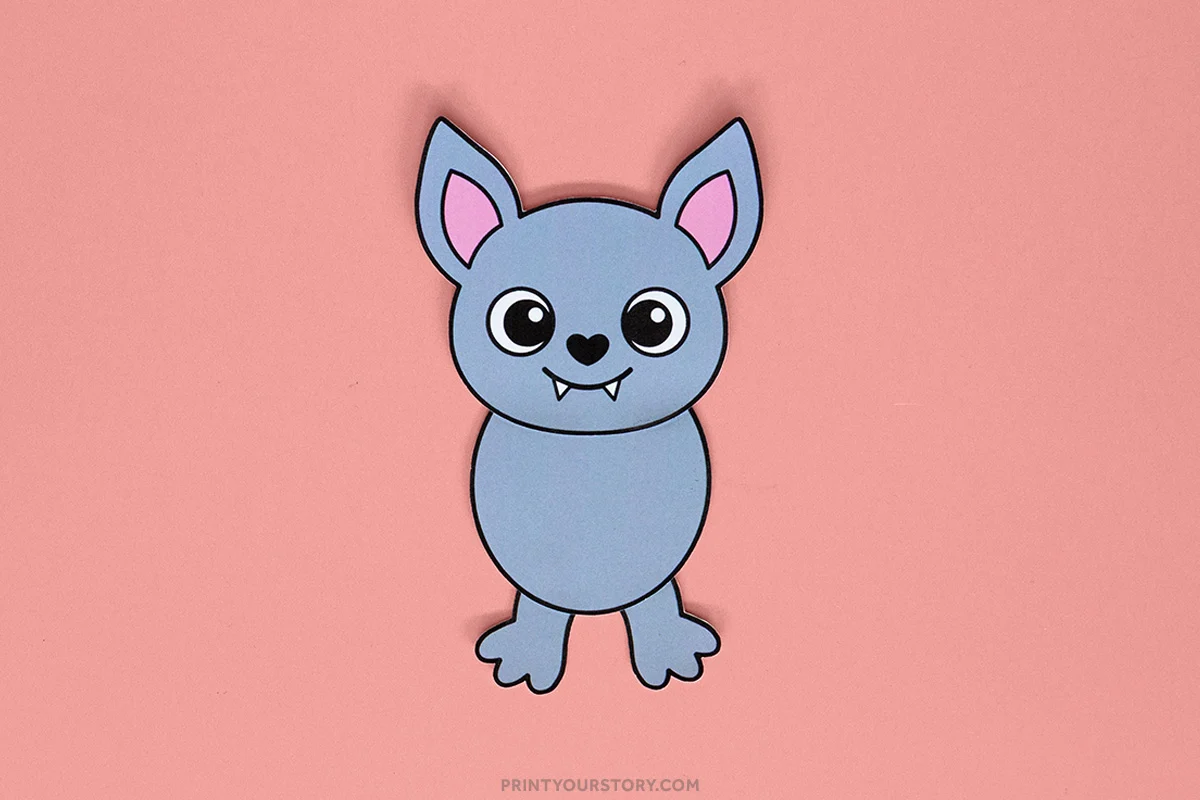
Start by gluing the bat’s head and feet onto the body. Line up the pieces, then press them down firmly and give the glue a moment to dry.
Step 5: Punch the holes (optional)
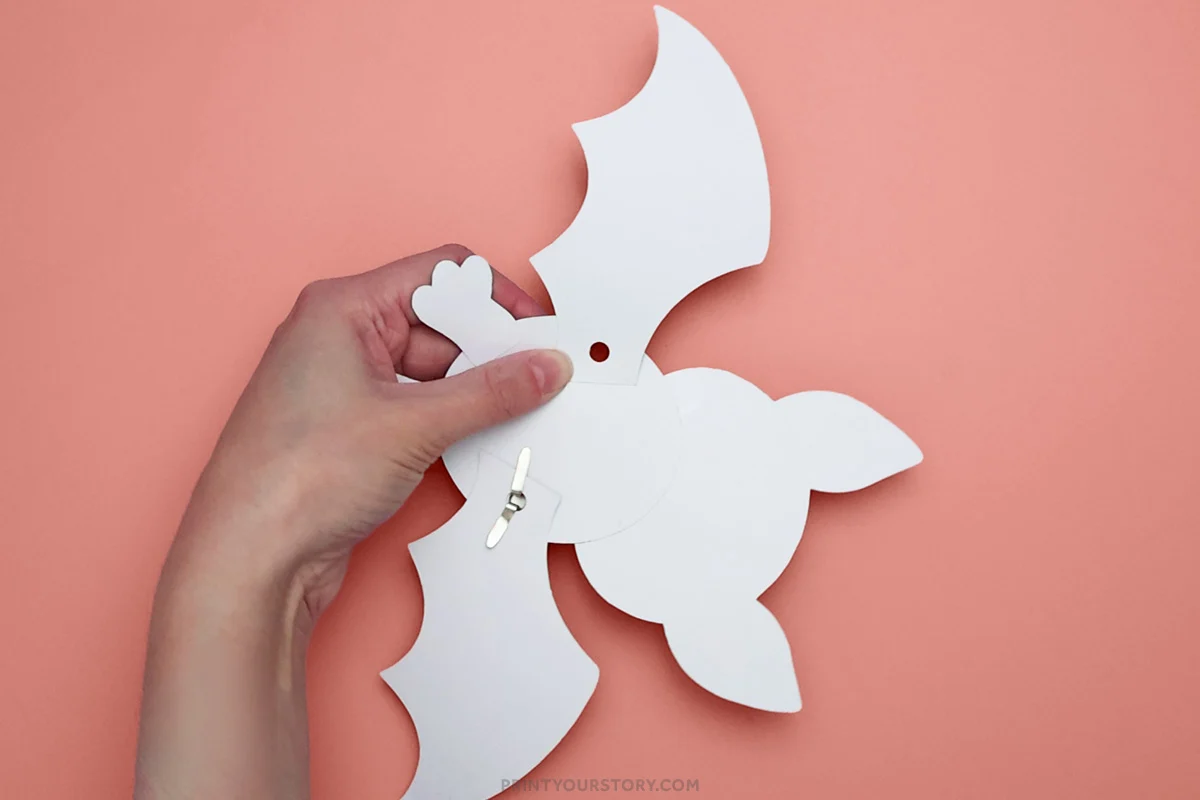
If you want to make this bat craft interactive, use a hole punch where indicated on the image below. These holes allow the wings to move once the pieces are attached.
Step 6: Attach the wings
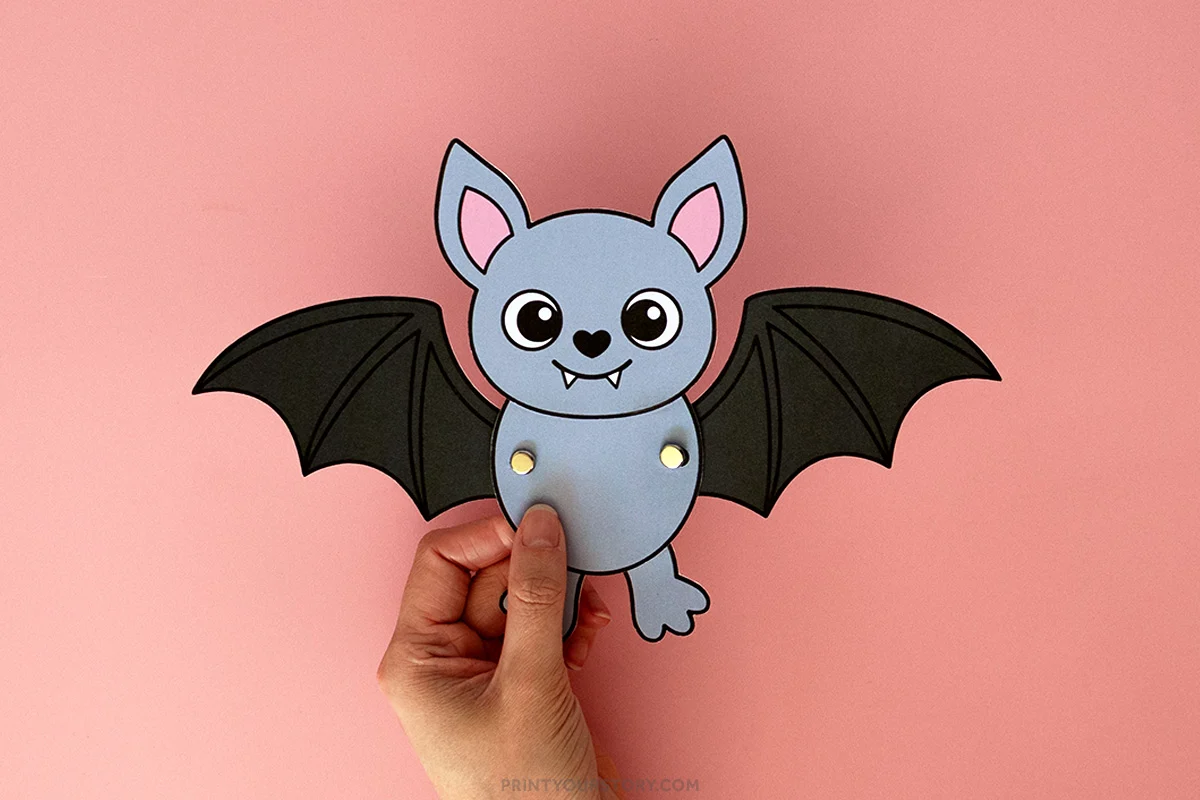
Attach the wings to the bat’s body using brass fasteners.
Step 7: Make the wings flap
Hold the bat and gently move the wings. Watch the wings flap up and down.
Make it a Cut and Paste Bat Craft
The brad fasteners are optional. If you want to keep things simple for young kids, skip the moving wings and turn this into a regular cut and paste bat craft instead. Just glue the wings directly onto the body along with the head and feet.
A quick note on sharing this file
If you love this template and want to share it with friends, teachers, or fellow crafters, I’d be so happy! Please just share the link to this blog post instead of sending the file directly. It helps support my site and allows me to keep creating free crafts for everyone to enjoy.
Thanks for supporting my little corner of the internet!