
Rocket Handprint Craft – A Fun Space Activity for Kids
There is just something about space crafts that feels extra fun. Maybe it is the bright colors or the idea of blasting off somewhere new. Either way, this rocket handprint craft has been such a cute one to make lately.
I love handprint crafts because they are simple, a little messy in the best way, and always turn out slightly different. No two rockets look exactly the same, which makes them even more special.

This one is perfect for a space theme, a rainy afternoon, or anytime you want an easy hands-on activity that looks adorable hanging on the wall.
Let me show you how to make it.
What you’ll need
- Gray cardstock for the rocket body
- Red cardstock for the top and fins
- Blue and white cardstock for the window
- Yellow and orange cardstock for the flames
- Pencil
- Scissors
- Glue stick

You can mix and match colors if you want. I used classic yellow and orange for that bright “blast off” look, but you could easily switch it up with different shades.
Free printable rocket handprint template
I created a printable rocket handprint template to make this craft even easier. There are two versions included:
- A full-color version
- A black and white version you can color yourself
The printable includes the rocket body, fins, window pieces, circle details, and a handprint shape. You can either trace a child’s hand or use the handprint provided in the template.
Simply download the template, print it on regular paper or cardstock, and cut out the pieces before assembling your rocket.
How to make this rocket handprint craft
Step 1: Print and prepare the template
Download and print the rocket handprint template. If you are planning to trace the pieces onto colored cardstock, print the black and white version.

Carefully cut out all of the template pieces, including the rocket body, top, fins, window circles, detail circles, and the handprint shape. These will be your tracing guides.

Step 2: Trace and cut the rocket pieces
Place each paper template piece onto the colored cardstock of your choice and trace around it with a pencil.
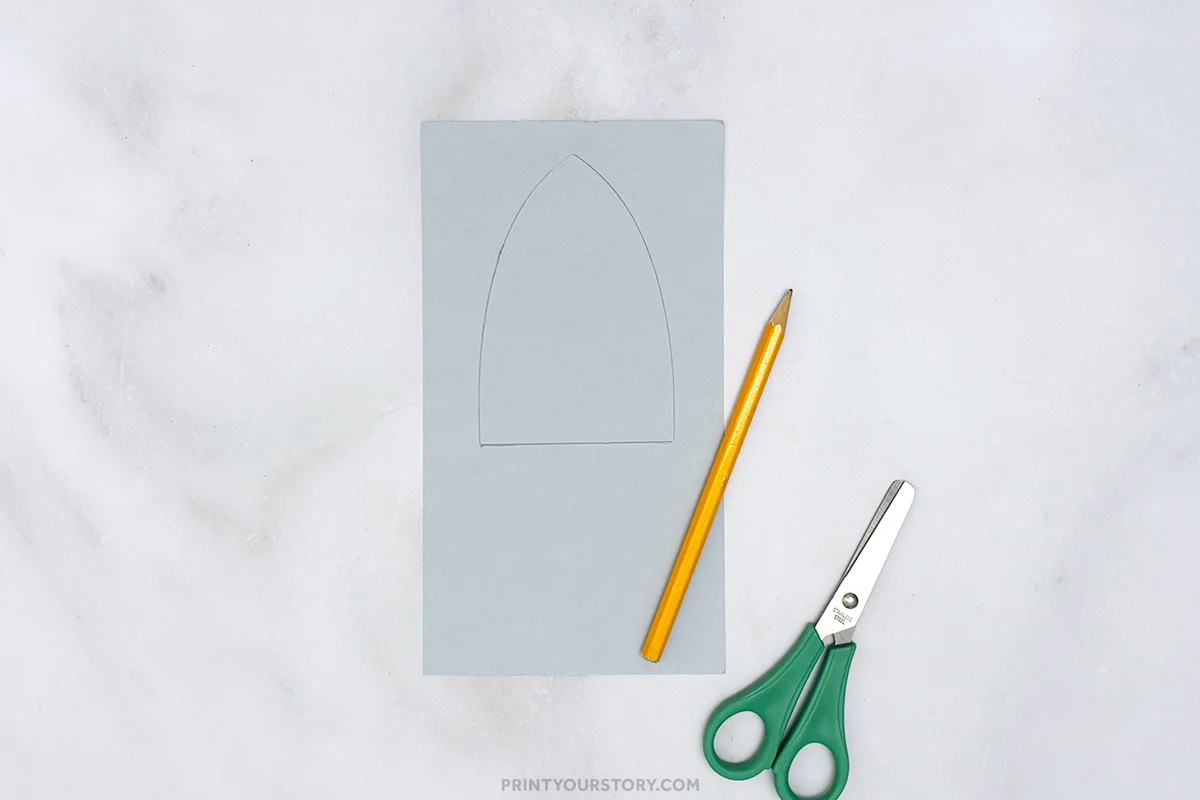
Use gray for the rocket body, red for the top and fins, blue and white for the window, and yellow for the small circles. You can stick with these classic colors or mix it up and create your own color scheme.
After tracing all the pieces, carefully cut each shape out of the colored cardstock. Try to cut slowly and stay right on the traced lines so the pieces fit together nicely.
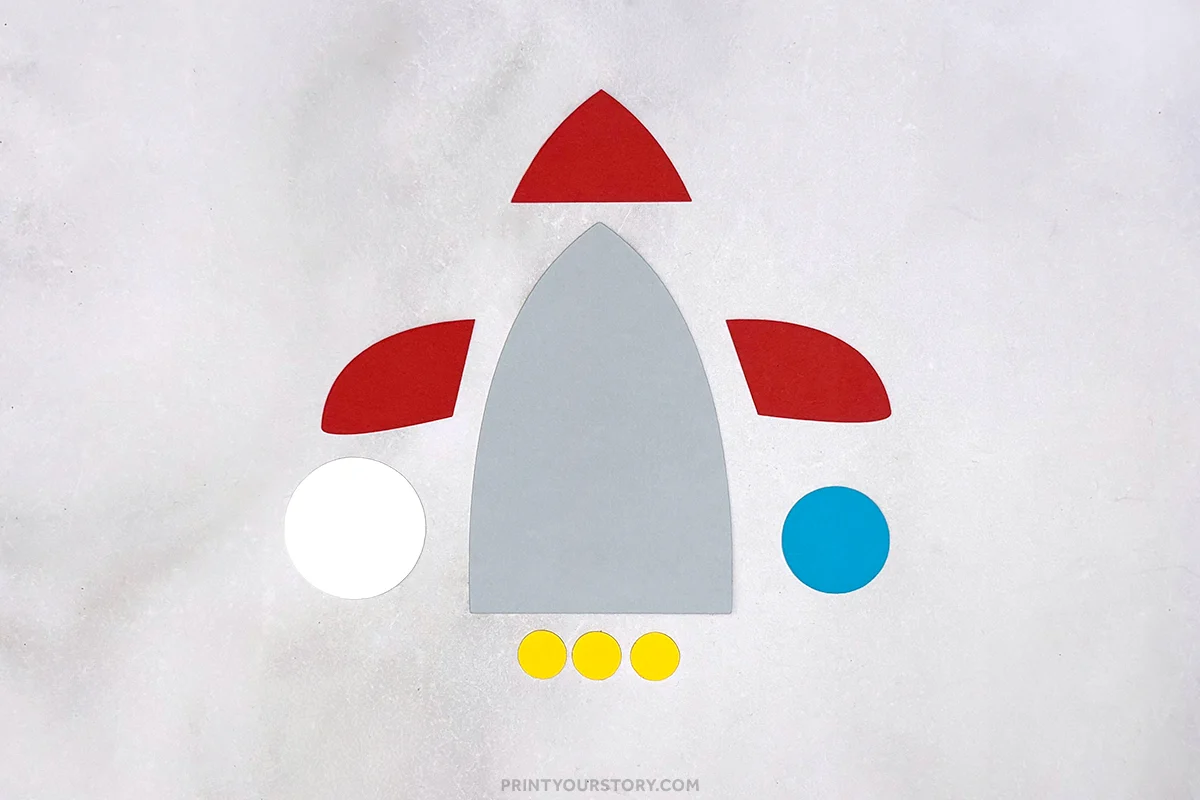
If you prefer an easier option, you can print the pre-colored version and simply cut out the pieces. With that version, there is no tracing needed, just cut and paste.
Step 3: Trace and cut the handprint
Place a child’s hand on yellow or orange cardstock and trace around it with a pencil.
Cut it out carefully. This will become the flame at the bottom of the rocket.
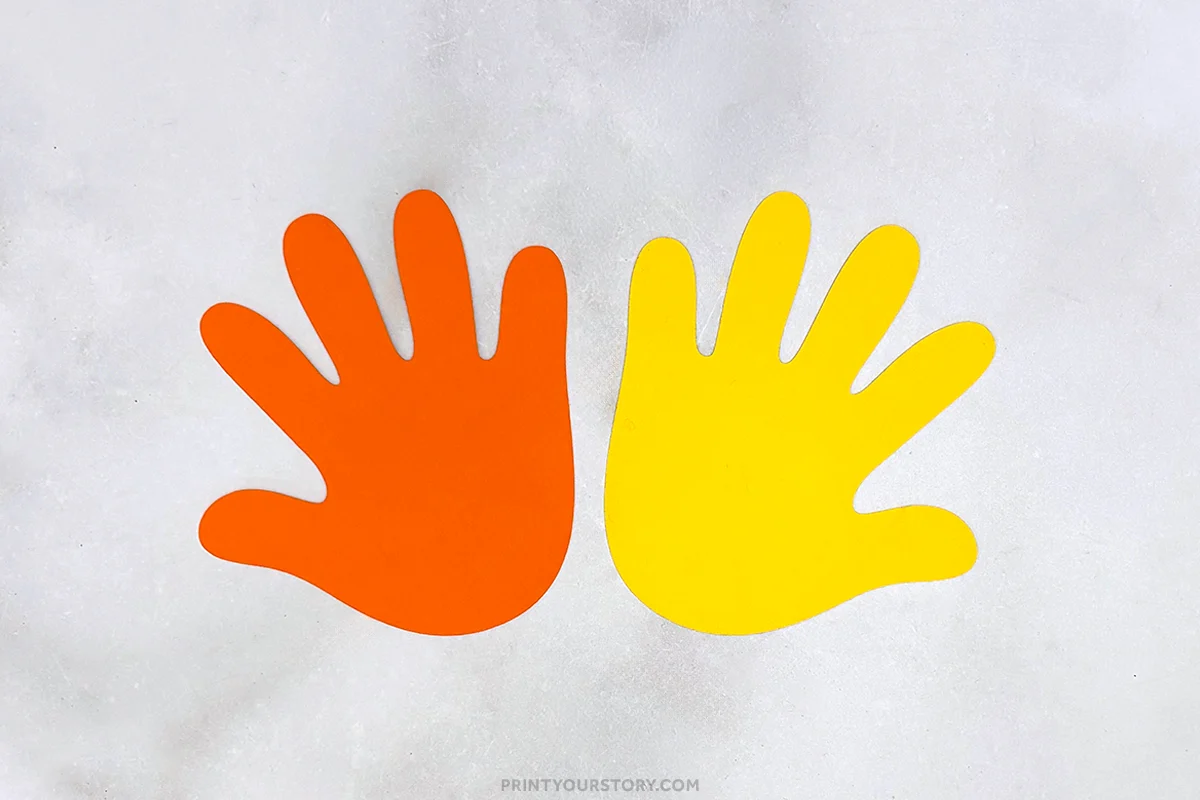
For a brighter blast-off look, trace additional handprints in different colors like orange and yellow, then cut them out and layer them together later.
If you would rather not trace a hand, you can use the handprint shape included in the template and trace that onto colored paper instead.
Step 4: Assemble the rocket body
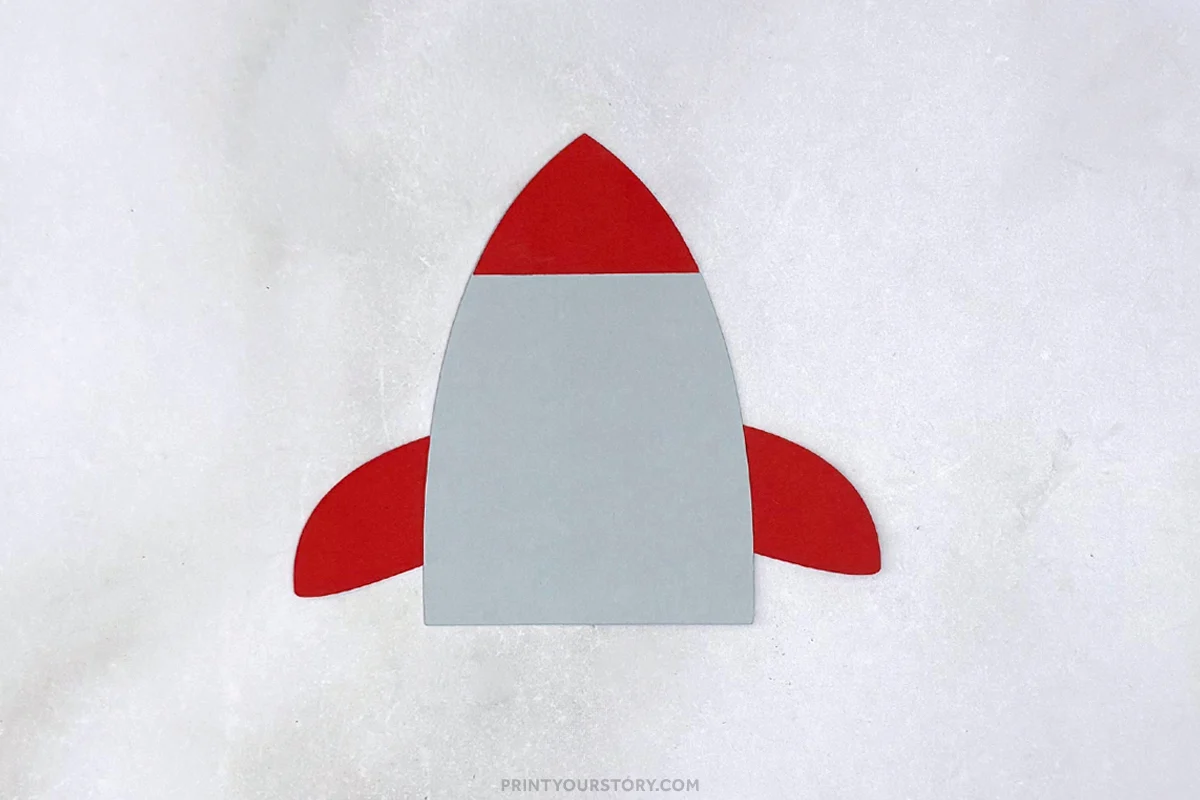
Glue the red top piece onto the main rocket body.
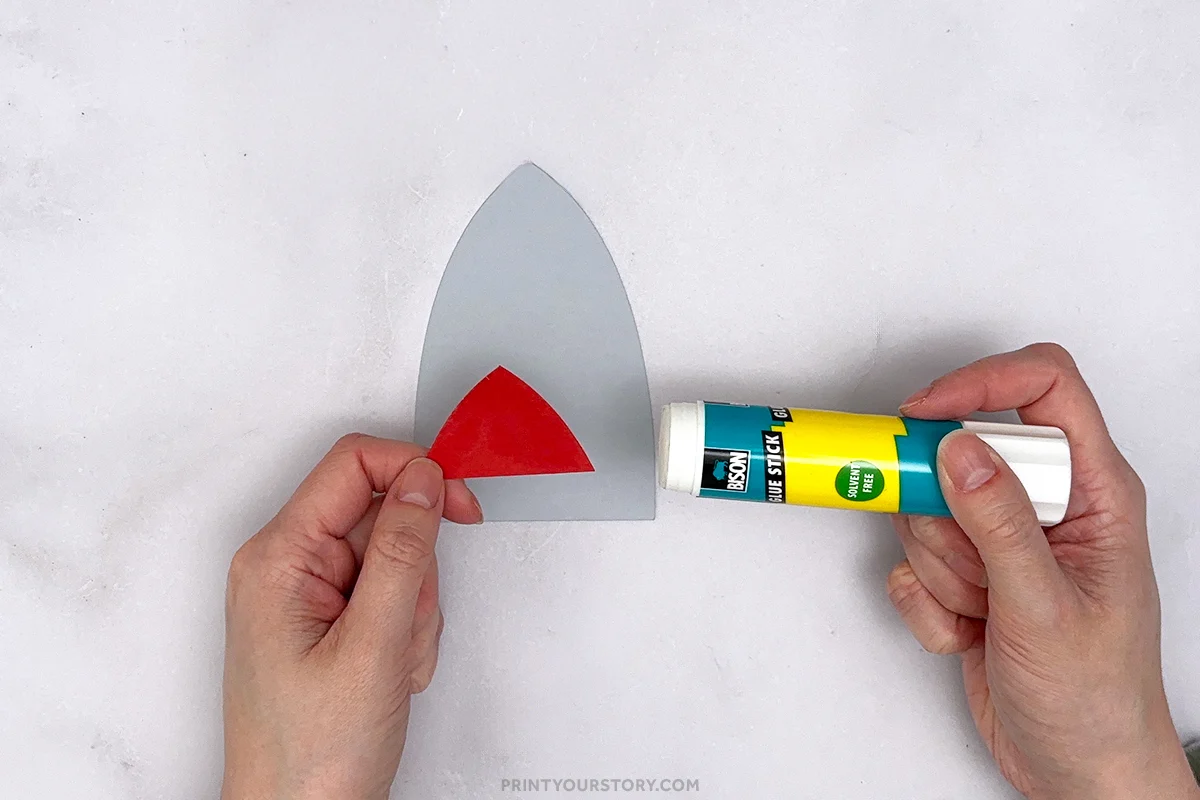
Next, glue the two red fins to the back of the rocket so they stick out slightly from each side. Press firmly so they stay in place.
Step 5: Add the window
Glue the smaller white circle onto the larger blue circle to create the window. Then glue the finished window onto the upper part of the rocket body.

Press everything down firmly so it lays flat.
Step 6: Add the small details
Glue the three small yellow circles in a row near the bottom front of the rocket.

Step 7: Attach the handprint flame
Turn the rocket over and glue the handprint to the bottom back of the rocket so the fingers point downward like flames.
If you traced multiple handprints, space them out slightly before gluing to give the rocket a fuller flame effect.

Displaying your rocket craft
Once the glue is dry, this rocket looks so cute taped up on a wall or displayed on a bulletin board. You can even make several rockets and create a whole space scene.
Try adding:
- Black or dark blue paper as a night sky
- Paper stars in the background
- A large moon cutout
It turns into such a fun little display.

A quick note on sharing this file
If you love this template and want to share it with friends, teachers, or fellow crafters, I’d be so happy! Please just share the link to this blog post instead of sending the file directly. It helps support my site and allows me to keep creating free crafts for everyone to enjoy.
Thanks for supporting my little corner of the internet!
This rocket handprint craft turned out so cute, and I love how bright and cheerful it looks once it is all put together. The layered handprint flames really make it feel like it is blasting off.
One quick tip from experience, if you are using sharper scissors for cutting thick cardstock, make sure an adult handles that part. Thicker paper can be tricky to cut, and sharp scissors should always be used with supervision.
You might also like
I also share new craft ideas regularly on Pinterest. You can follow me here to save your favorites and see what I am working on next.
I hope you have so much fun making this one!