Free Printable Letter to Santa With Matching Envelope
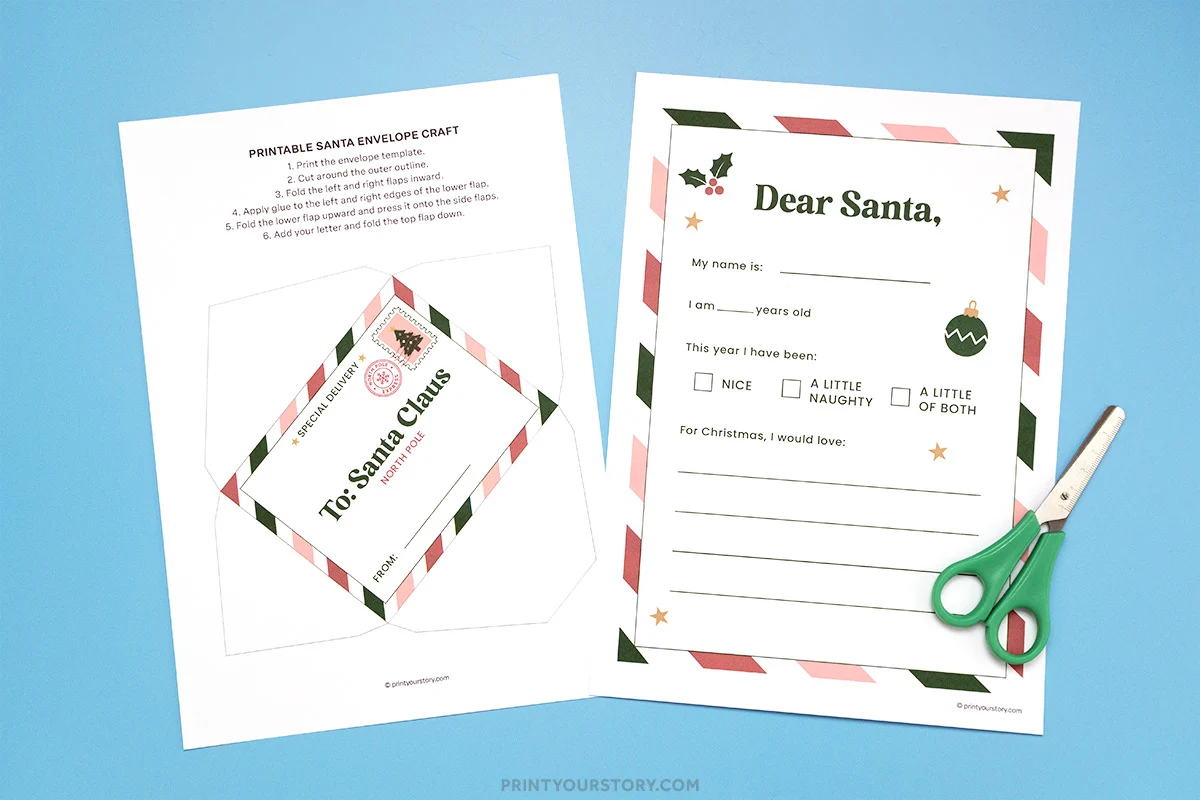
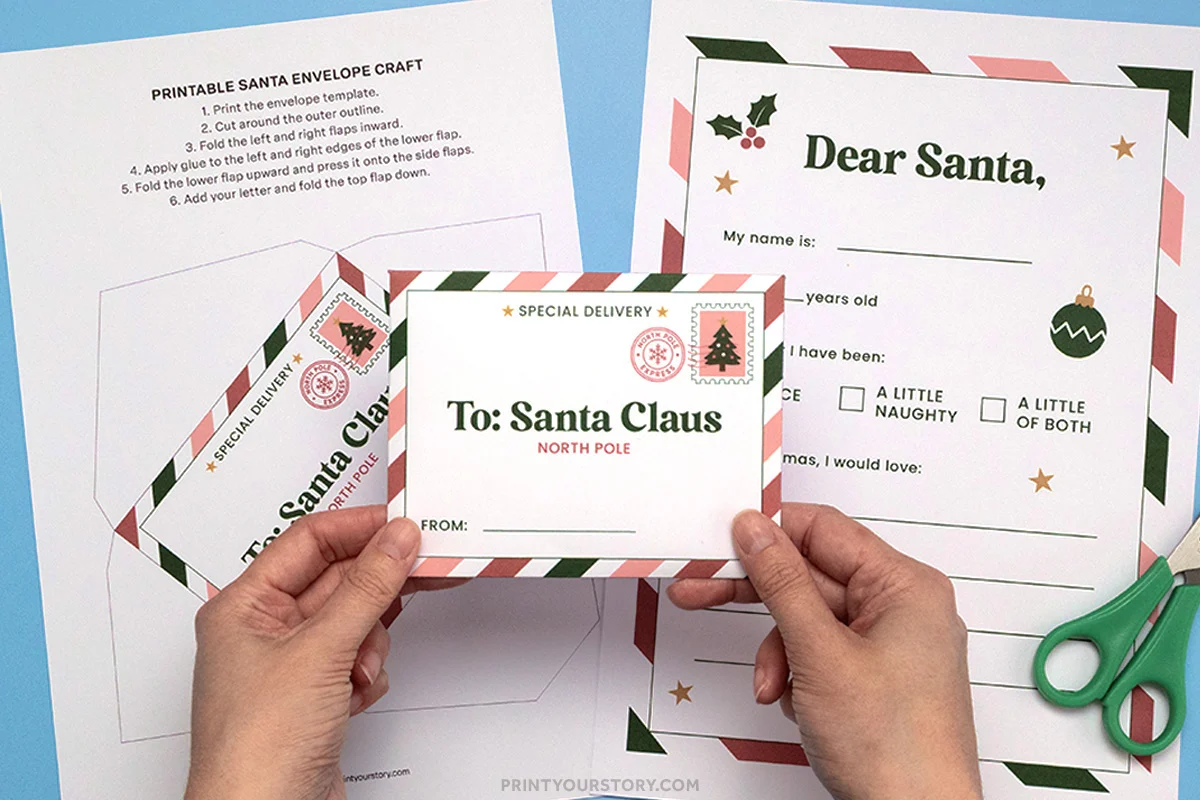
Today I’m sharing a Free Printable Letter to Santa With Matching Envelope. Both pieces are ready to print at home. It’s an easy activity to add to a December afternoon, Christmas Eve preparations, or a festive weekend at home.

Writing a letter to Santa is a simple but fun addition to your Christmas kids activities. It can also become a lovely Christmas tradition to enjoy together each December. Sometimes, these easy activities are the ones that make the holiday season feel extra special.
The festive letter makes writing a Christmas wish list much more exciting. This is a fun writing activity for kids to write a letter to Santa. Simply print both pages, fill in the letter, and fold and glue the envelope.
What you’ll need
Only a few basic supplies are needed for this printable Christmas activity:
- Free printable ‘Letter to Santa and Envelope’ – grab it at the end of this post!
- Printer paper or cardstock
- Printer
- Scissors
- Glue
- Pencils or pen
Regular printer paper works well for the letter. I prefer something slightly heavier for printable envelopes. It gives the finished envelope a little more structure and makes it easier to fold neatly.

How to Make the Printable Letter to Santa and Envelope
Step 1: Print the Letter to Santa and matching envelope
Start by downloading and printing the free printable PDF file.
Regular white printer paper works perfectly for the letter. For the best results, print at the original size. Print the coordinating Santa envelope onto white paper or lightweight cardstock.
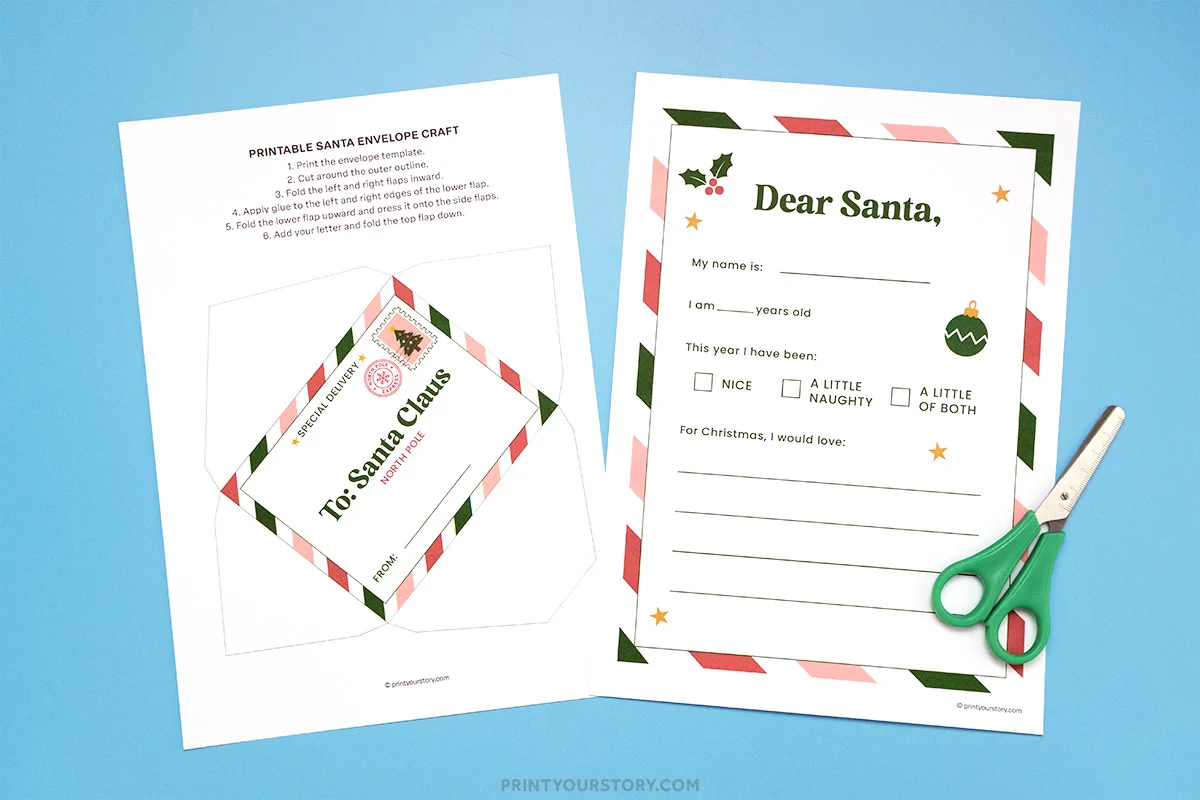
Have some pens, pencils, crayons, or markers nearby before starting the next step.
Step 2: Write the letter
Now it’s time to fill in the letter to Santa. Write a Christmas message and add a few special wishes to the list. There’s also plenty of opportunity to make the letter more personal.
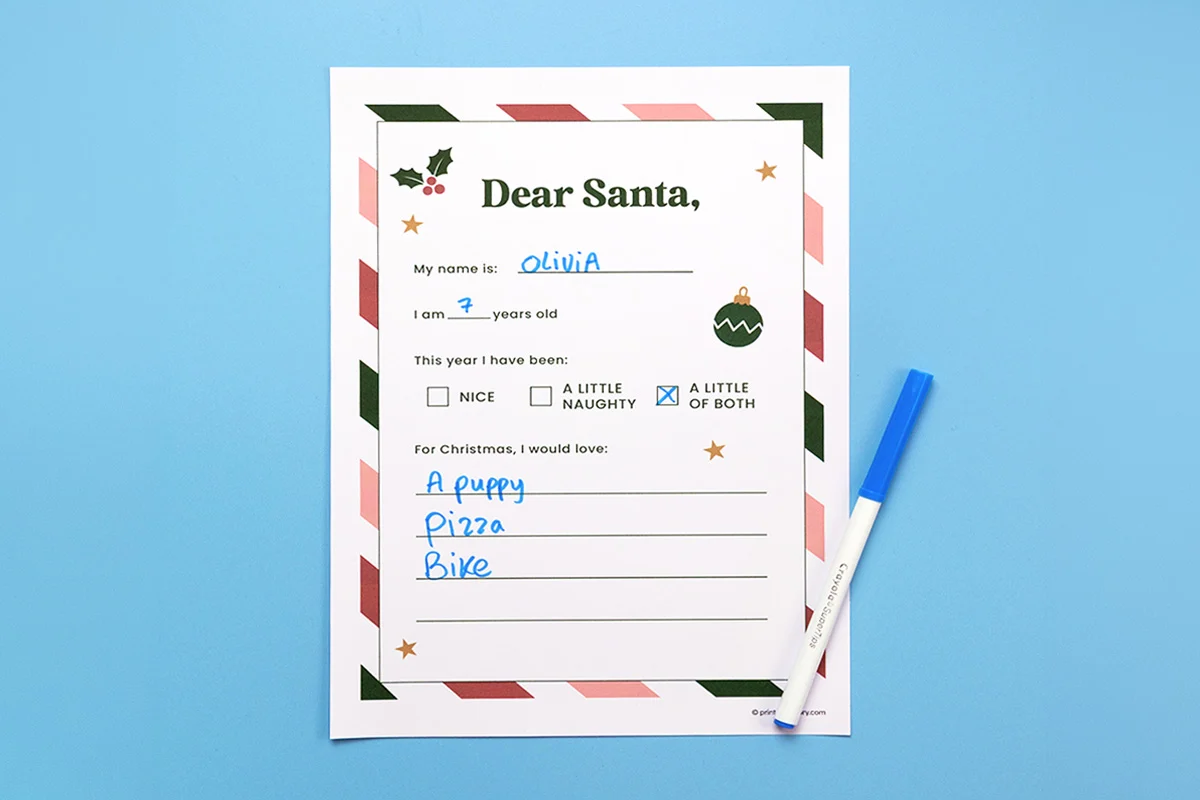
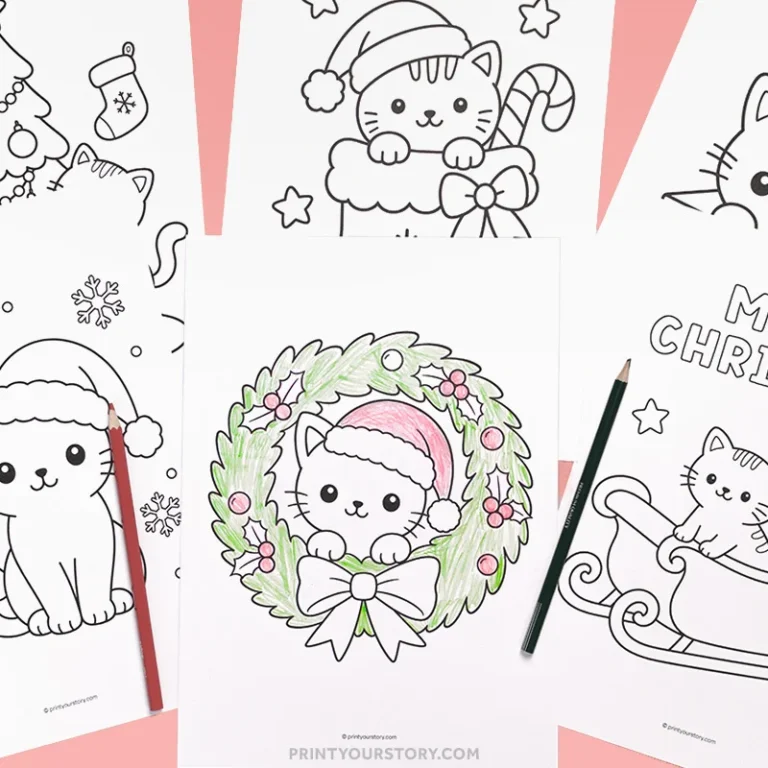
Add little Christmas drawings, colorful doodles, stickers, or anything else that makes the page feel festive.
Step 3: Cut out the envelope
Carefully cut around the outside edge of the envelope template.
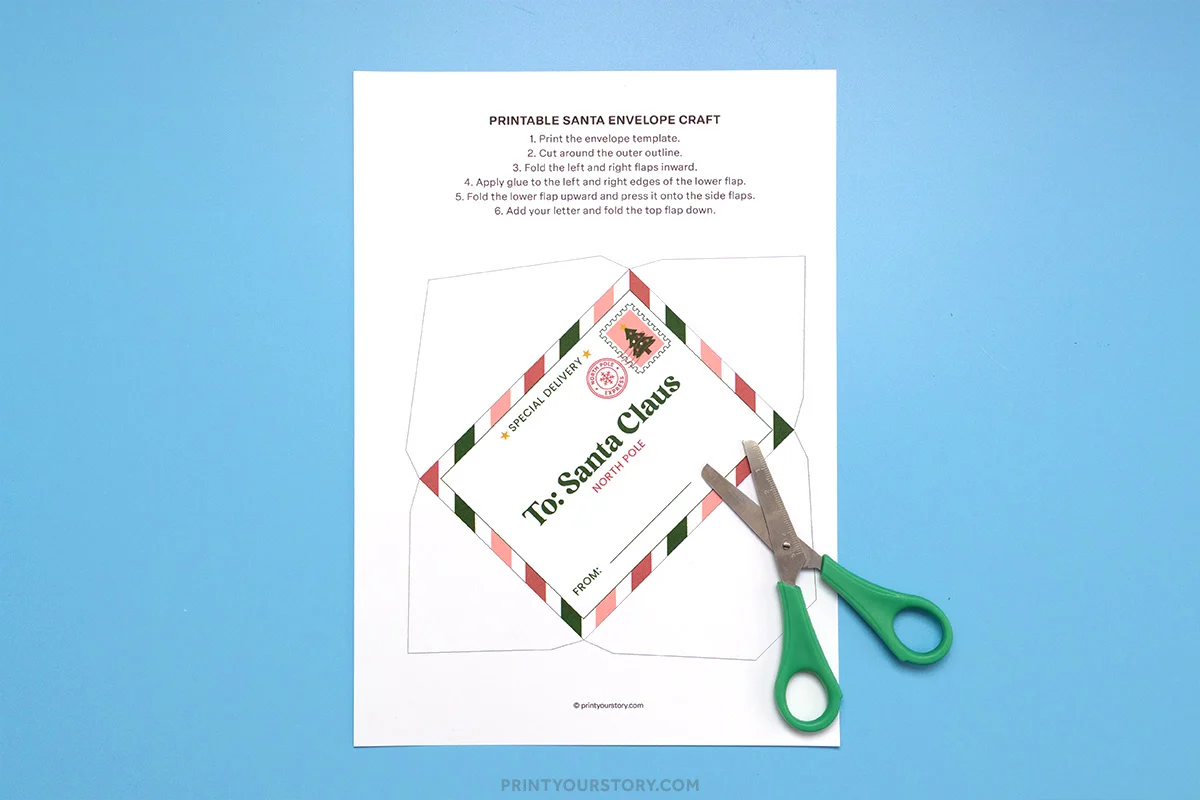
Keep the cuts as straight as possible around each flap.
Step 4: Fold the envelope
Fold the envelope along each of the inner fold lines. Start with the side flaps, followed by the bottom flap. Finish by folding the top flap down to see how the completed envelope will look.
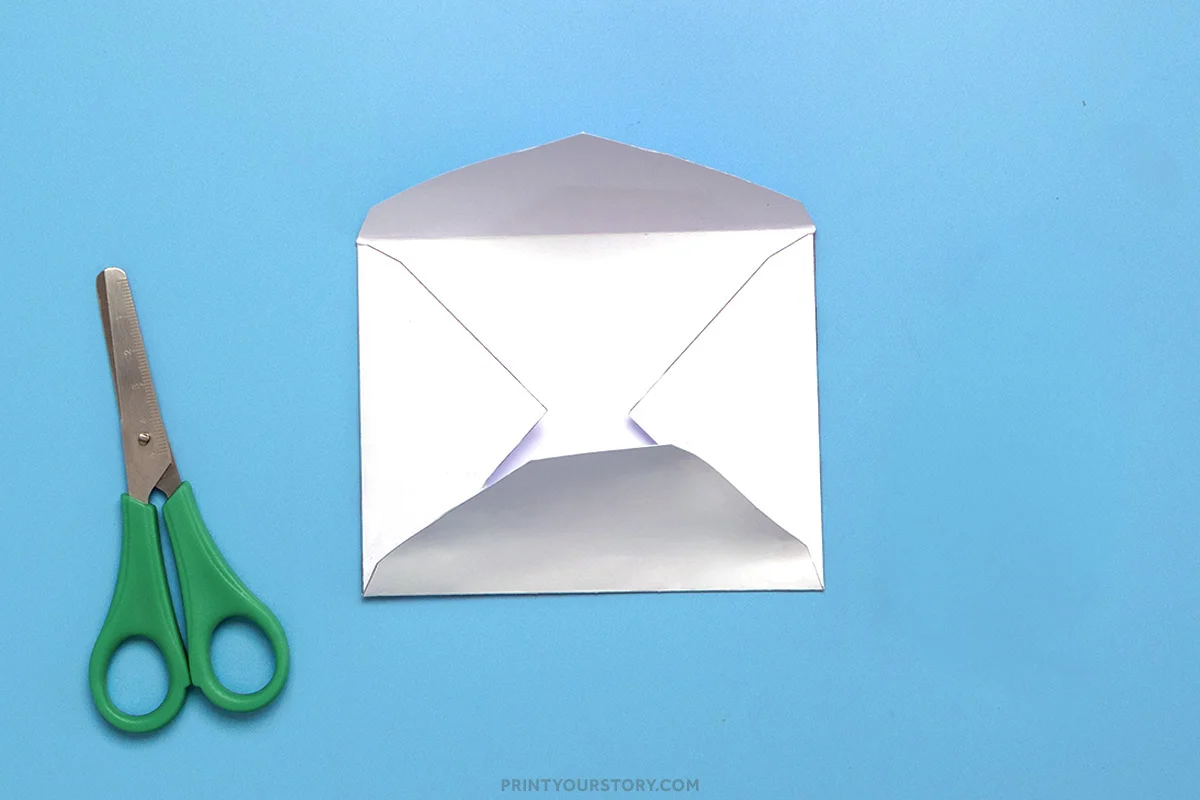
For thicker paper or cardstock, lightly score each fold line before folding. I like to use the edge of a ruler for this. It helps create a crisp fold and stops the cardstock from bending in the wrong place.
Press each fold firmly before moving on.
Step 5: Glue the envelope together
Apply a small amount of glue or double-sided tape to the side flaps.
Fold the bottom section into place and press everything down firmly. Leave the top flap open until the letter has been added.
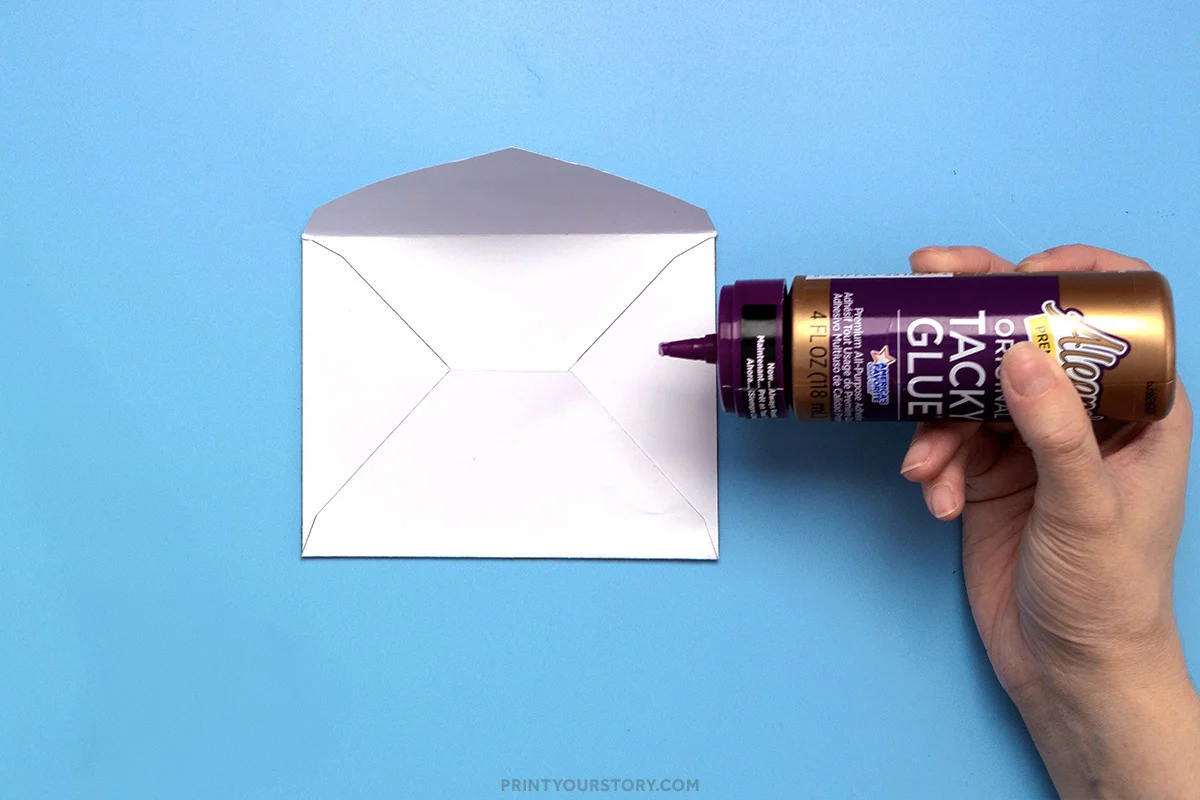
Try not to use too much glue. A thin layer is usually enough and helps prevent the paper from wrinkling.
Step 6: Add the letter
Fold the completed Santa letter so it fits comfortably inside the envelope.
Place it inside, then close the top flap. A Christmas sticker makes a cute little seal.
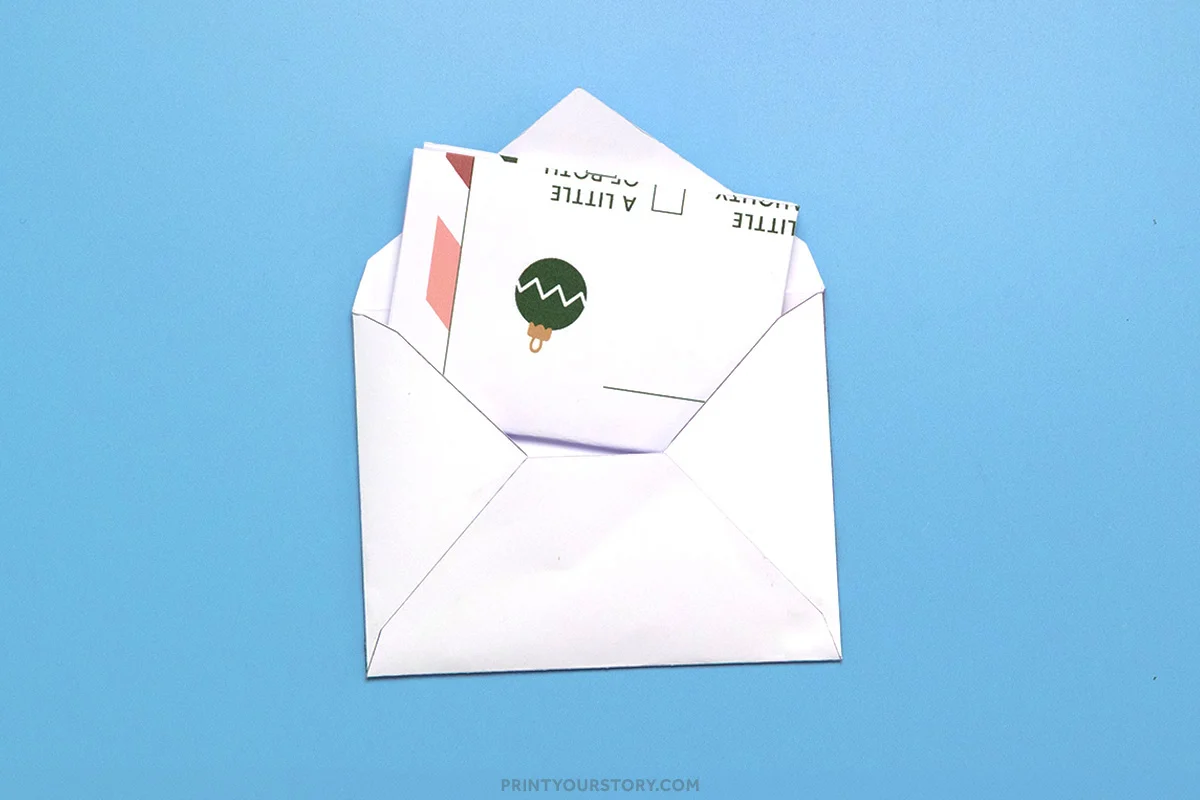
The Letter to Santa is officially ready for the North Pole!
Ideas for using the Santa Letter Printable
The letter and envelope don’t have to be used on their own.
- Set up a little Christmas writing station with festive pens, stickers, and Christmas stamps.
- The finished letter can be tucked into a Christmas memory box after the holidays. Over time, the collection becomes a fun record of Christmas wishes from different years.
A quick note on sharing this file
If you love this template and want to share it with friends, teachers, or fellow crafters, I’d be so happy! Please just share the link to this blog post instead of sending the file directly. It helps support my site and allows me to keep creating free crafts for everyone to enjoy.
Thanks for supporting my little corner of the internet!