
Printable Pirate Hat Craft – Free Template
This free printable pirate hat template is a quick and easy craft for kids that requires very little prep.
Pirate crafts always feel fun and a little bit silly in the best way. I put this free printable pirate hat template together on a day when I wanted something simple, low prep, and easy to repeat. It ended up being one of those crafts you can come back to again and again.

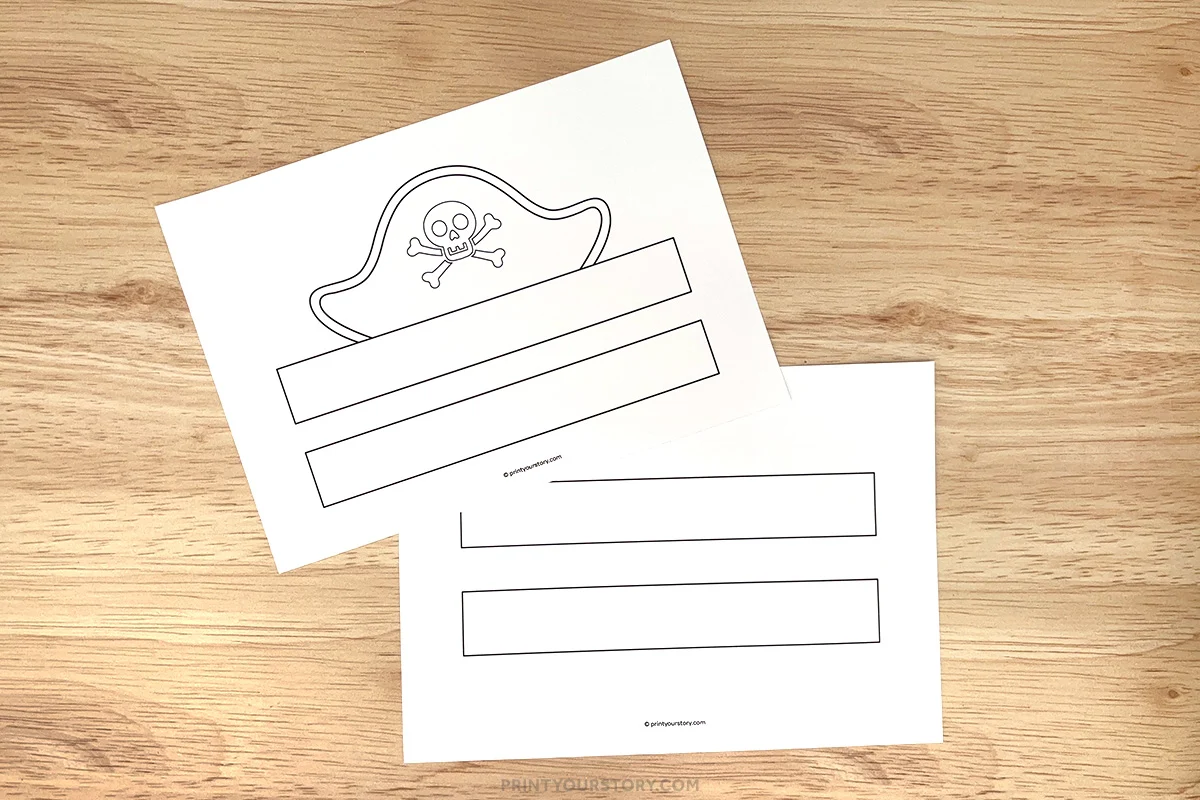
This printable includes two versions. There is a full color pirate hat that is ready to cut and wear right away, and a black and white version that can be colored in first. Both options come with extra bands so you can adjust the size easily.
This is one of those pirate crafts for kids that works well for a range of ages, including toddlers and preschool. It is simple enough to keep things stress free, but still leaves room for creativity.
What you’ll need
- Free pirate hat template (grab it down below!)
- Printer
- White paper or cardstock
- Scissors
- Crayons, markers, or colored pencils
- Glue stick or tape


How to make this Printable Pirate Hat
Step 1: Print the Pirate Hat Template
Start by printing out the pirate hat template. You can use regular printer paper, but if you want the hat to last longer, cardstock is a great option.

Decide ahead of time if you want to use the pre-colored version for a quick craft or the black and white version for a more hands-on activity. If you are making several hats, it can help to print a few extra copies of the bands so everything is ready to go.
Step 2: Color the hat (optional)
If you are using the black and white version, this is where you can get creative. Use crayons, markers, or colored pencils to decorate the hat. You can stick with traditional pirate colors like black, red, and white, or try something more colorful.
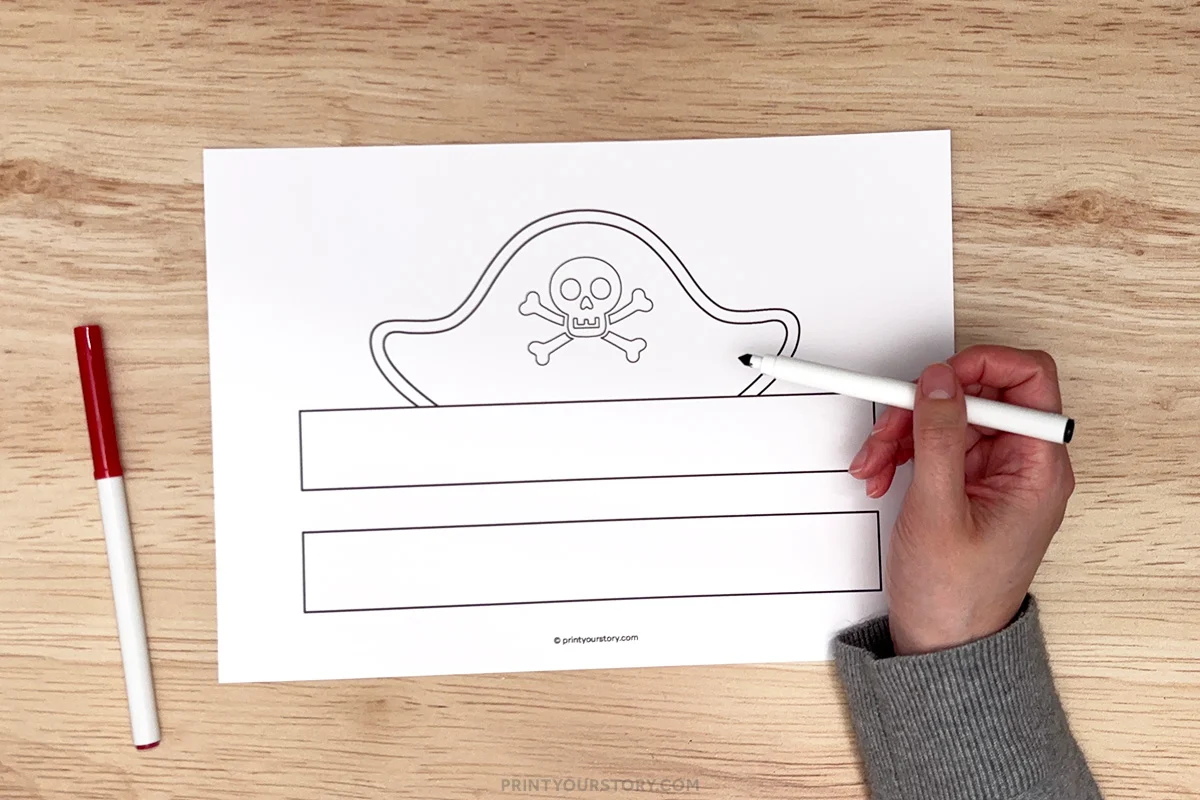
Take your time filling in the skull and crossbones and any details on the hat. This step adds a calm, creative moment before assembly and is especially enjoyable for toddlers and preschool.
Step 3: Cut out the pieces
Carefully cut out the pirate hat shape along the outer lines. Then cut out each of the extra bands. If the curved edges feel tricky, turn the paper as you cut to help keep your lines smooth. For a smoother experience, you can pre-cut the elements.
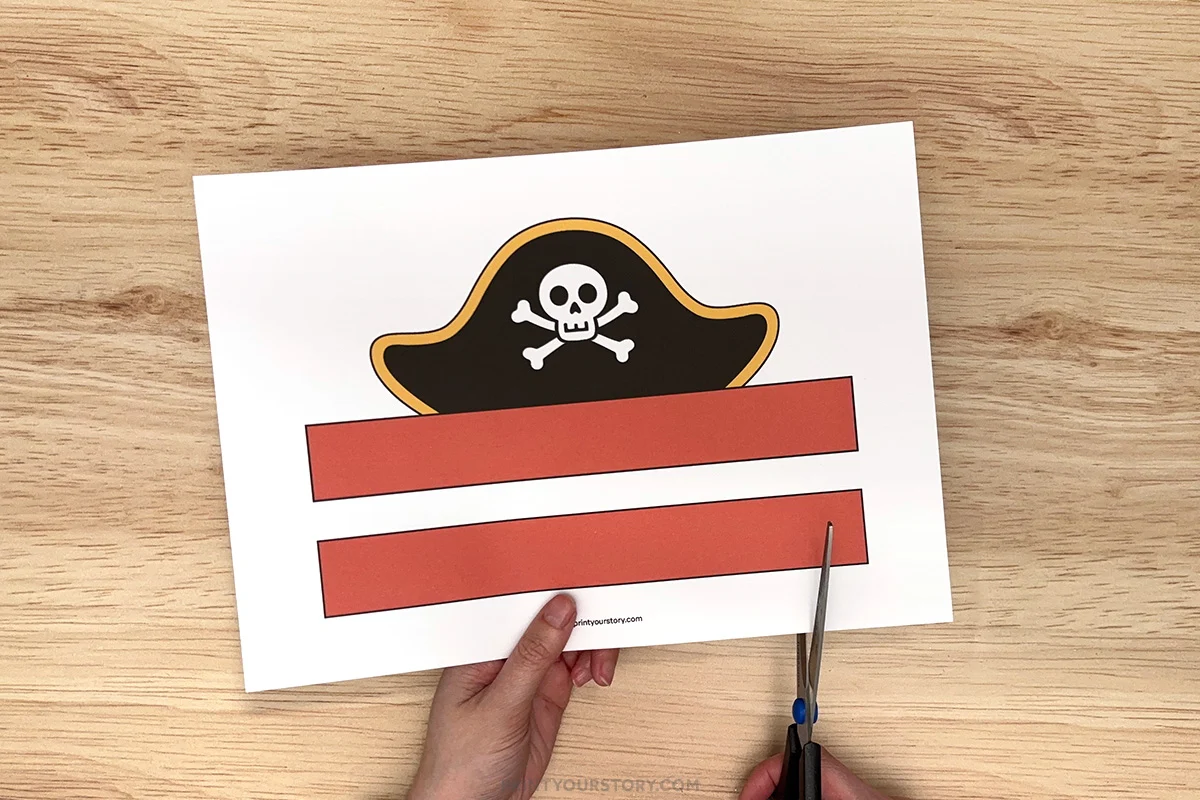
Step 4: Attach one band to each side
Take two bands and attach one to each side of the pirate hat using tape or glue. Try to line them up evenly with the edges so the hat will sit nicely when worn. Press firmly to make sure they stick well.
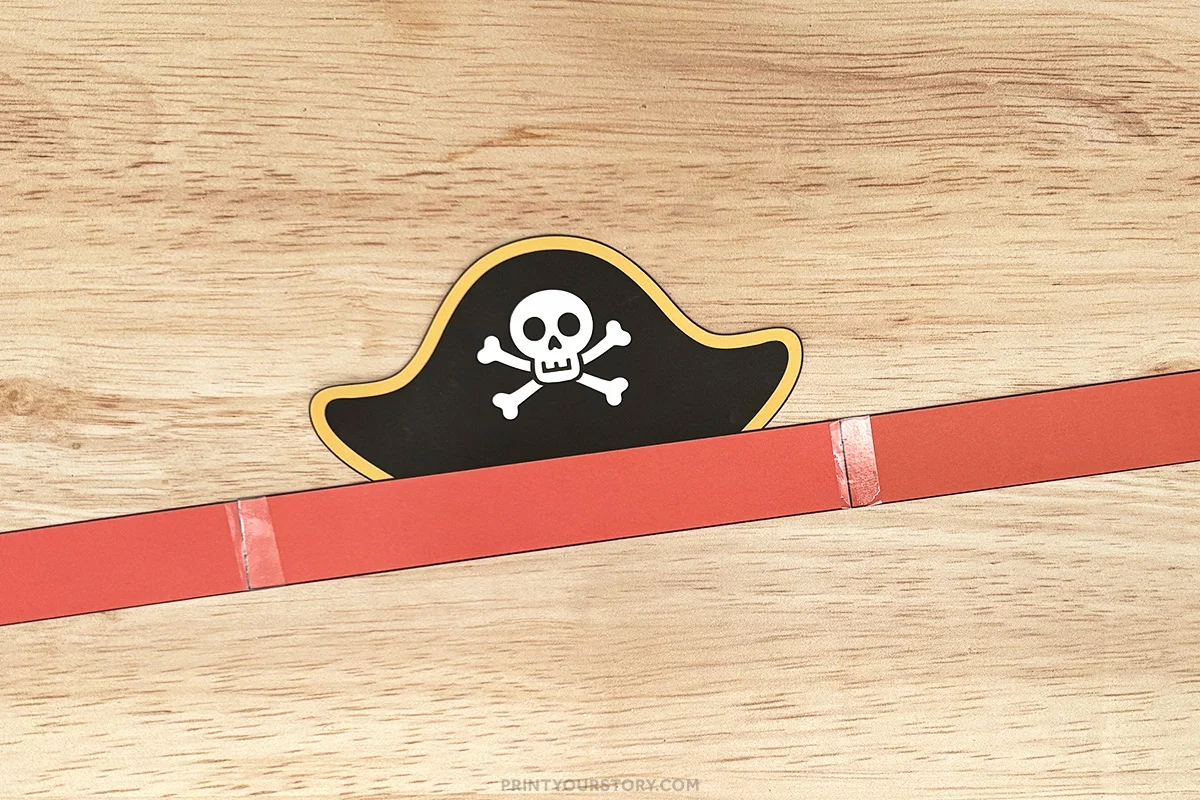
I personally prefer using tape for headband crafts since it holds quickly and makes it easier to adjust if needed.
Step 5: Measure and adjust around the head
Place the hat gently around the head and bring the two bands toward each other to see how it fits. Check that it feels comfortable, not too tight and not too loose. If you need more length, attach an extra band to one side and try again. Keep adjusting until the hat fits nicely and will stay in place during play.
Step 6: Secure the hat into a circle
Once you have the correct length, connect the ends of the band to form a full circle. Use tape or glue to secure it in place. Hold it together for a few seconds to make sure it stays put. You can add an extra piece of tape for reinforcement if needed.
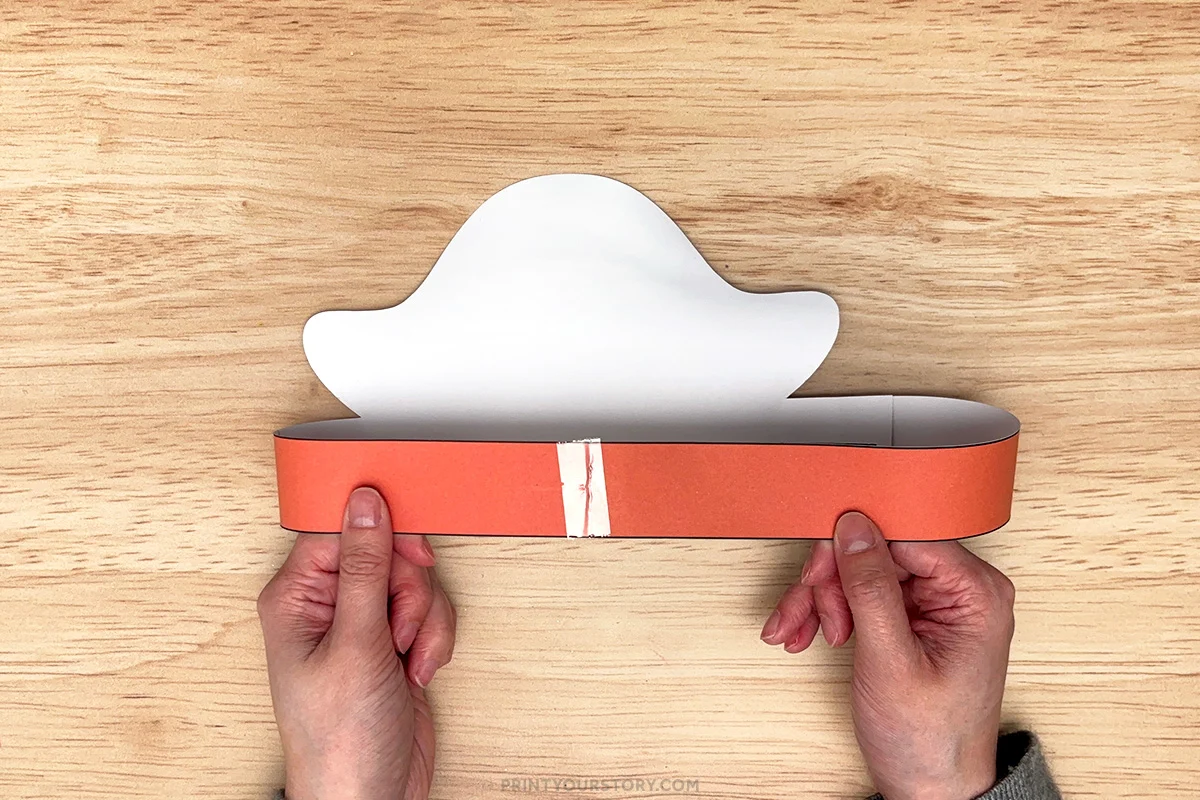
Once everything feels right, it is ready to wear. This is usually where the imaginative play begins.
Tips from experience
- I like to print a few extra bands just in case. It saves time later if you need to resize quickly.
- If you are working with toddlers or preschool, pre cutting the shapes can make things smoother. Then the focus can stay on coloring and simple assembly.
Fun ways to use this Pirate Craft
This printable pirate hat is perfect for themed days, simple activities, or even just a relaxed afternoon. It also works well if you are setting up a quick craft station.

You can pair it with other pirate crafts for kids to create a full activity set. Even something as simple as drawing a treasure map on another sheet of paper can turn this into a longer play session.
I also like using this as a group craft. Since it is easy to prep and does not need many supplies, it works really well when you need something simple that everyone can do together.
A quick note on sharing this file
If you love this template and want to share it with friends, teachers, or fellow crafters, I’d be so happy! Please just share the link to this blog post instead of sending the file directly. It helps support my site and allows me to keep creating free crafts for everyone to enjoy.
Thanks for supporting my little corner of the internet!
You might also like

I find myself coming back to this style of craft a lot because it is low prep and always turns out cute.