
Frog Toilet Paper Roll Craft (Free Printable Template)
If you love frog crafts for kids, this frog toilet paper roll craft is such a fun place to start. It is simple, quick, and uses supplies you probably already have. A toilet paper roll, a bit of paper, and you are good to go.

This toilet paper roll frog turns out so cute, especially once you add the big eyes and cheeks. You can use the color template to keep things easy. Or pick the outline version and make your own color choices.
It is an easy project to sit down with and just enjoy. No overthinking, just cutting, gluing, and creating something adorable.
What you’ll need
- Toilet paper roll
- Printed frog template (color or black outline)
- Black marker
- Printer
- White paper or cardstock
- Scissors
- Crayons, markers, or colored pencils (optional: if using the outline version)
- Glue stick or craft glue

How to make this Frog Toilet Paper Roll Craft
Step 1: Print the template
Start by printing out the frog template. You can choose the full-color version for a quicker craft, or print the black outline version if you plan to trace the pieces onto colored paper.
Step 2: Trace onto colored paper (optional)
If you are using the outline template, cut the pieces, place them over your colored paper and trace each piece. I like using green for the body and legs, a lighter shade for the belly, and pink for the cheeks. This gives the frog a bold, clean look once everything is cut out.
Step 3: Cut out all the pieces
Cut out each piece carefully.
If you traced onto colored paper, cut along your traced lines. Take your time around the curved edges so the shapes look nice and smooth.

Step 4: Prepare the toilet paper roll
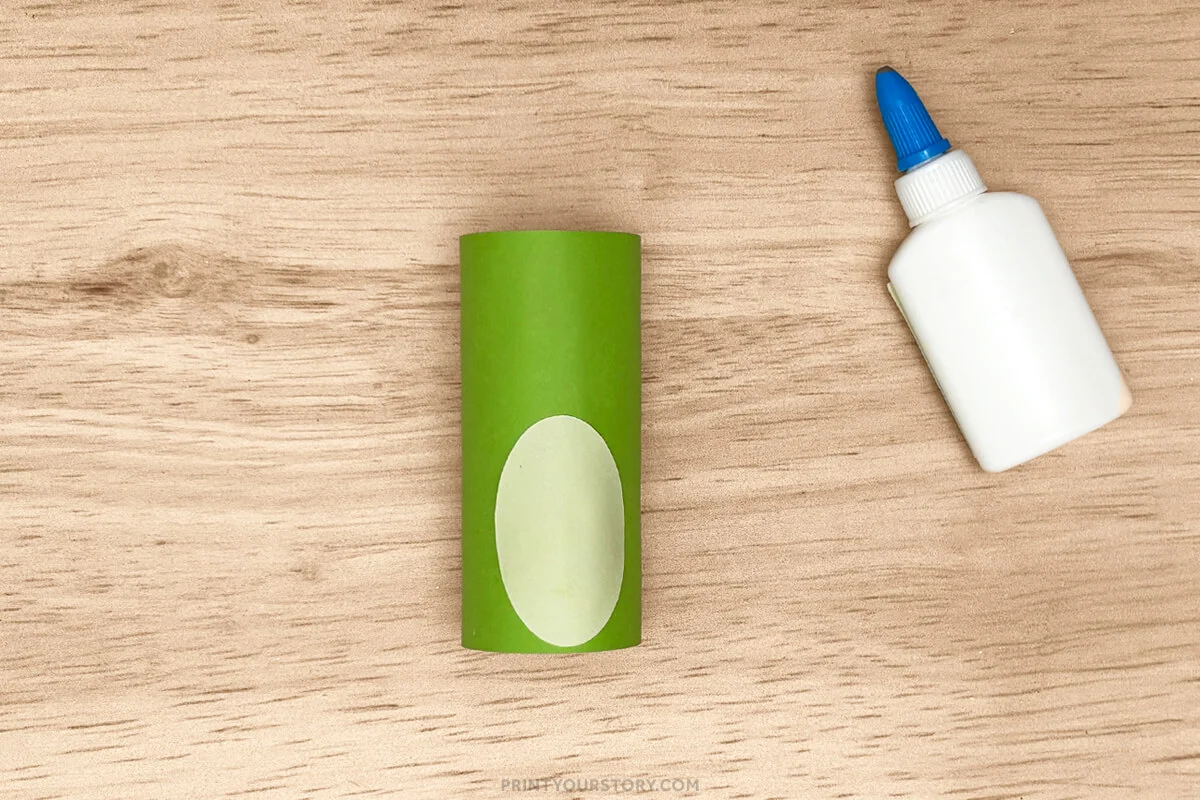
Wrap the toilet paper roll in green paper.

Step 5: Attach the belly
Glue the belly piece onto the front of the toilet paper roll. Press it down gently and hold for a few seconds so it sticks well.
Step 6: Add the legs
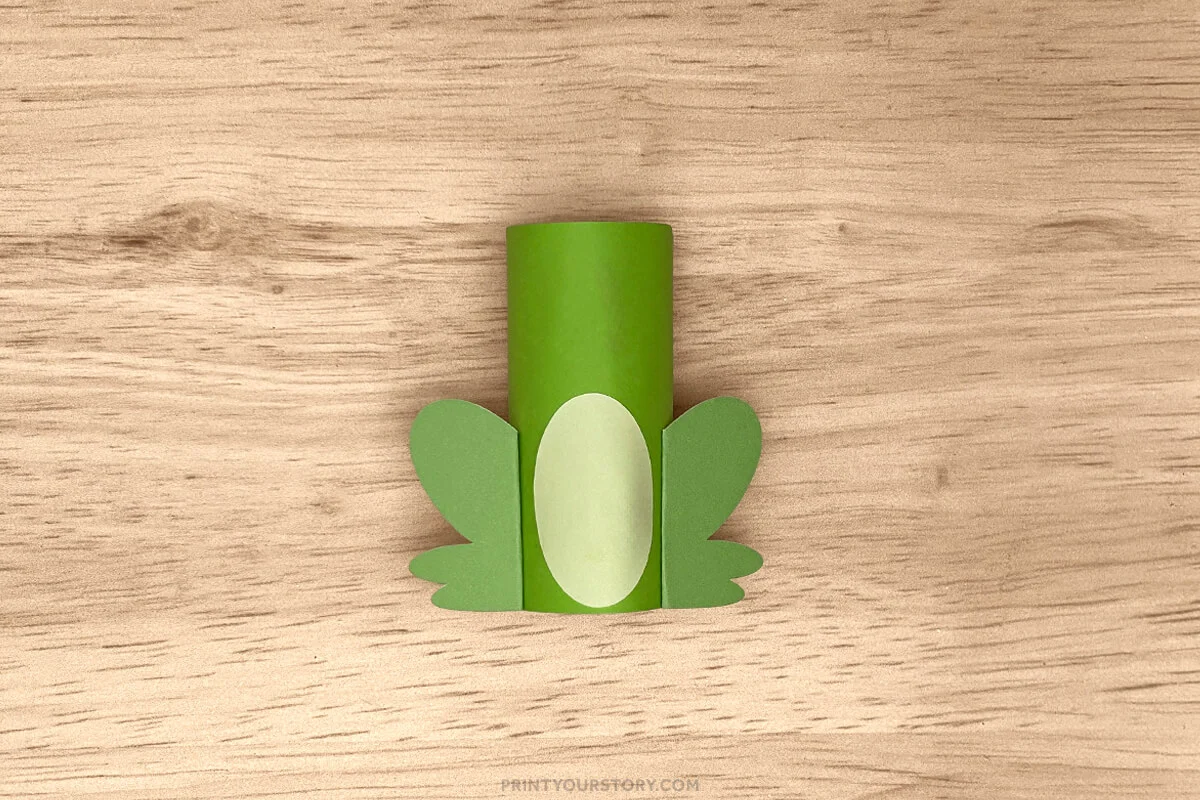
Take each leg piece and fold a small tab along the side where it will attach to the roll. This helps the legs stick better and gives them a slight 3D look. Add glue to the folded tab, then press it onto the side of the toilet paper roll. Hold it in place for a few seconds so it stays secure.
Step 7: Assemble the face
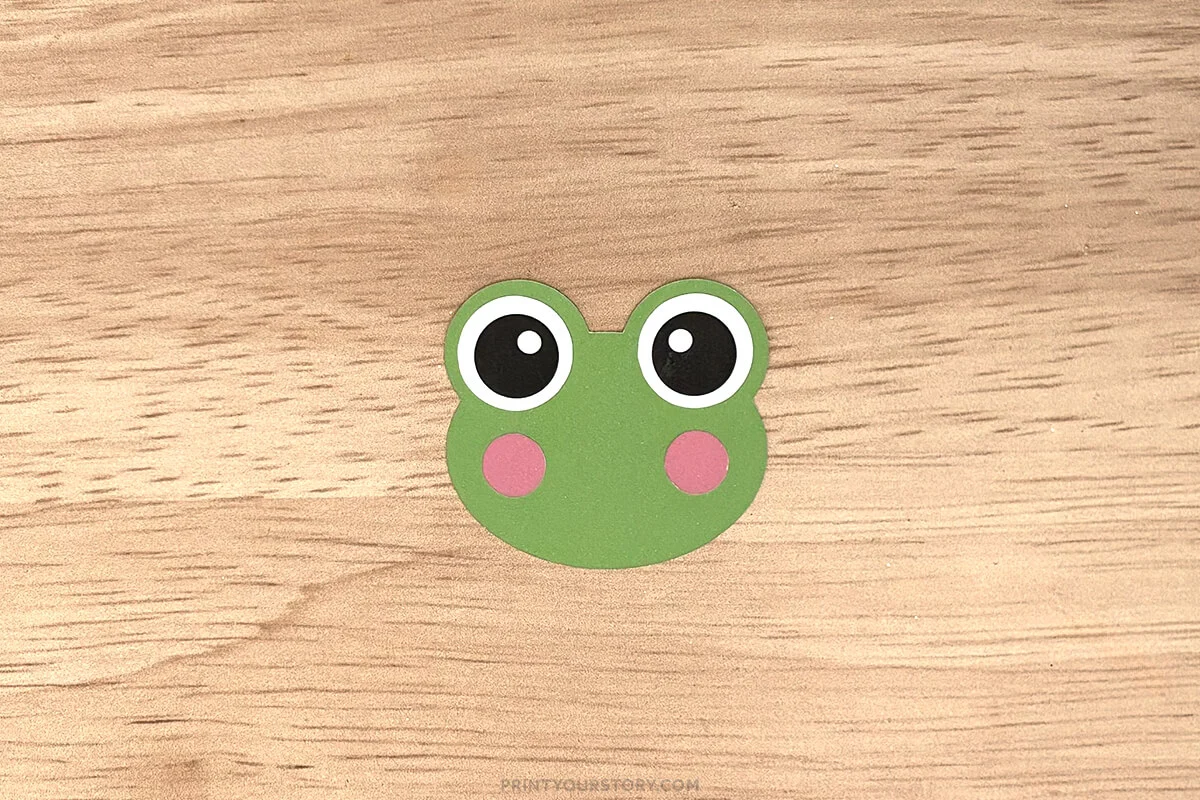
Glue the eyes onto the head, then add the cheeks underneath. Use a marker to draw a simple smile to bring your frog to life. You can adjust the placement of the cheeks and the shape of the smile to give your frog its own personality.
Step 8: Attach the head
Glue the head onto the top front of the toilet paper roll. Hold it in place for a few seconds until it feels secure. Once it is set, your frog is finished.
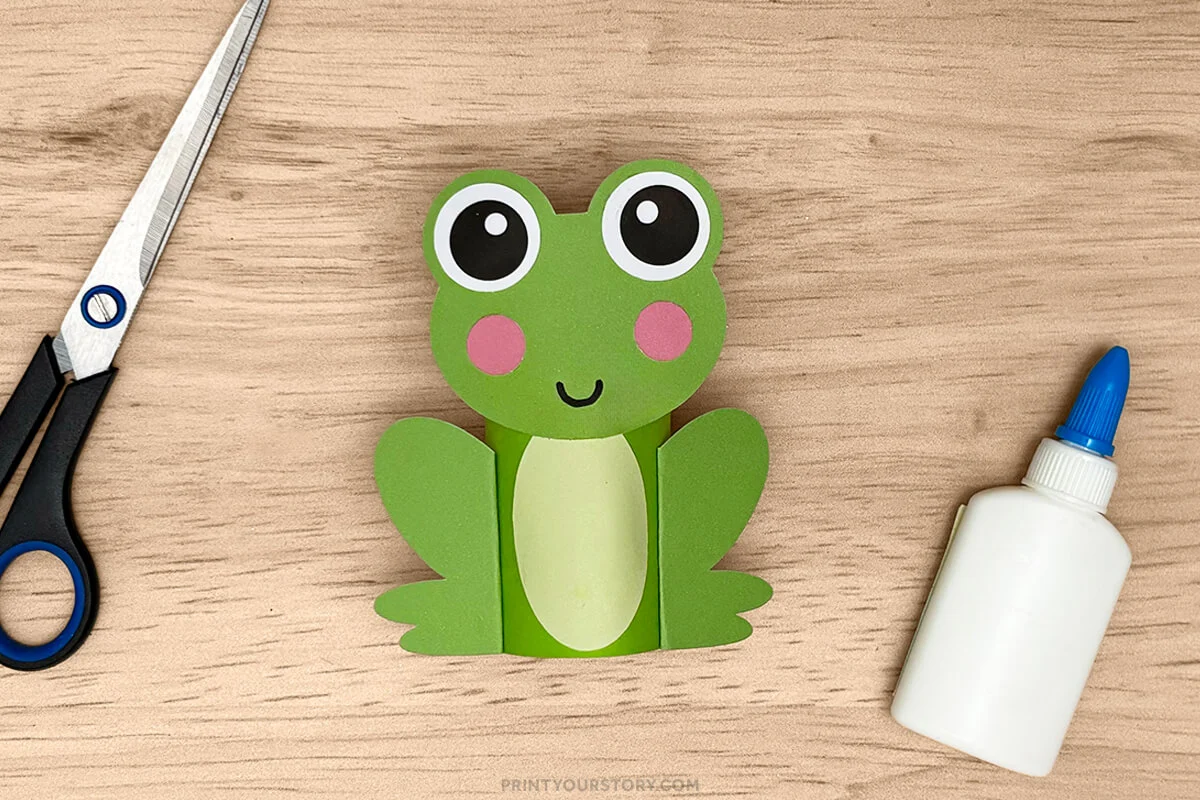
Once your frog is finished, it is such a cute little piece to set on a shelf or desk!
If you enjoyed this one, you might also like some of my other toilet paper roll crafts. They follow the same simple idea and are just as fun to put together. I have been building up a small collection, and it is always nice to see them all displayed together.
You might also like
I also have more animal crafts if you want to keep the theme going.
Save this one for later if you are planning your next craft session, and have fun creating your frog!