Build a Bunny Printable Craft
Sometimes you just need a simple craft that is easy to set up and fun to make. That is exactly why I love printable activities like this printable Build a Bunny craft. You only need a few basic supplies, and everyone can create their own version.

This kind of activity works really well when you want something creative without a lot of preparation. It is perfect for a quiet afternoon at home, a spring themed activity, or an easy classroom craft.
The best part is that every bunny will look a little different. Some will be soft and pastel, others bright and colorful. Seeing all the finished bunnies together always turns out so cute.
What you’ll need
- The Build a Bunny printable template (grab it down below)
- White printer paper or cardstock and printer
- Crayons, markers, or colored pencils
- Scissors
- Glue stick or school glue
How to make your Bunny
Follow these simple steps to put your bunny together.
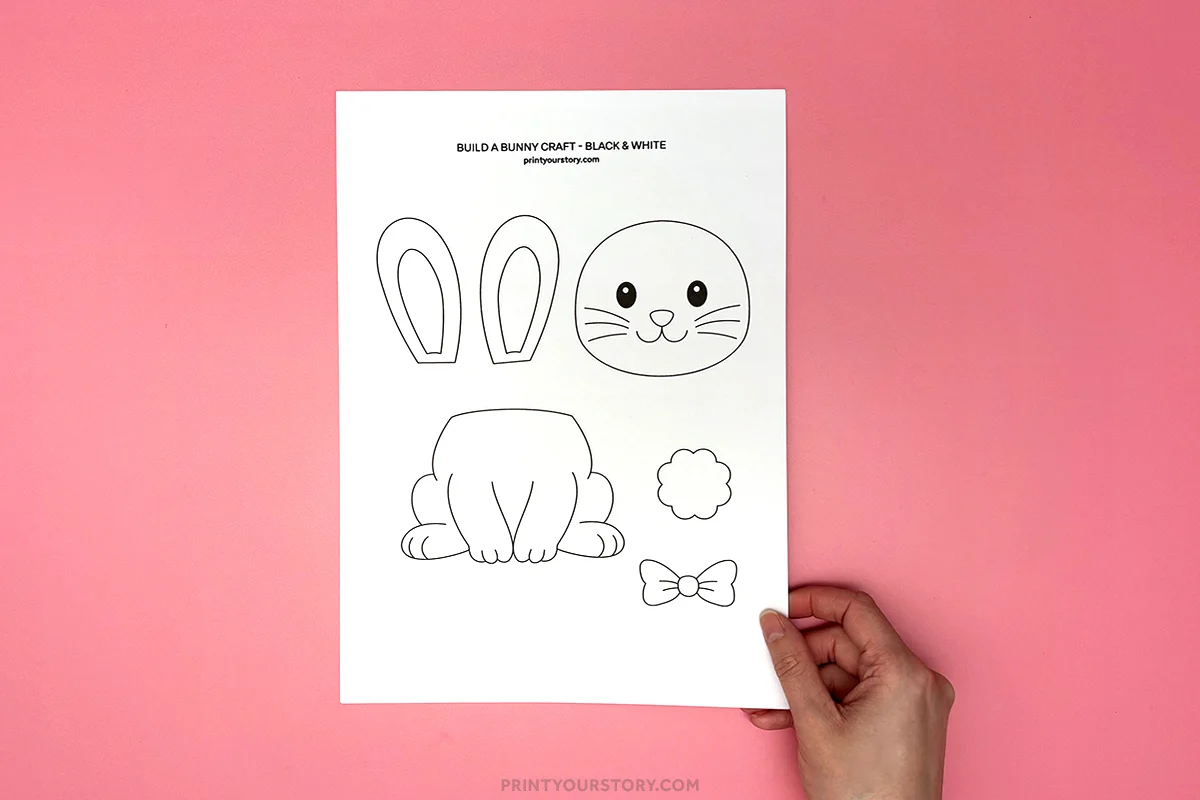
Step 1: Print the template
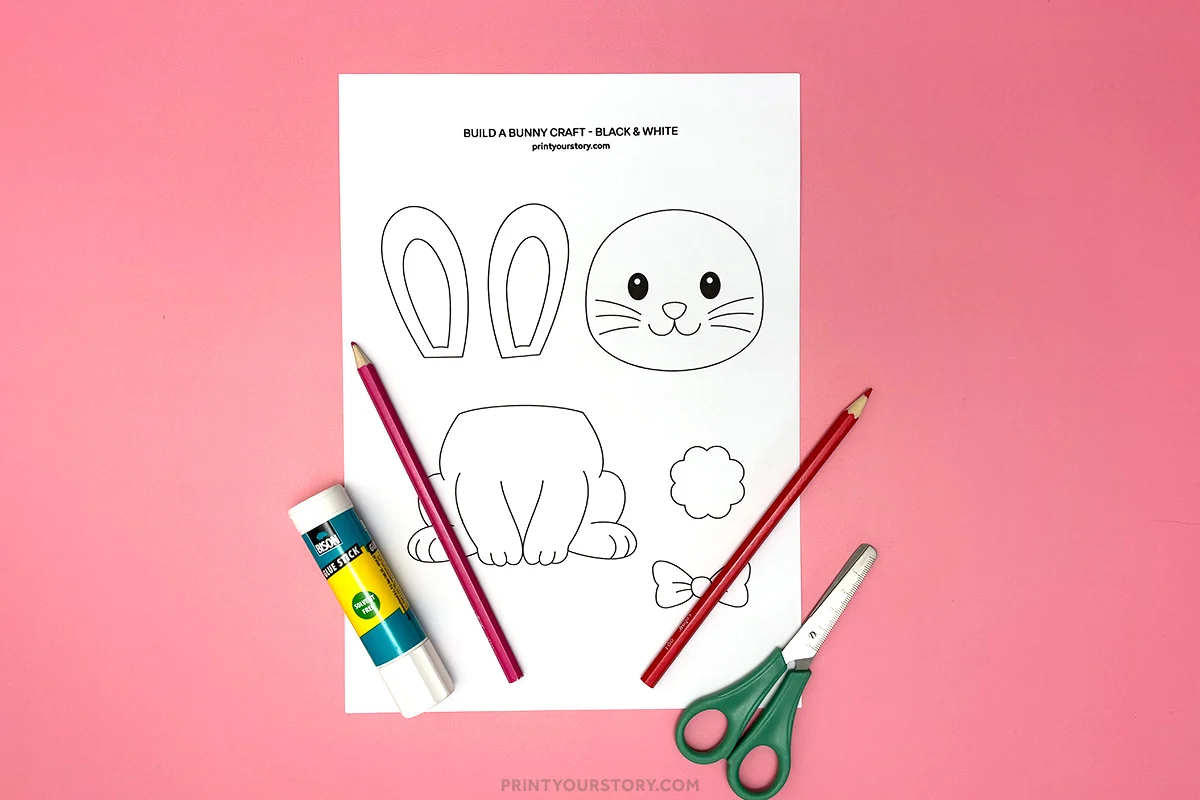
Print the Build a Bunny template on white paper or cardstock. Make sure all the pieces are clearly visible before starting.
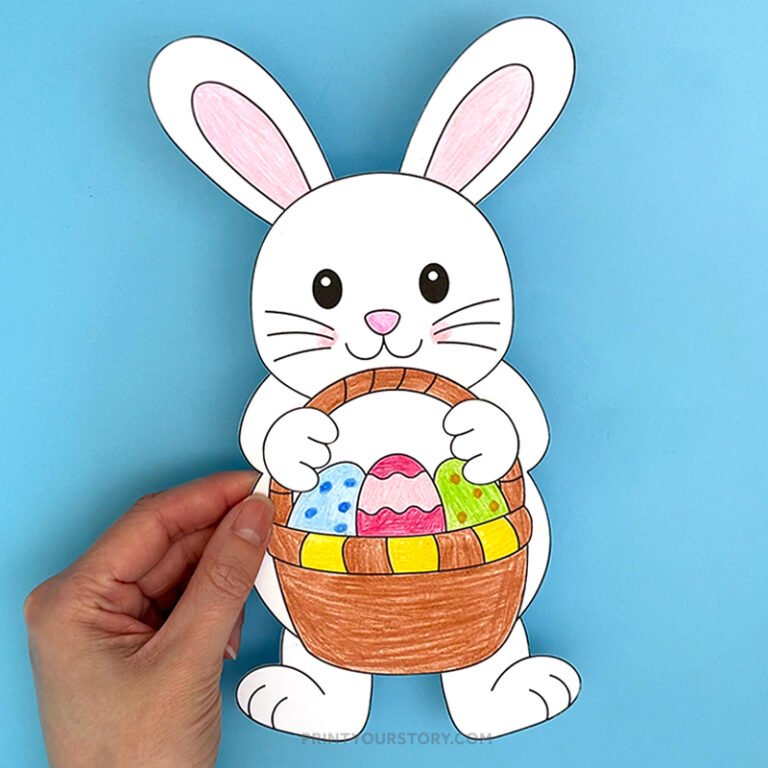
The template includes the bunny head, body, ears, tail, and bow.
Step 2: Color the bunny pieces
Before cutting, color in all the bunny pieces.
You can go with soft gray, brown, or white for a classic bunny look. Or you can make it completely unique with pink, blue, or even rainbow colors.
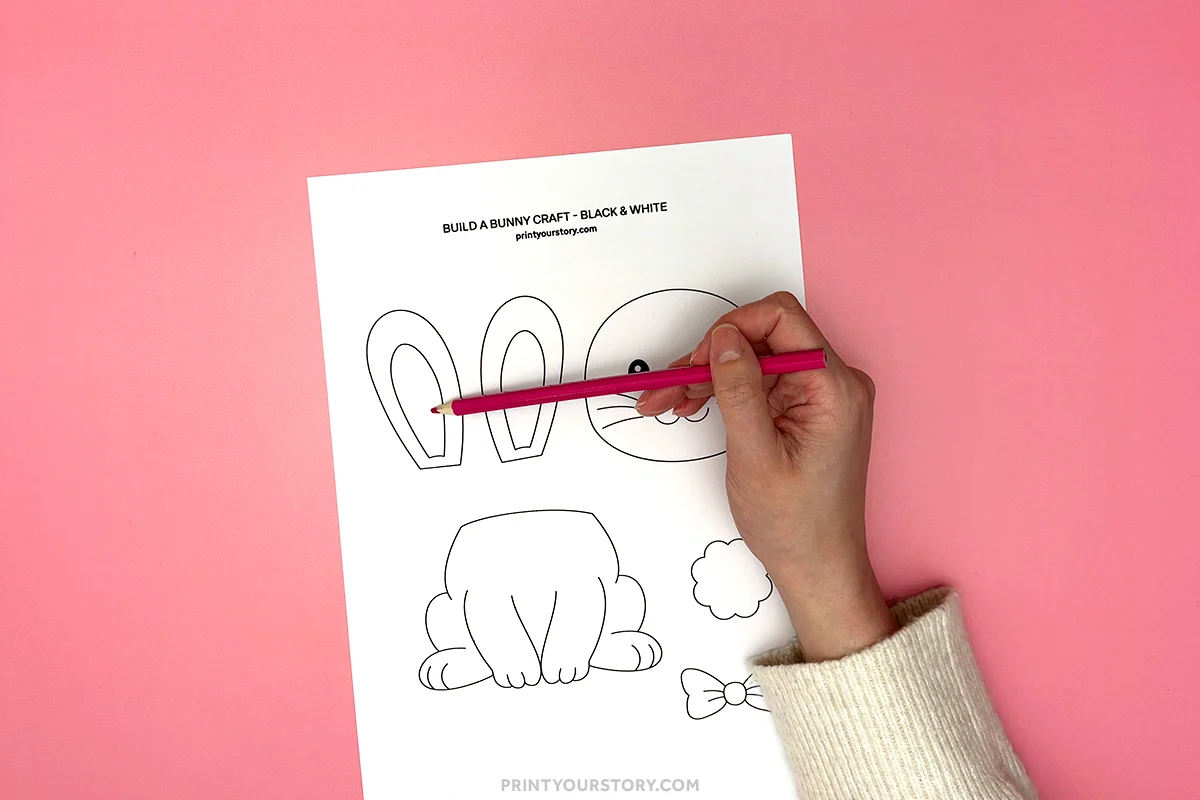
This is where creativity really shines. Encourage different patterns, shading, or even adding small details like freckles or rosy cheeks.
Step 3: Cut out the pieces
Carefully cut out each piece along the outlines.
Take your time with curved edges like the ears and feet. If you are working with younger crafters, you can pre cut smaller pieces to make it easier.
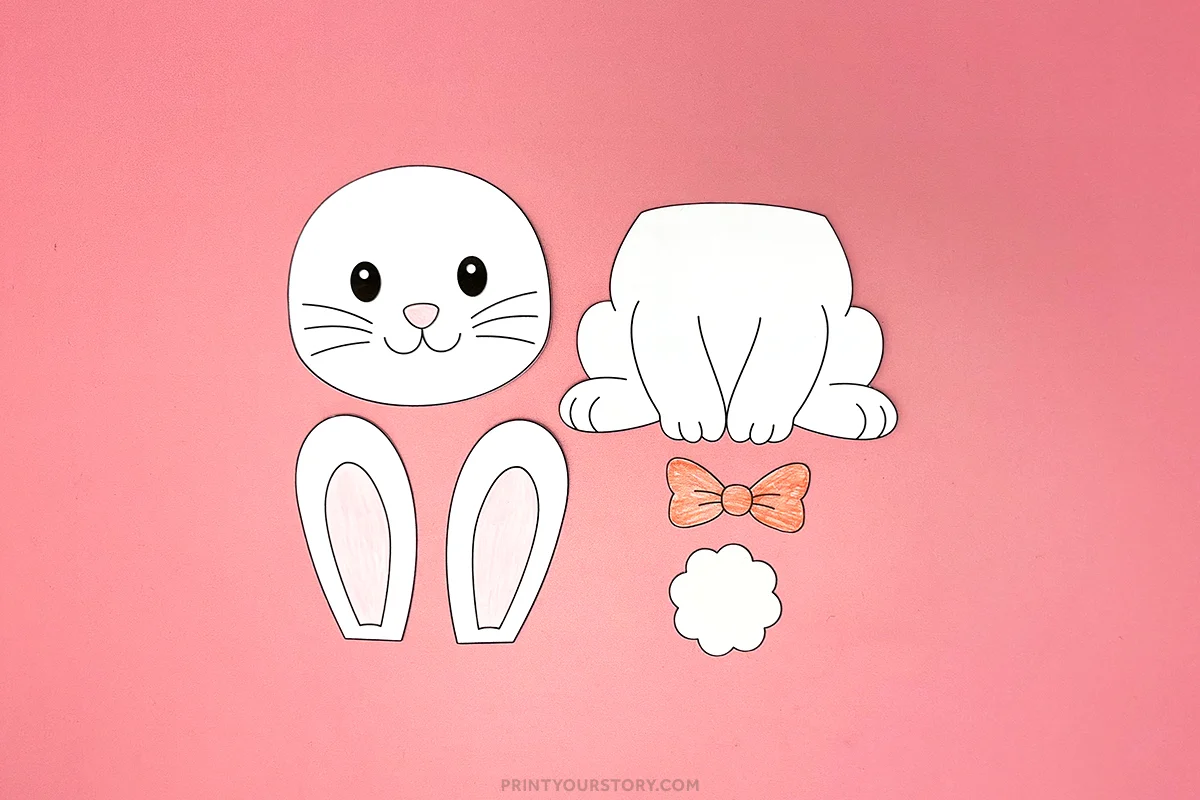
It does not need to be perfect. Handmade always looks charming.
Step 4: Attach the ears
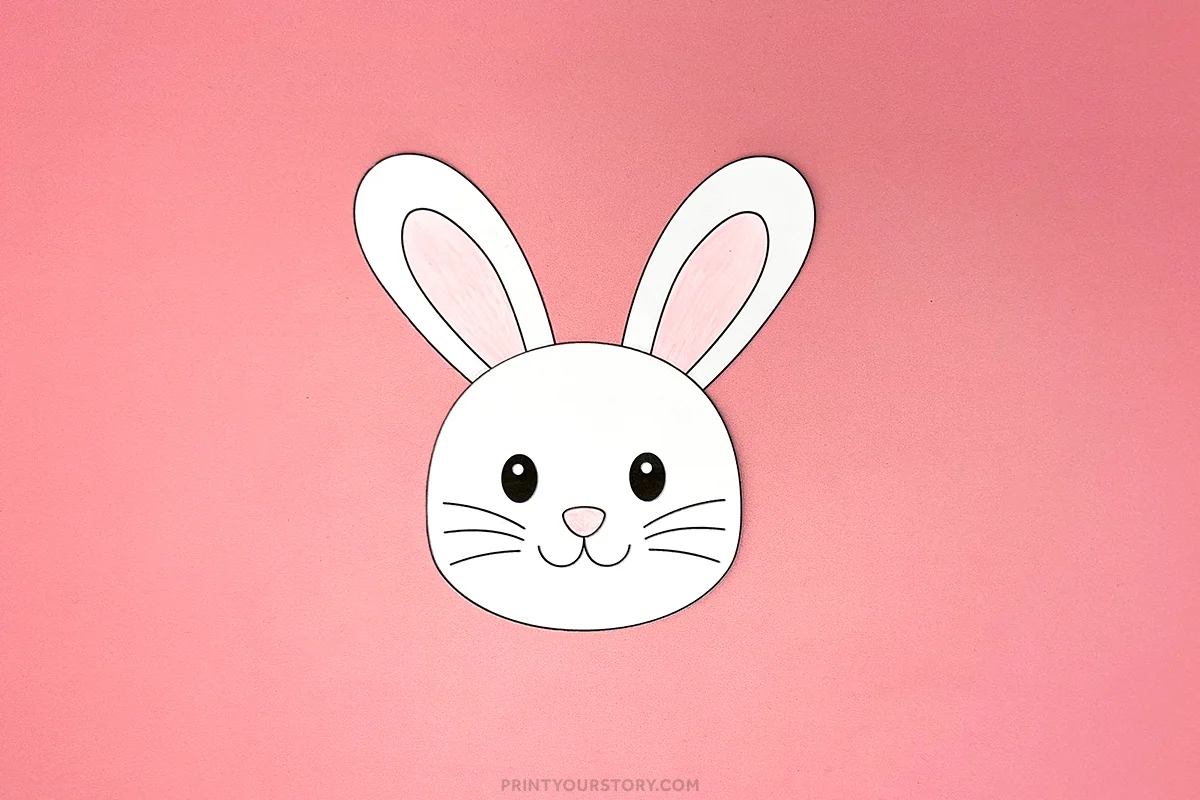
Glue the ears to the back of the bunny’s head so they stick up above the head.
You can angle the ears slightly inward or outward to give each bunny a little personality.
Step 5: Attach the head to the body
Next, glue the bunny head onto the top of the body piece.
Press gently for a few seconds so it sticks well and stays in place.
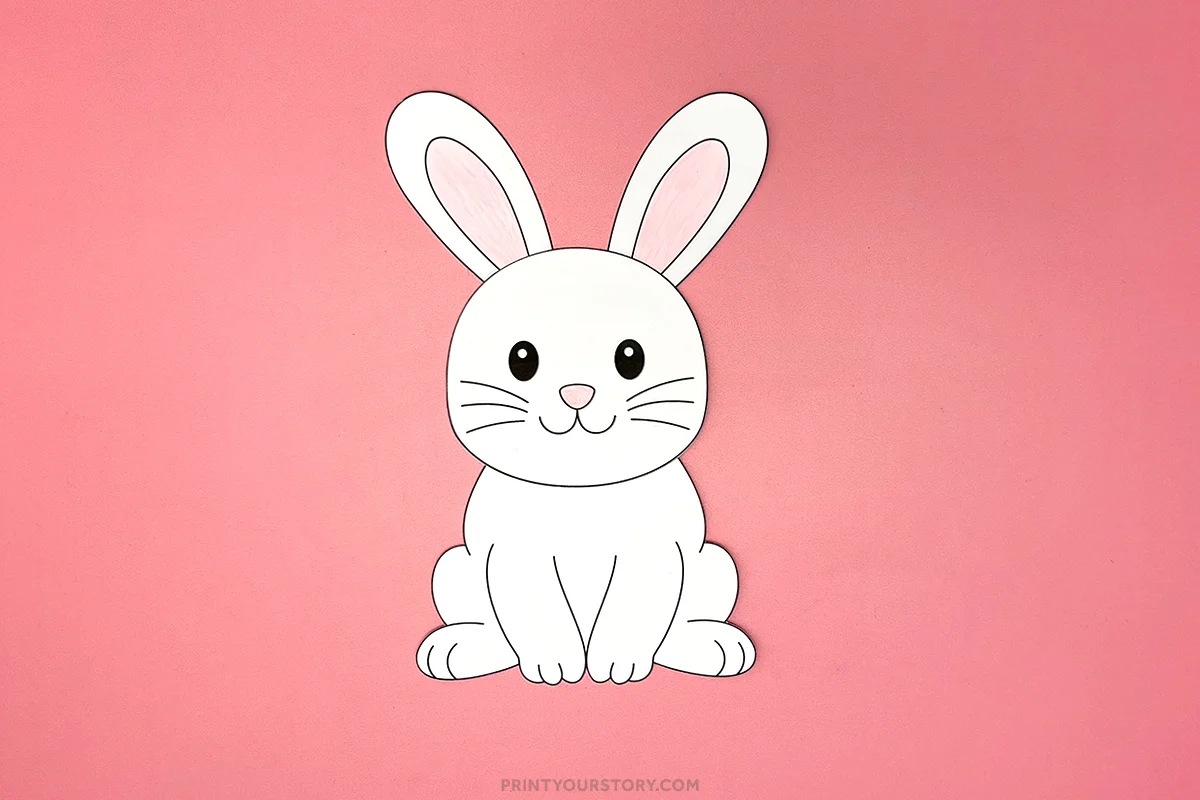
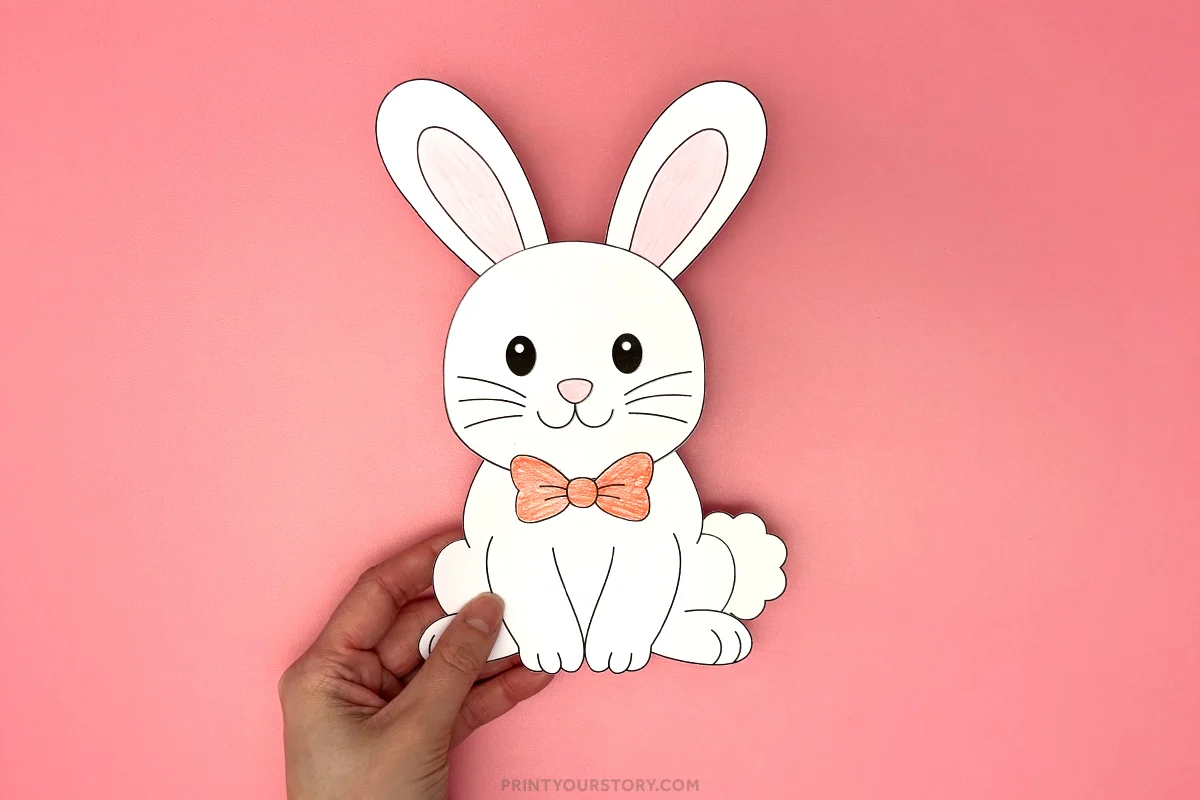
Step 6: Add the bow and tail
Glue the bow onto the bunny’s chest.
Then attach the tail to the back of the body. If you want to make it extra cute, you can replace the paper tail with a small cotton ball for a fluffy effect.
A flexible craft for any season
What I really love about this Build a Bunny craft is how versatile it is. It fits perfectly into:
- Spring themes
- Animal themed lessons
- Farm unit studies
- Rainy day activities
- Quiet creative time
Because it is not tied to a specific holiday, you can use it any time of year. That makes it a great printable to keep on hand.

Download your Build a Bunny printable
Ready to make your own bunny?
You can download the Build a Bunny printable template below. Simply print it out, set out your coloring supplies, and start creating.
This printable is for personal and classroom use only.
A quick note on sharing this file
If you love this template and want to share it with friends, teachers, or fellow crafters, I’d be so happy! Please just share the link to this blog post instead of sending the file directly. It helps support my site and allows me to keep creating free crafts for everyone to enjoy.
Thanks for supporting my little corner of the internet!