Handprint Watering Can Spring Craft


Spring always feels like a fresh start. The days get brighter, flowers start popping up everywhere. I always love simple handprint flower crafts that feel cheerful but are still easy to make.
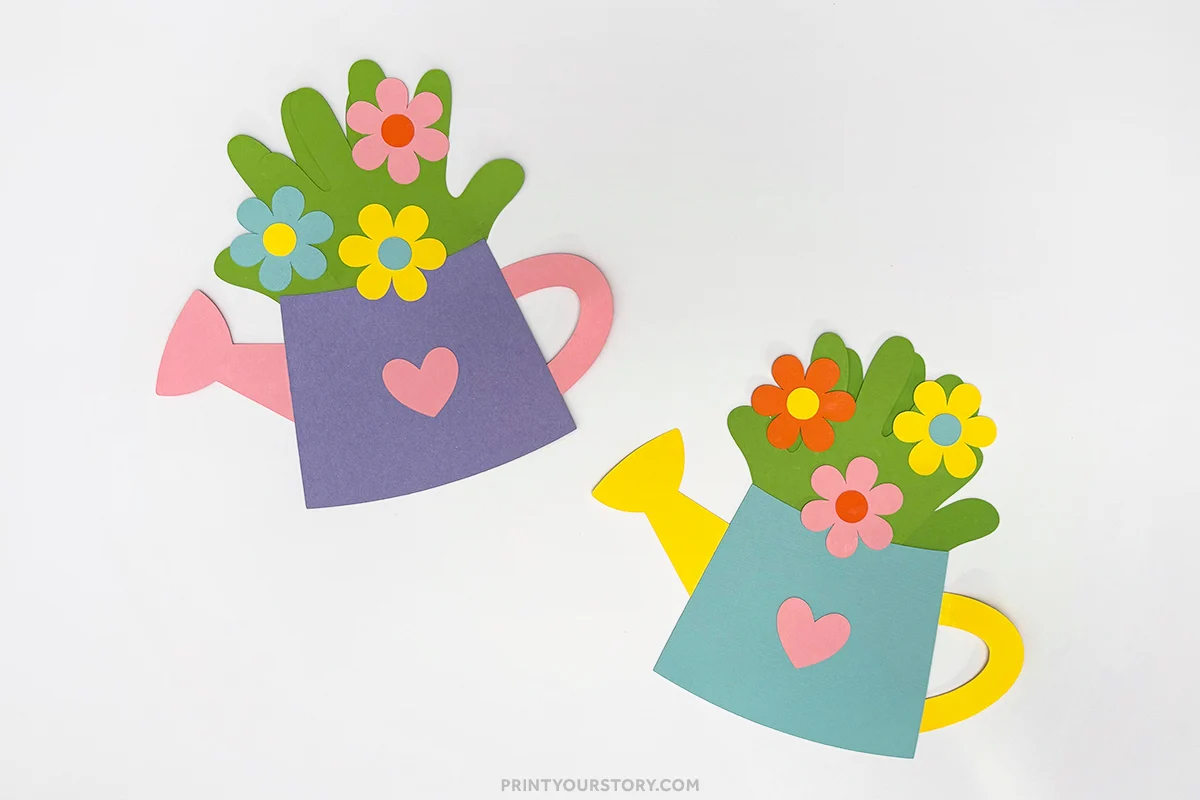
This wastering can spring craft is one of those projects that instantly puts me in a spring mood. I created a free printable template to make this cute handprint craft filled with bright paper flowers and handprint leaves.

The handprints make the flowers look like they are growing right out of the watering can, which gives the whole project a fun and playful look.
The best part is how simple it is to put together. Just print the template, trace the pieces onto colored paper, and assemble your watering can and flowers. It’s a simple spring craft that comes together quickly with just a few craft supplies.
What you’ll need
To make this watering can flower craft, you will need just a few basic craft supplies.
- Free watering can printable template (grab it down below)
- Colored cardstock or construction paper
- Scissors
- Glue stick or craft glue
- Pencil for tracing
- Optional: extra decorations like stickers or markers
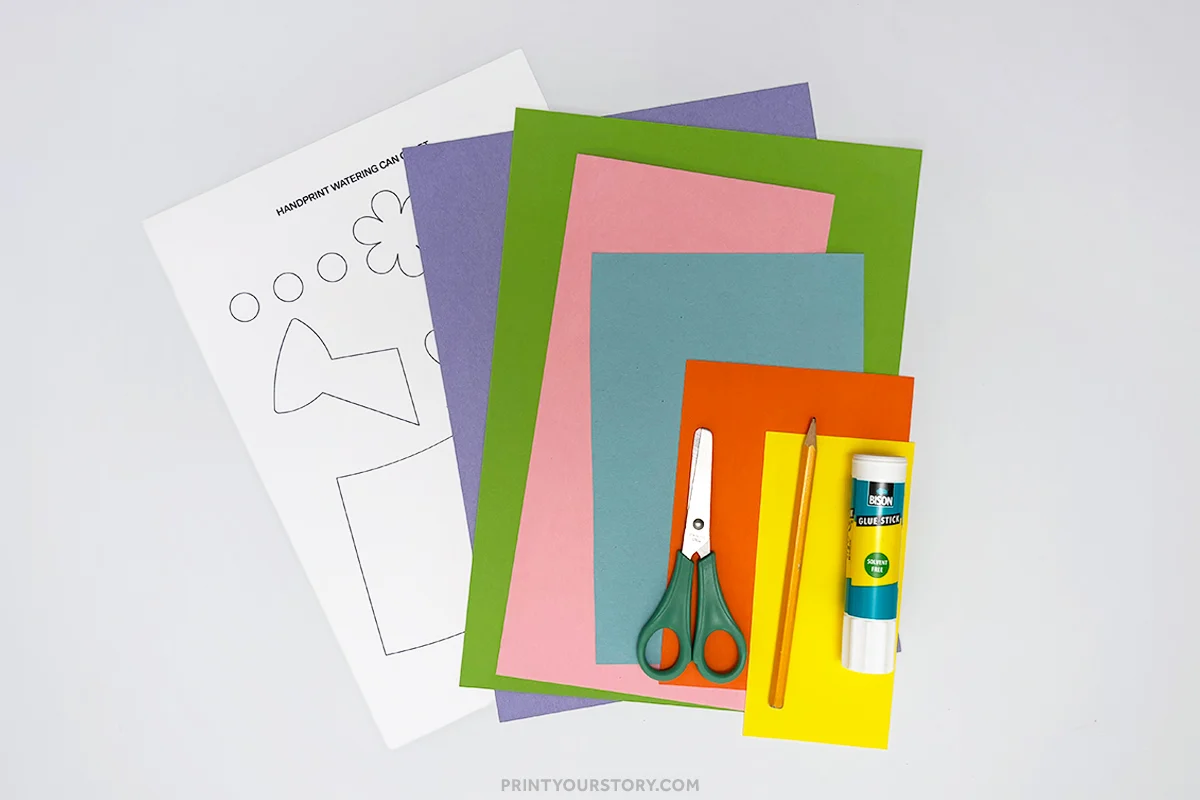
Bright spring colors work best for this project.
How to make this Watering Can Handprint Craft
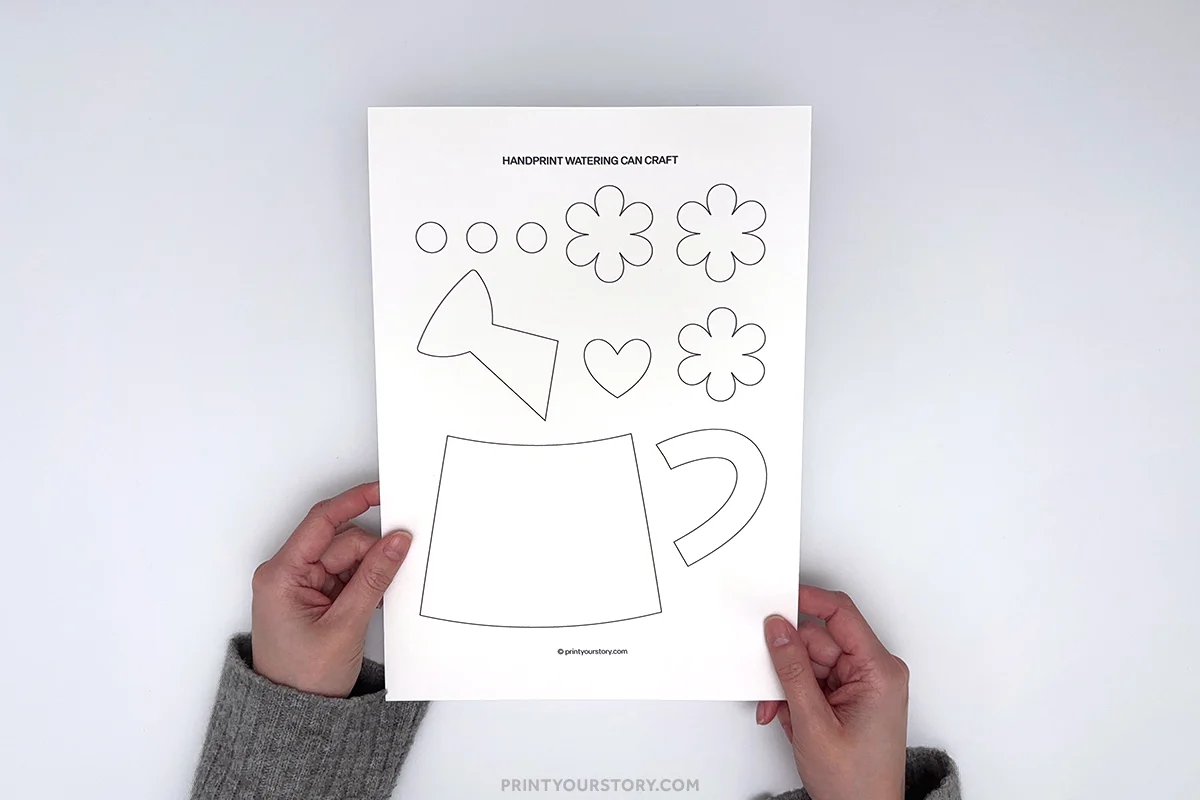
Step 1: Print the template
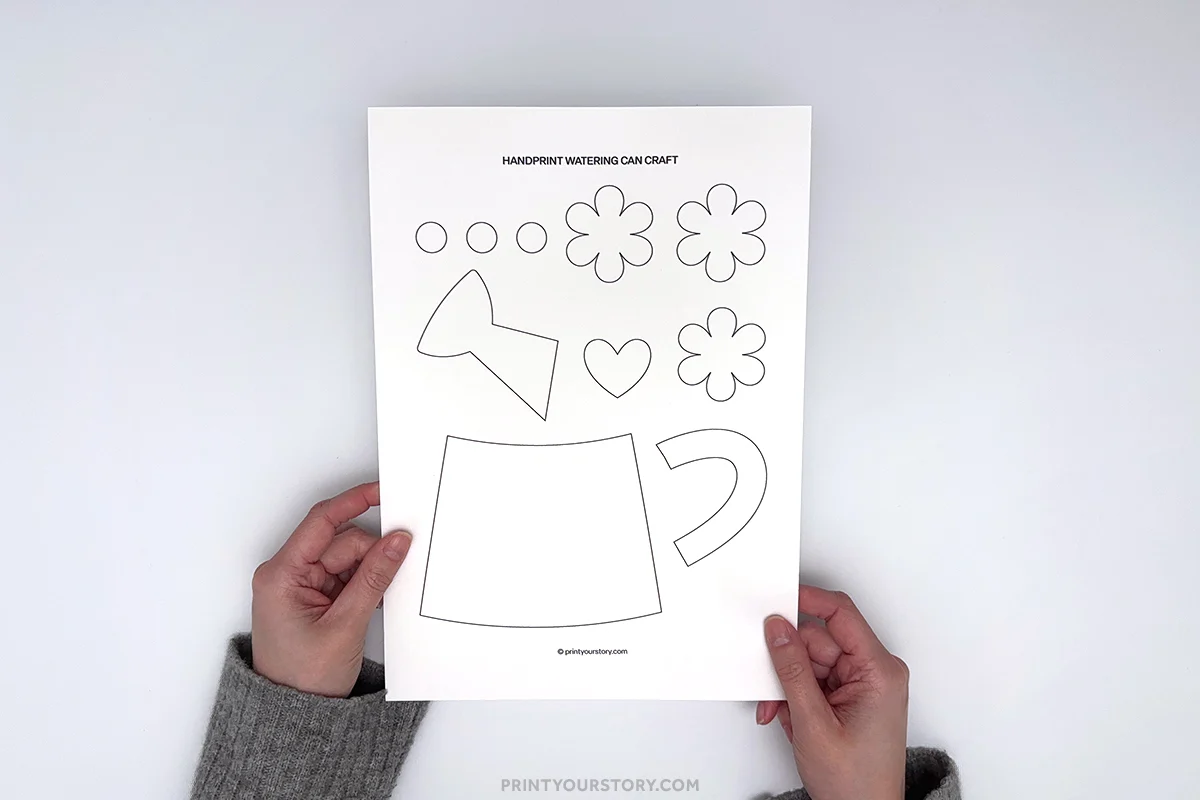
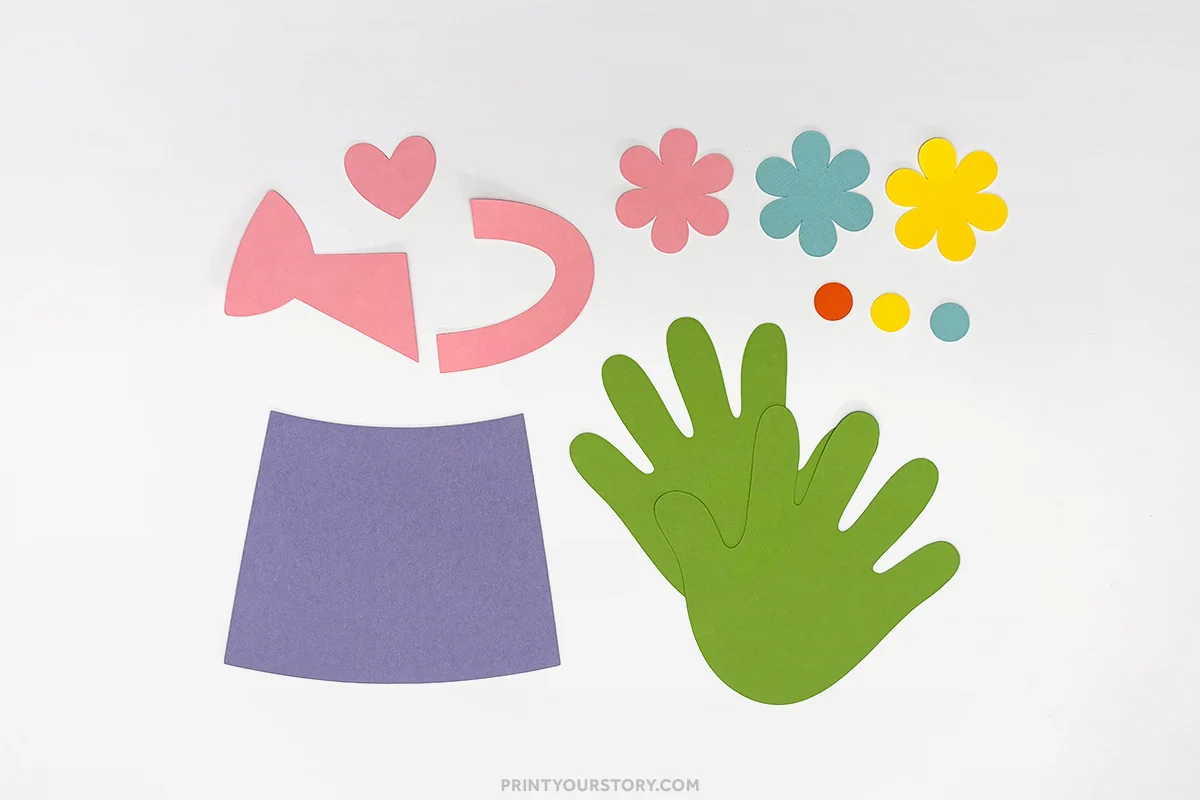
Start by printing the watering can craft printable template. The template includes the watering can base, handle, spout, flower shapes, and flower centers.
Step 2: Cut out the template pieces
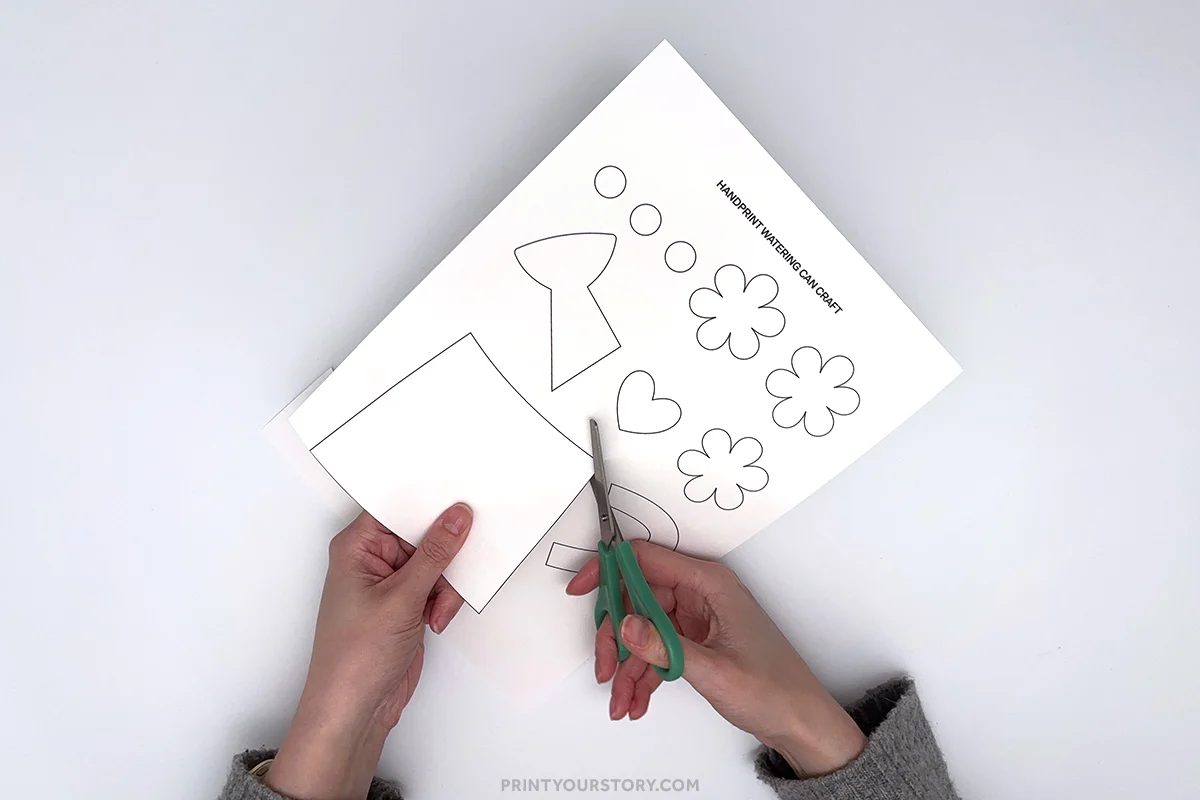
Carefully cut out each piece from the printable template. These pieces will be used as tracers for your colored paper.
Step 3: Trace the watering can pieces
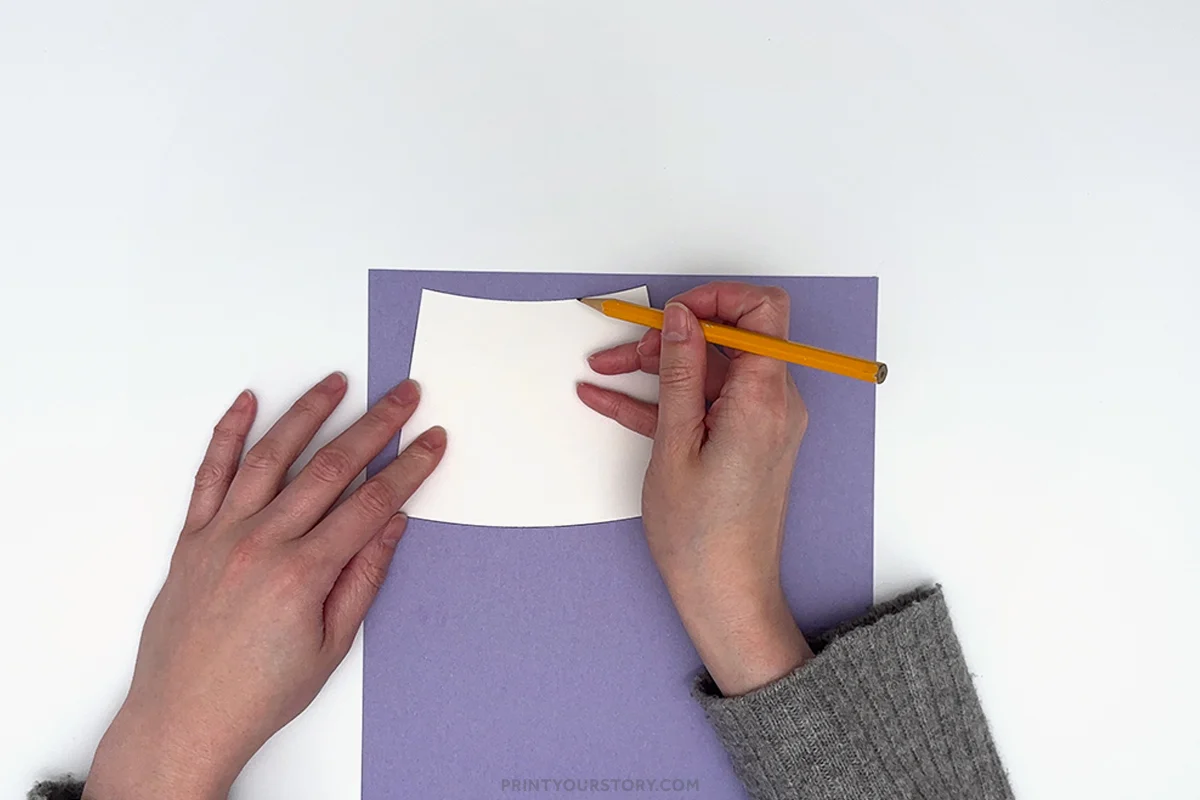
Place the watering can template pieces onto your colored cardstock or construction paper. Trace around the shapes with a pencil and then cut them out. This will give you the watering can base, the handle, and the spout.
Step 4: Create the handprint leaves
Trace a hand onto green paper and cut it out. The fingers will act as the leaves that hold the flowers. You can create one or two handprints depending on how full you want the watering can to look.
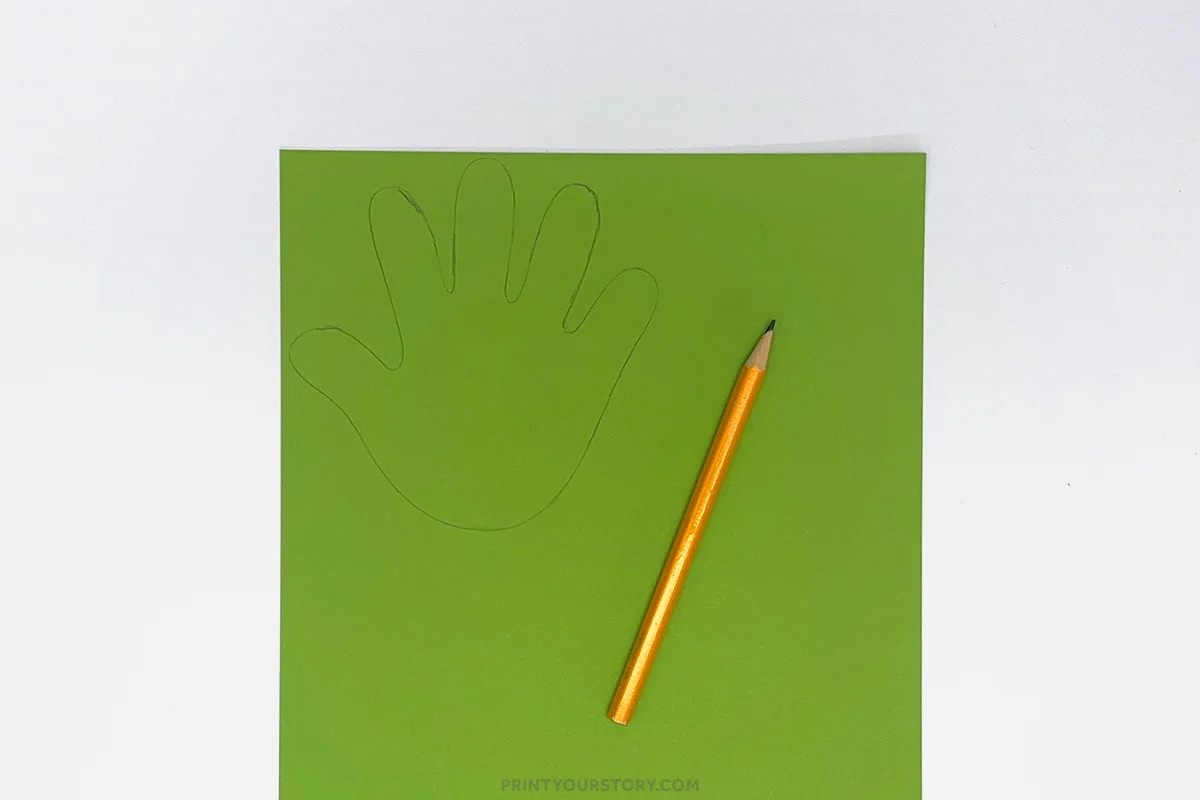
If tracing a hand feels tricky or takes too much patience, you can also download and use the handprint template instead. It’s a quick and easy option that still gives the craft the same cute look.
Step 5: Trace and cut the flowers and heart
Use the flower templates to trace flower and heart shapes onto colorful paper. Cut them out and also cut small circles for the centers.
Step 6: Assemble the watering can
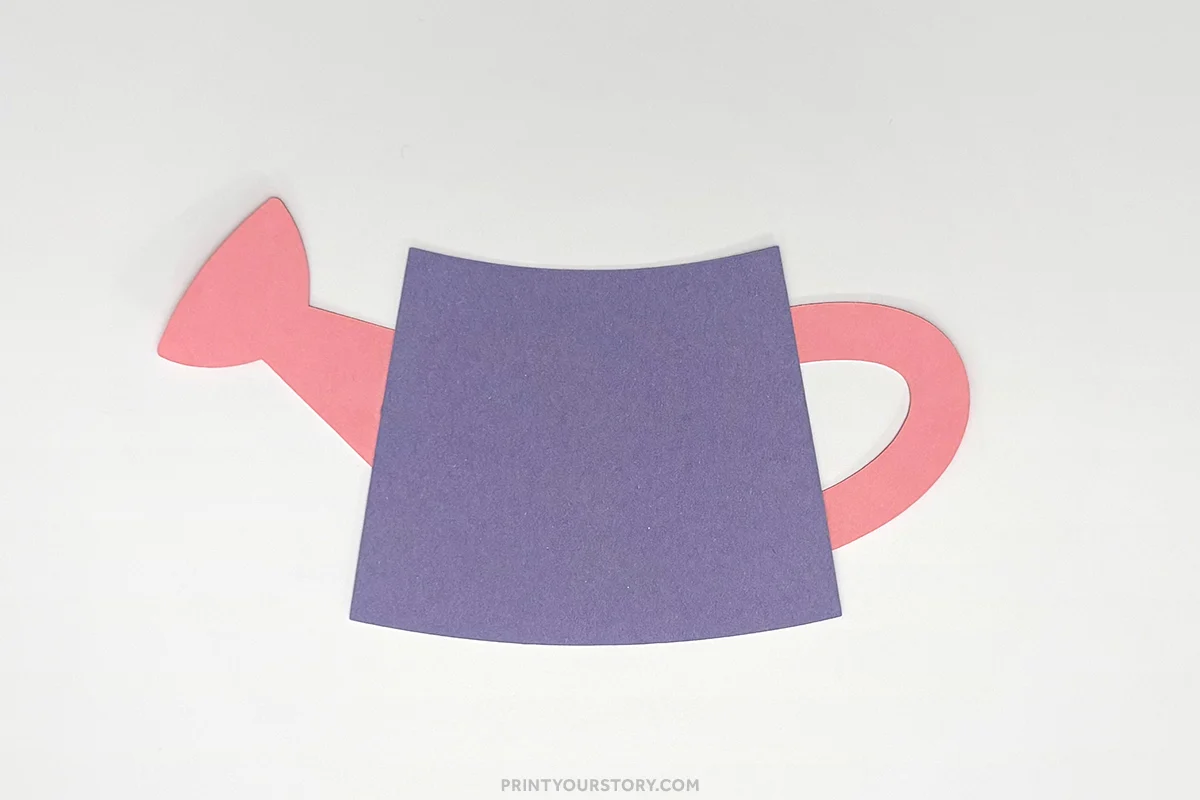
Glue the handle to one side of the watering can body and attach the spout to the opposite side.
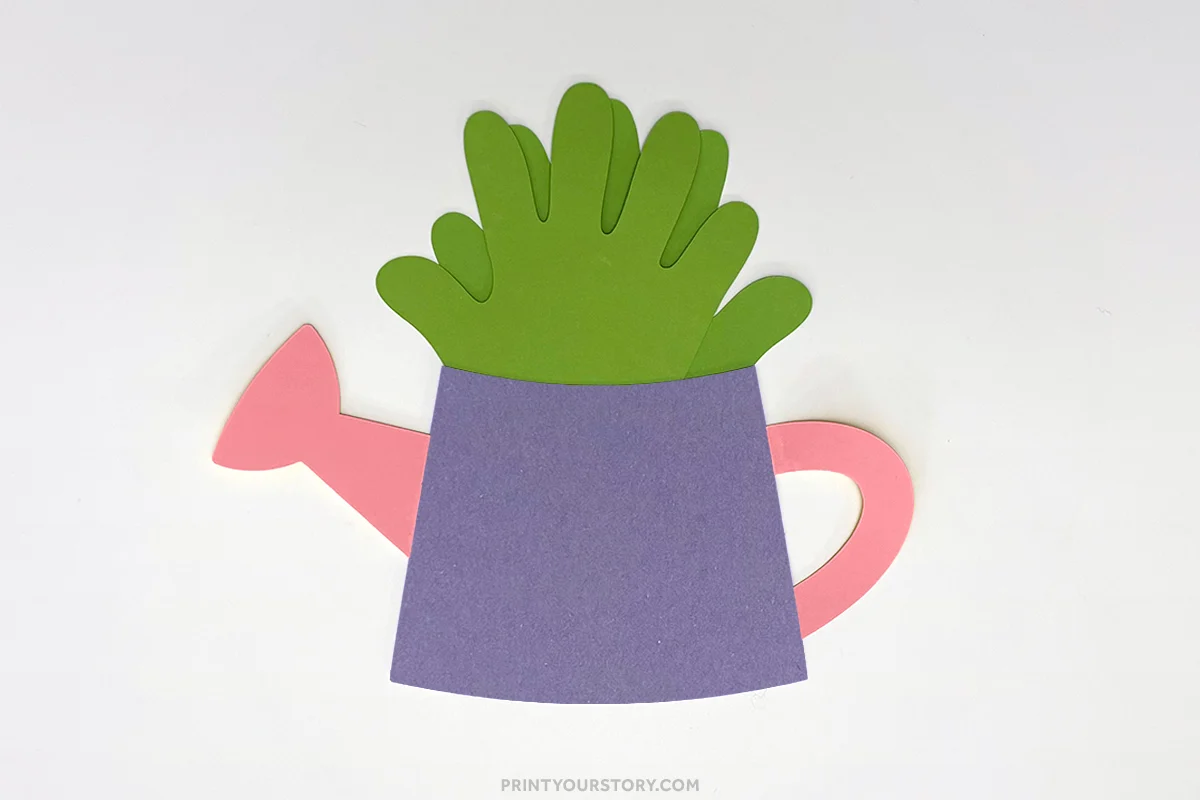
Glue the green handprints behind the top of the watering can so the fingers stick up like leaves.
Step 7: Add the flowers and heart
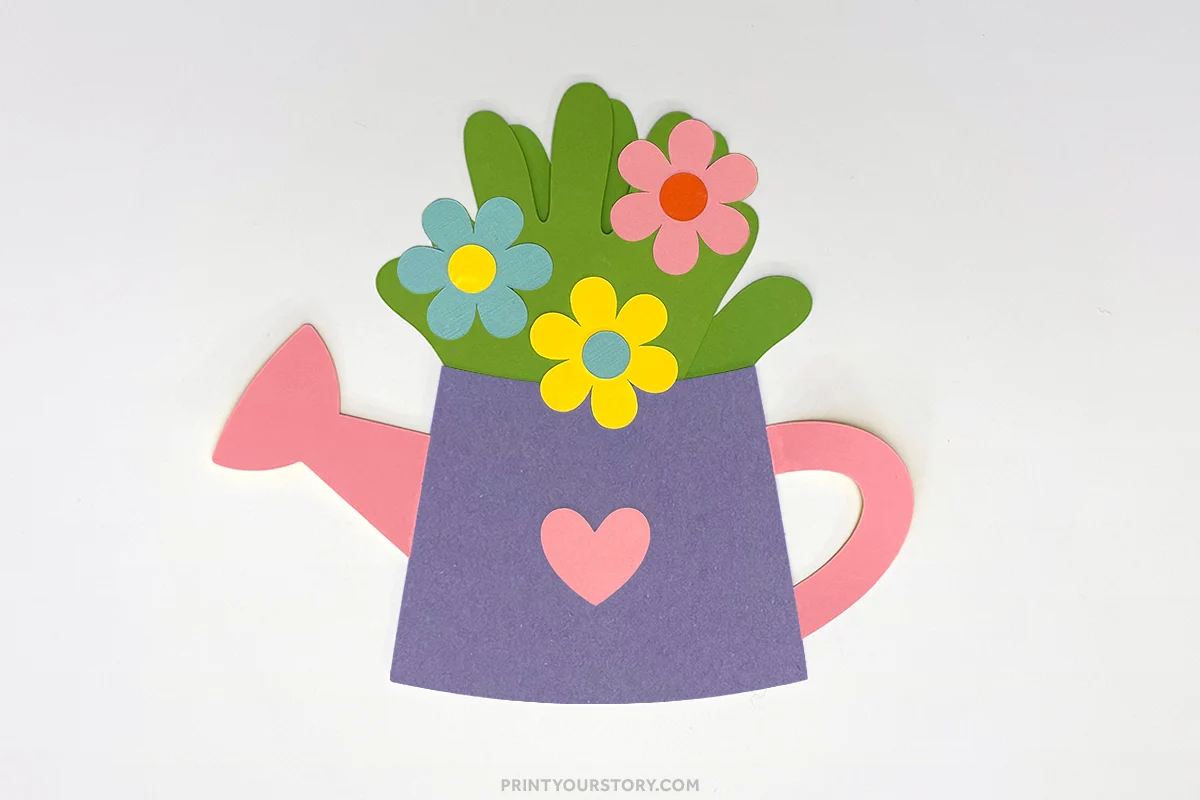
Glue the flower shapes onto the tips of the handprint fingers. Once the flowers are in place, glue the small circle pieces in the center of each flower. Add the heart at the center of the watering can.
Tips for the best results
A few small tips can make this flower craft turn out even better.
Use thicker paper if possible
Cardstock holds its shape better than thin paper and helps the watering can look more sturdy.
Choose bright spring colors
Pastel and bright colors work really well for this craft and help create a cheerful spring look.
Make multiple handprints
Using two handprints instead of one makes the watering can look fuller with more flowers.
Download the printable template
You can download the watering can craft printable template below to get started. Just print the page, gather your craft supplies, and enjoy making this cheerful spring handprint craft.