Teddy Bear Gift Card Holder with Cricut Design Space – Great for Birthday Gifts!
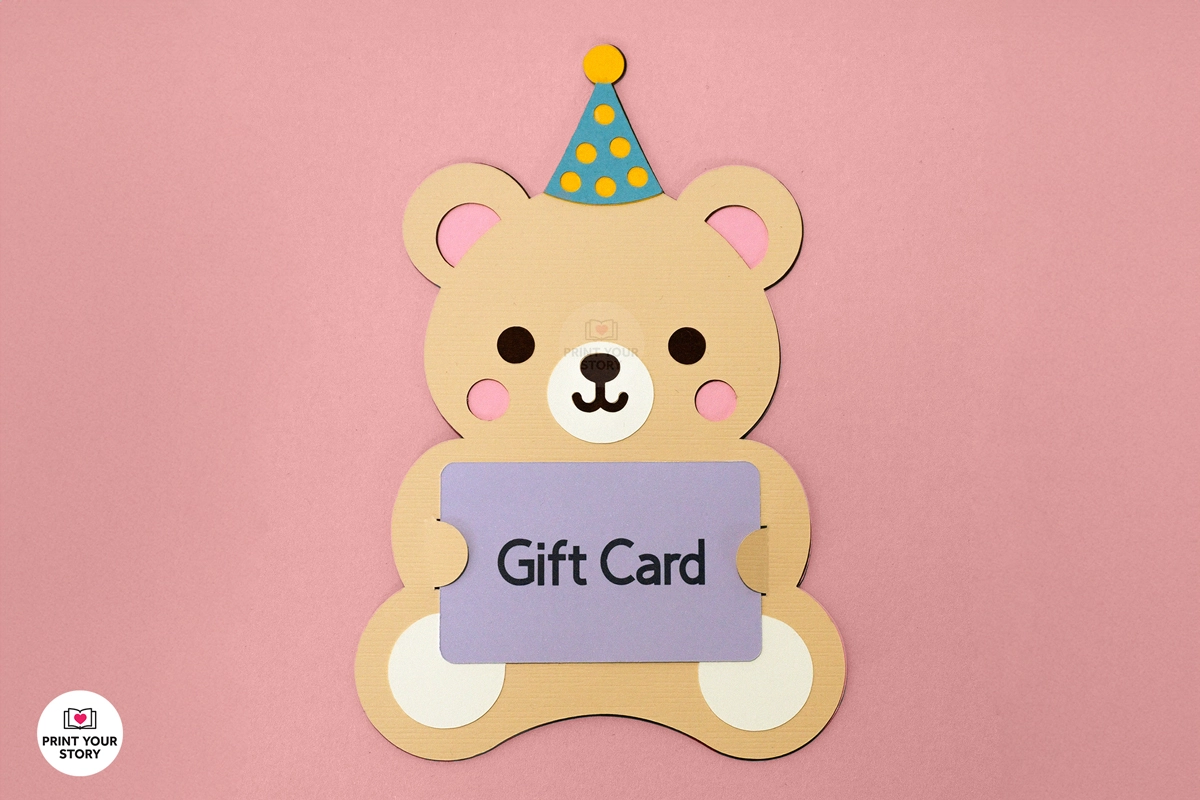
Table of Contents
If you’re looking for a sweet and fun way to give a gift card, this DIY teddy bear holder is just what you need! It’s a simple project that adds an extra special touch to any celebration.
The cute design is available on my Cricut Design Space profile. It’s included with Cricut Access or can be purchased for just $0.99 if you don’t have a subscription. It fits on Cricut Joy Xtra and bigger machines.
In this step-by-step tutorial, I’ll show you how to assemble the teddy bear gift card holder. Let’s get started!
Materials You’ll Need:
- Cricut machine (this project fits on Cricut Joy Xtra and bigger)
- Cardstock (various colors: pink, brown, beige, yellow, blue)
- Glue or tape runner
- Cricut Access Project (or purchase for $0.99) here
Step-by-Step Instructions
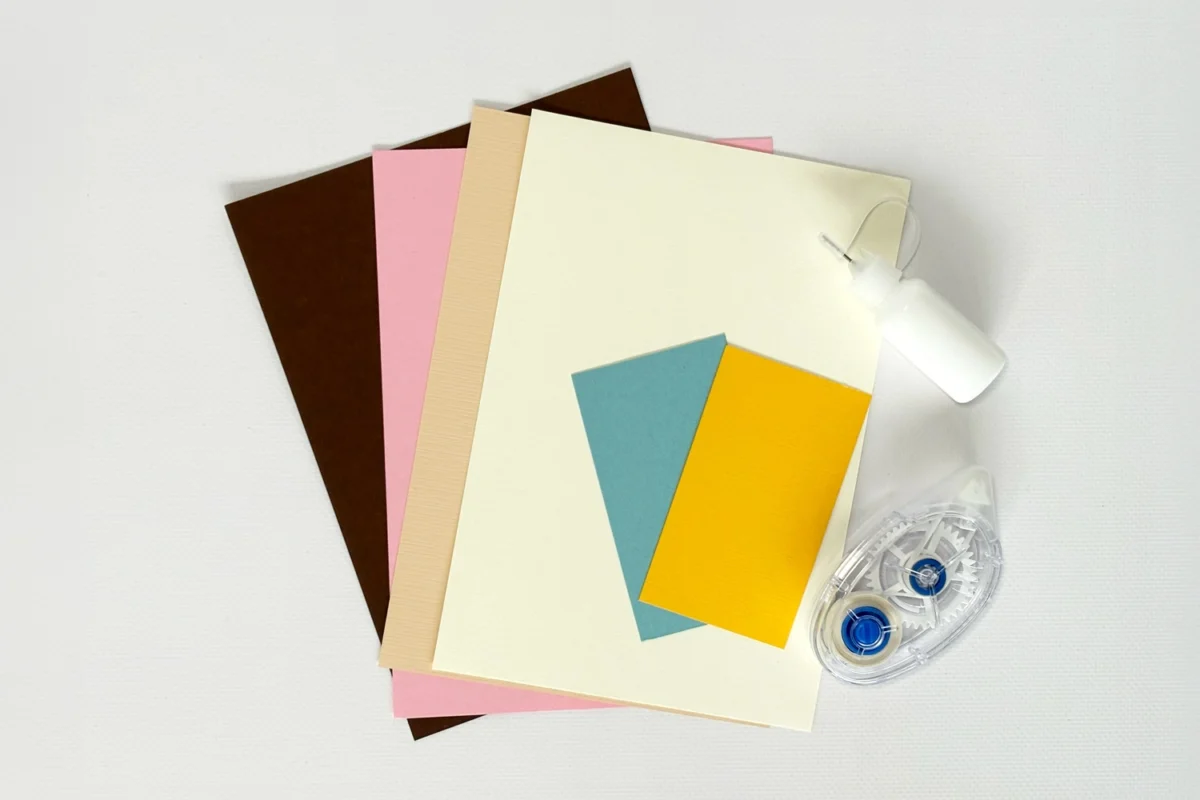
1. Prepare Your Materials
Before you start cutting, gather all the necessary materials. You’ll need pink, brown, beige, yellow, and blue cardstock, along with your glue or tape runner.
2. Cut the Layers Using Cricut Design Space
Open the Teddy Bear Gift Card Holder file in Cricut Design Space. You can use it with Cricut Access or purchase it for $0.99. Select the appropriate settings for your cardstock material and let your Cricut cut each of the layers.
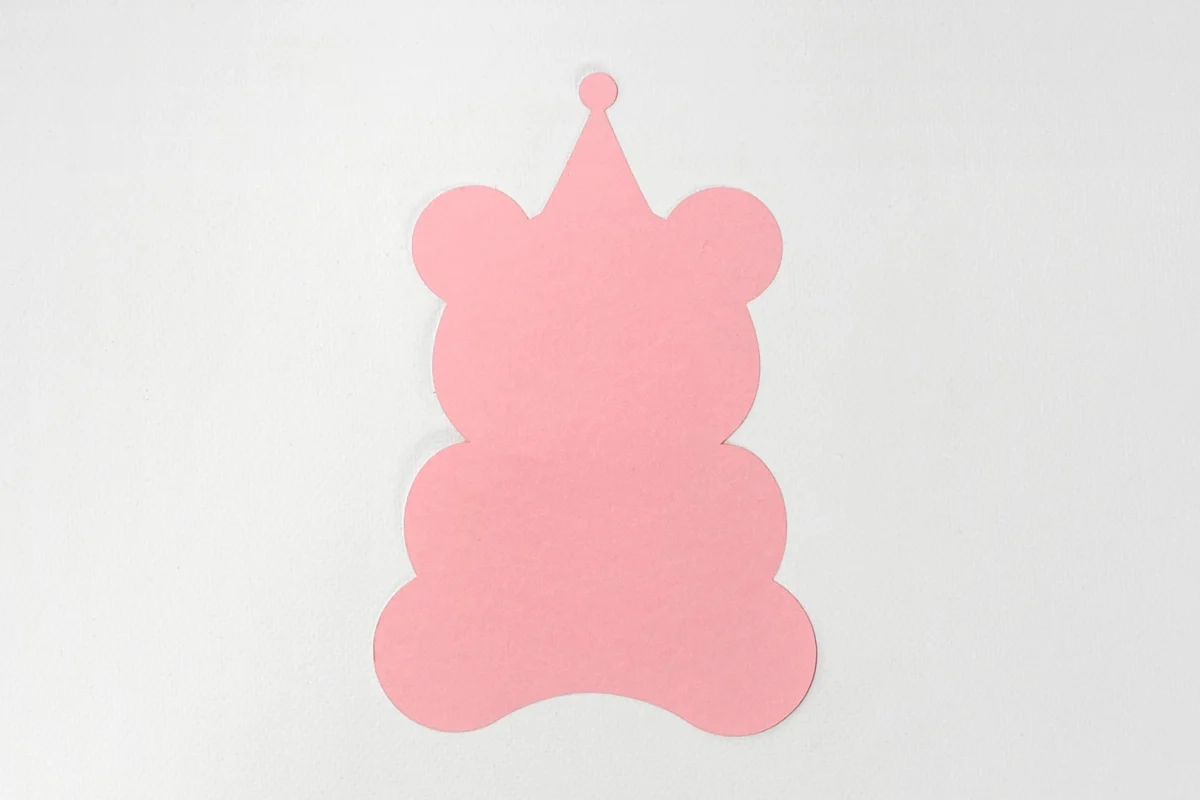
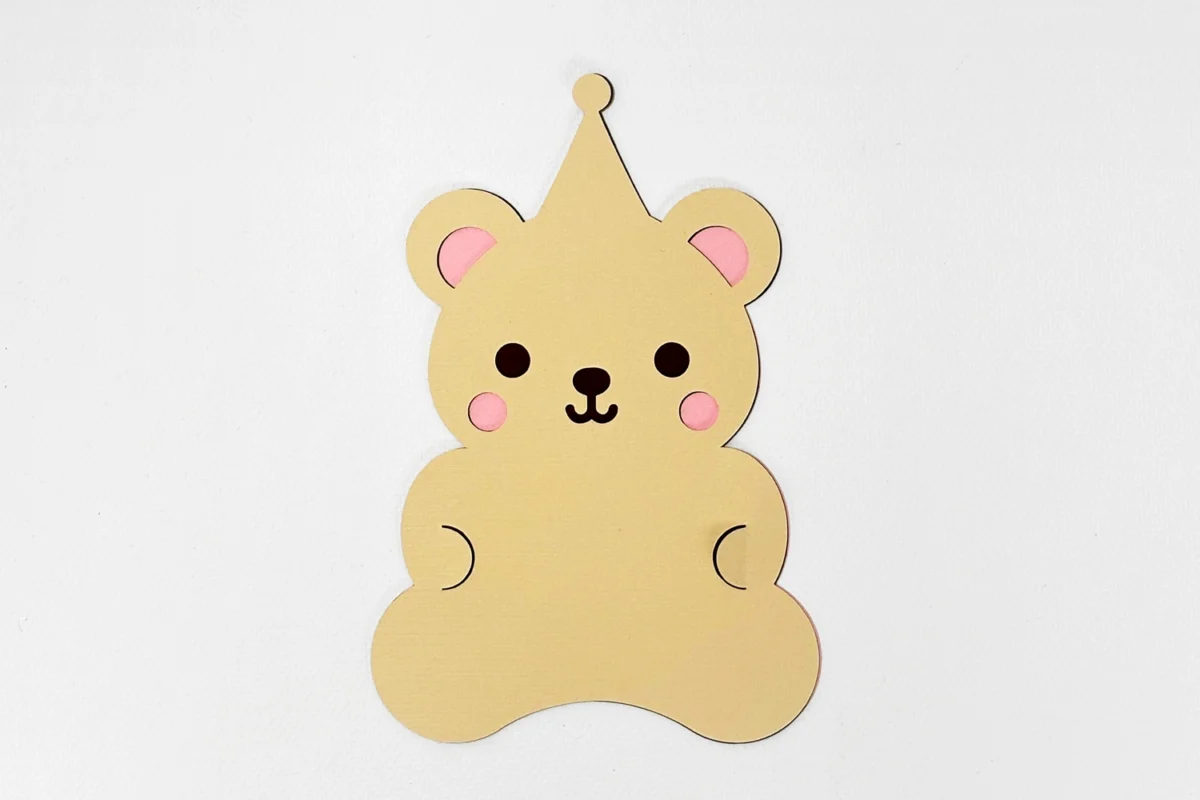
3. Assemble the Bear
Start by using the pink cardstock as the bottom layer. Glue the brown cardstock on top of it, making sure all edges align neatly.
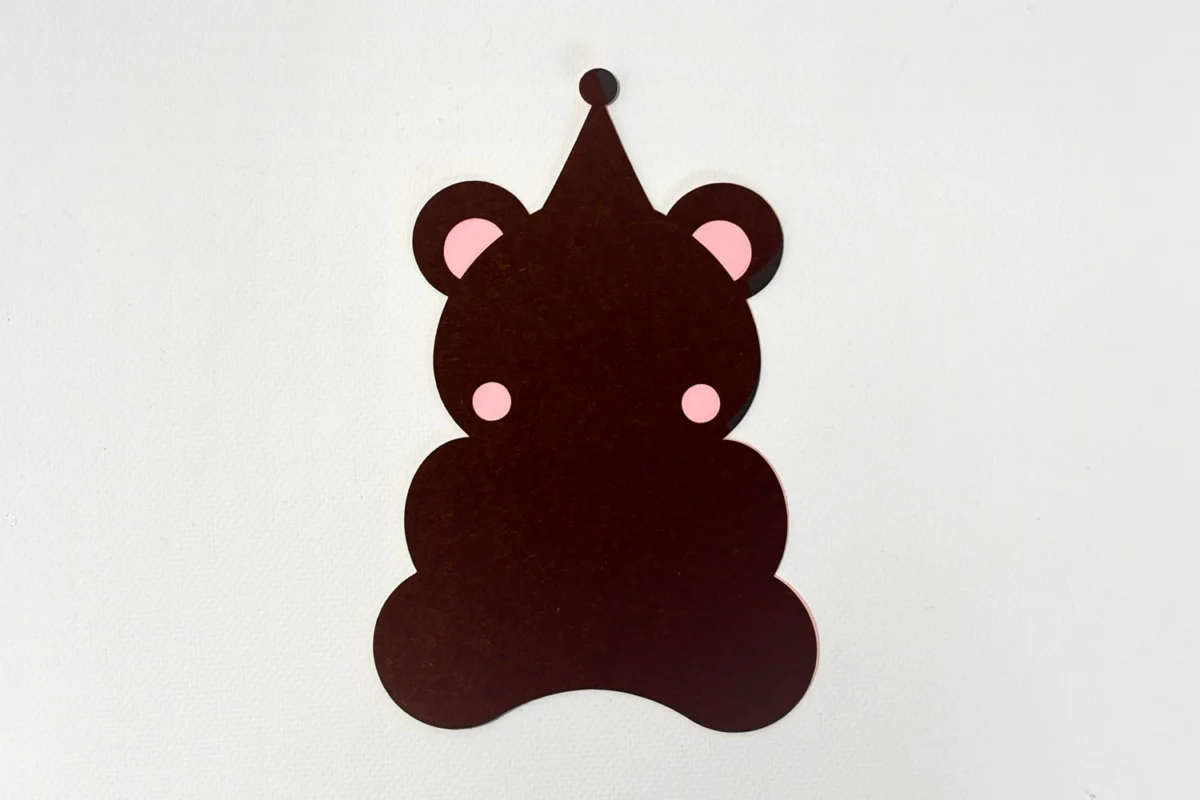
Glue the beige cardstock on top of the brown layer. This beige layer has a slot cut out, where your gift card will fit.
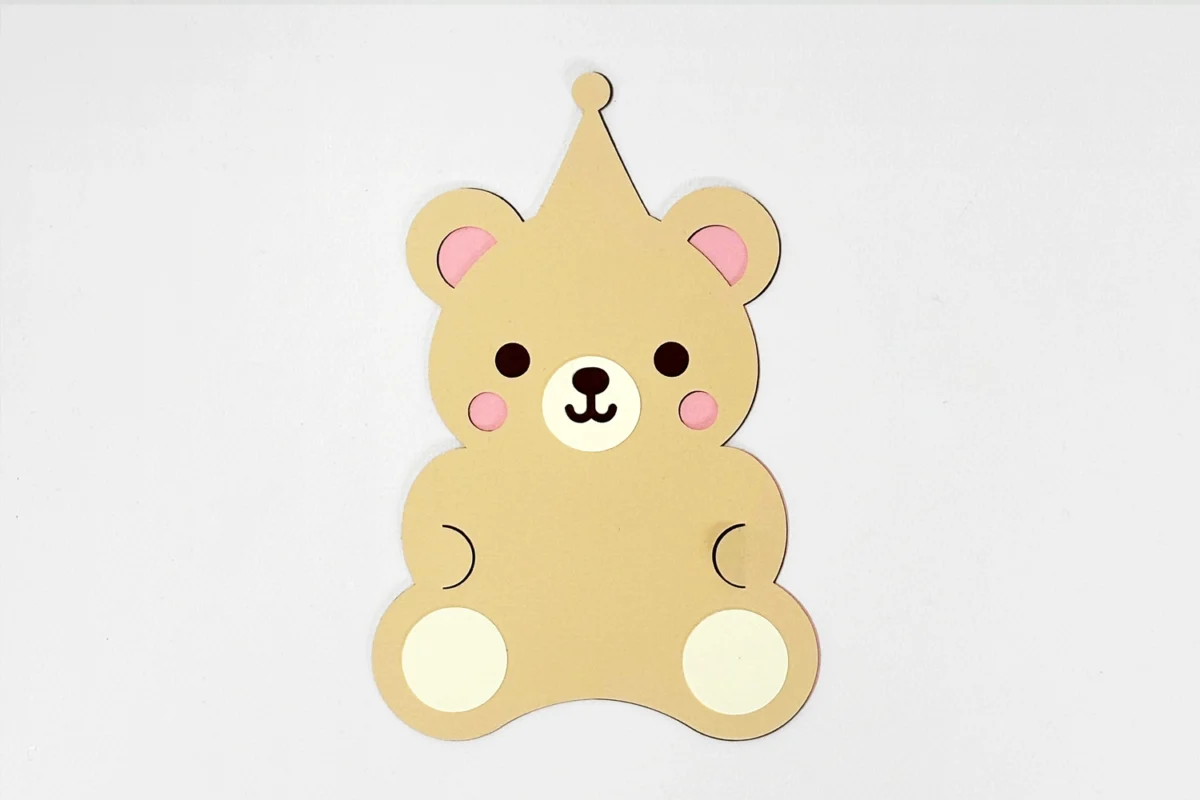
4. Add the Details
Now it’s time to add the fun details! Glue the light snout detail onto the bear’s face, and attach the small circles for the feet on the bottom of the bear’s body.
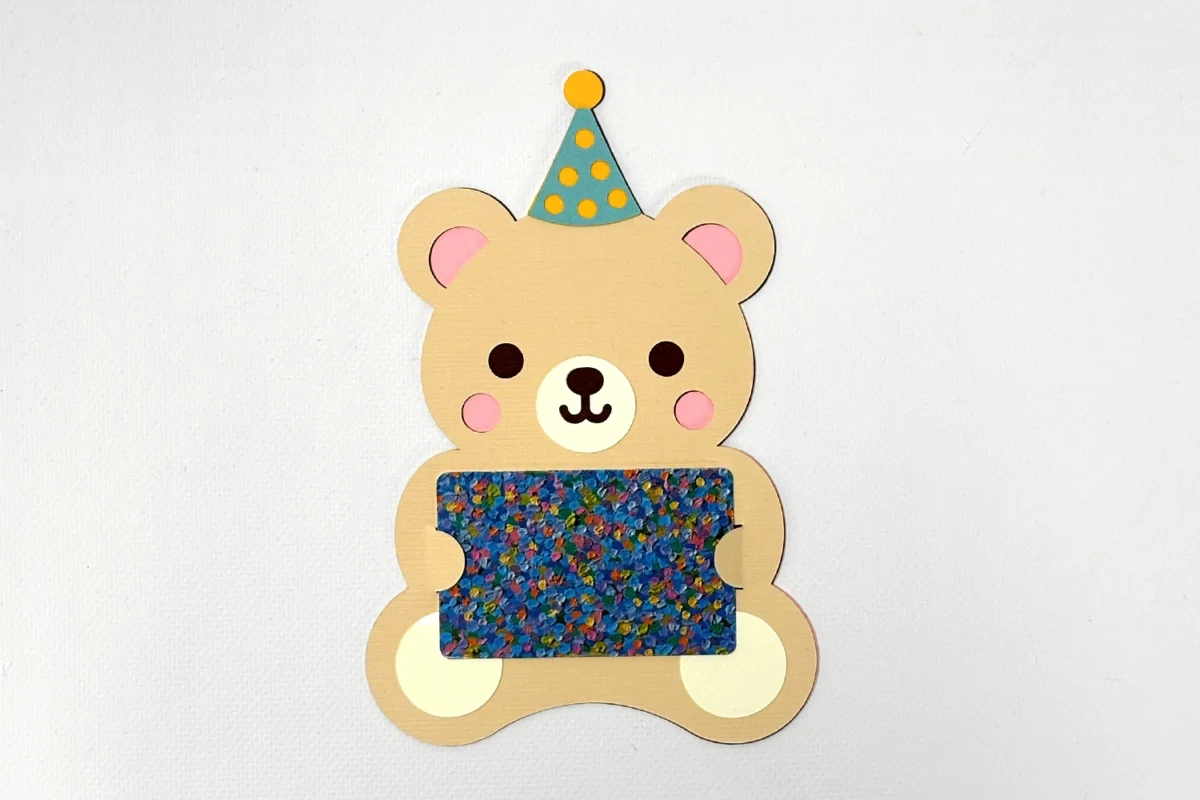
5. Assemble the Party Hat
Next, let’s assemble the party hat. Glue the blue polka dot cutout onto the yellow hat, and then attach the hat to the bear’s head.

6. Insert the Gift Card
Lastly, slide your gift card into the slot on the front of the teddy bear. The cut-out is designed to fit a standard-sized gift card securely.
I hope you enjoyed making this adorable teddy bear gift card holder with your Cricut!