Easter Bunny Basket Photo Craft (Free Printable!)
Spring crafts are always a favorite around here, and I had so much fun drawing this little Easter Bunny Basket photo craft. It’s simple, sweet, and turns out adorable every single time. Plus, it makes such a cute keepsake to hang on the fridge for the season.
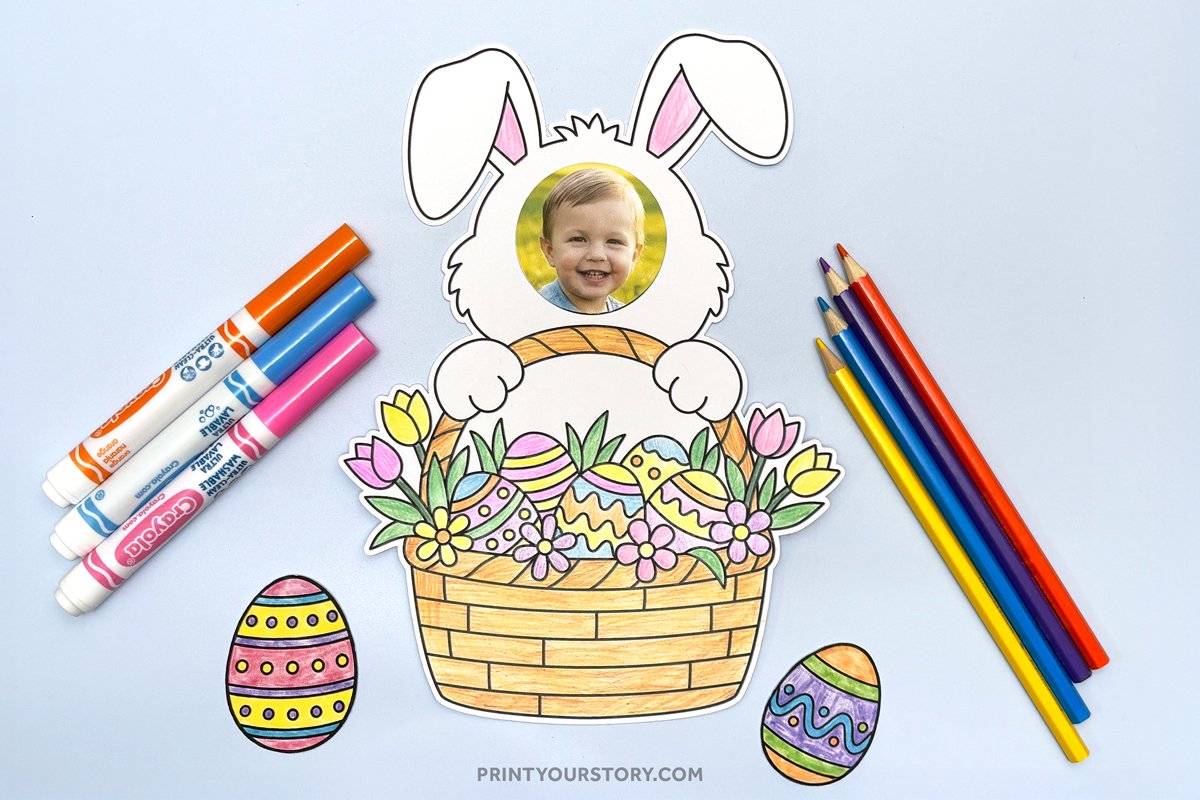
This free printable is designed for your kid to print, color, and personalize with a photo. The bunny is holding a big Easter basket filled with eggs and flowers, and there’s a round spot in the bunny’s face where you can glue in a photo. The result is a cute Easter bunny “face swap” that’s totally handmade and full of charm.
What you’ll need
How to Make this Easter Bunny Basket Photo Craft
Step 1: Print the template
Start by printing the design on white cardstock. Regular printer paper works too, but I like cardstock because it’s sturdier and holds up better during coloring and cutting.
Step 2: Cut around the outside
Carefully cut around the outer edge of the bunny and basket. The circle on the bunny’s face is just a guide for where your photo will go, you don’t need to cut it out.
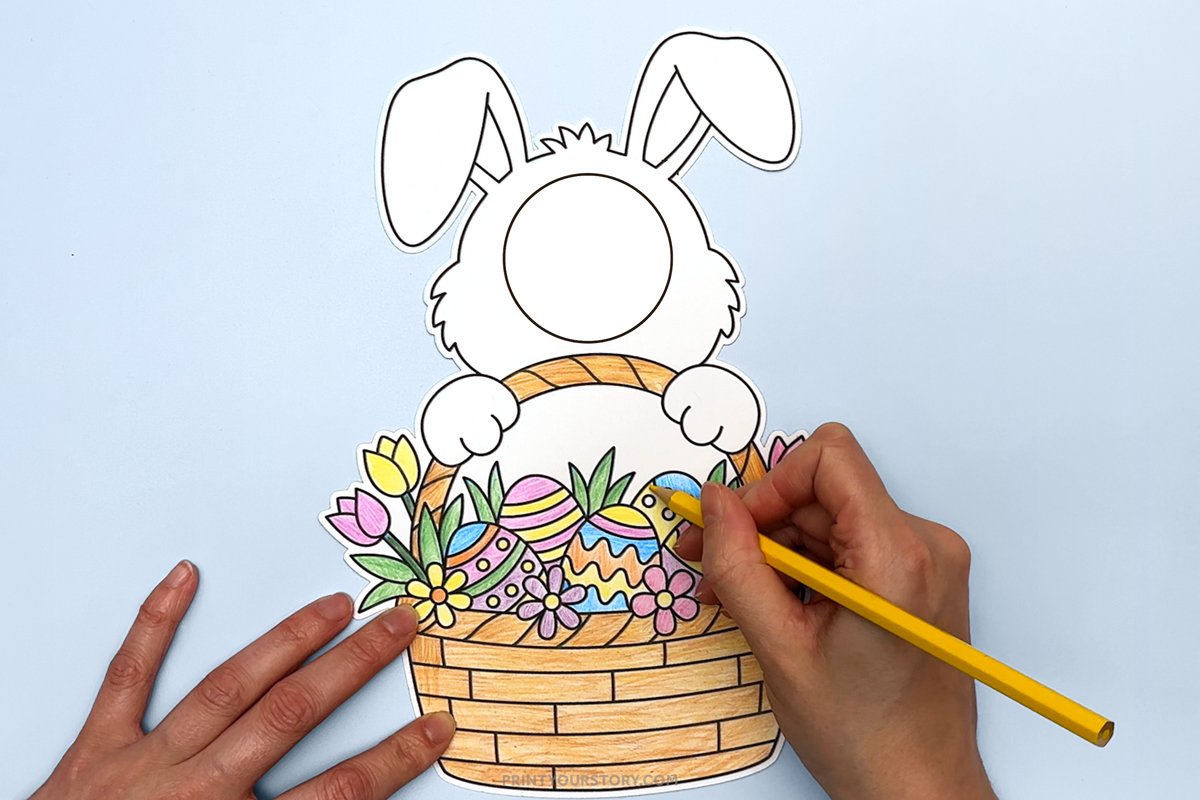
Step 3: Color the bunny and basket
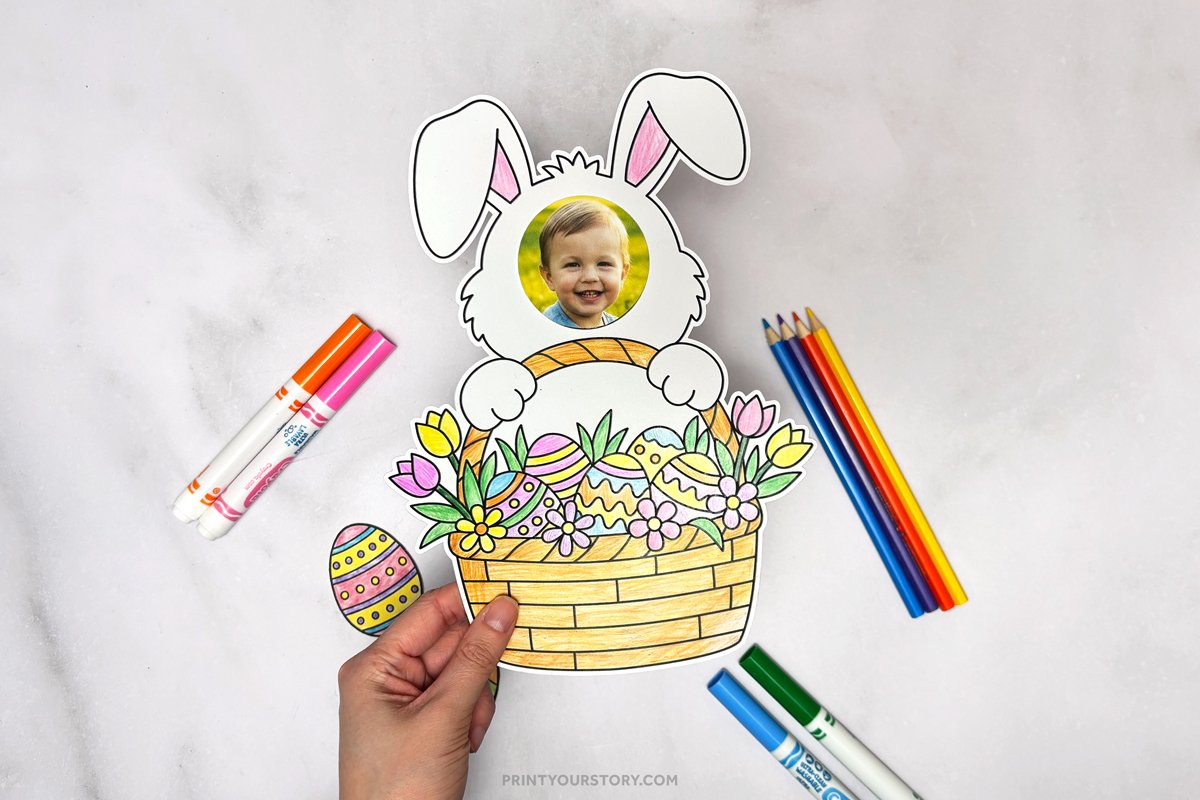
Use whatever coloring tools you like to decorate the bunny, basket, eggs, and flowers. I used colored pencils for mine, but markers or crayons are just as fun. You can keep it traditional with soft pastels or go bright and bold!
Step 4: Prep the photo
Choose a small photo and trim it into a circle, about 2 inches across. I used a cup to trace a circle onto the photo, then cut it out with scissors. If you have a 2-inch circle punch, that’s even easier!
Step 5: Glue the photo on top
Use a glue stick to attach the photo on top of the circle on the bunny’s face. Line it up so the photo fills the space nicely.
Step 6: Show it off!
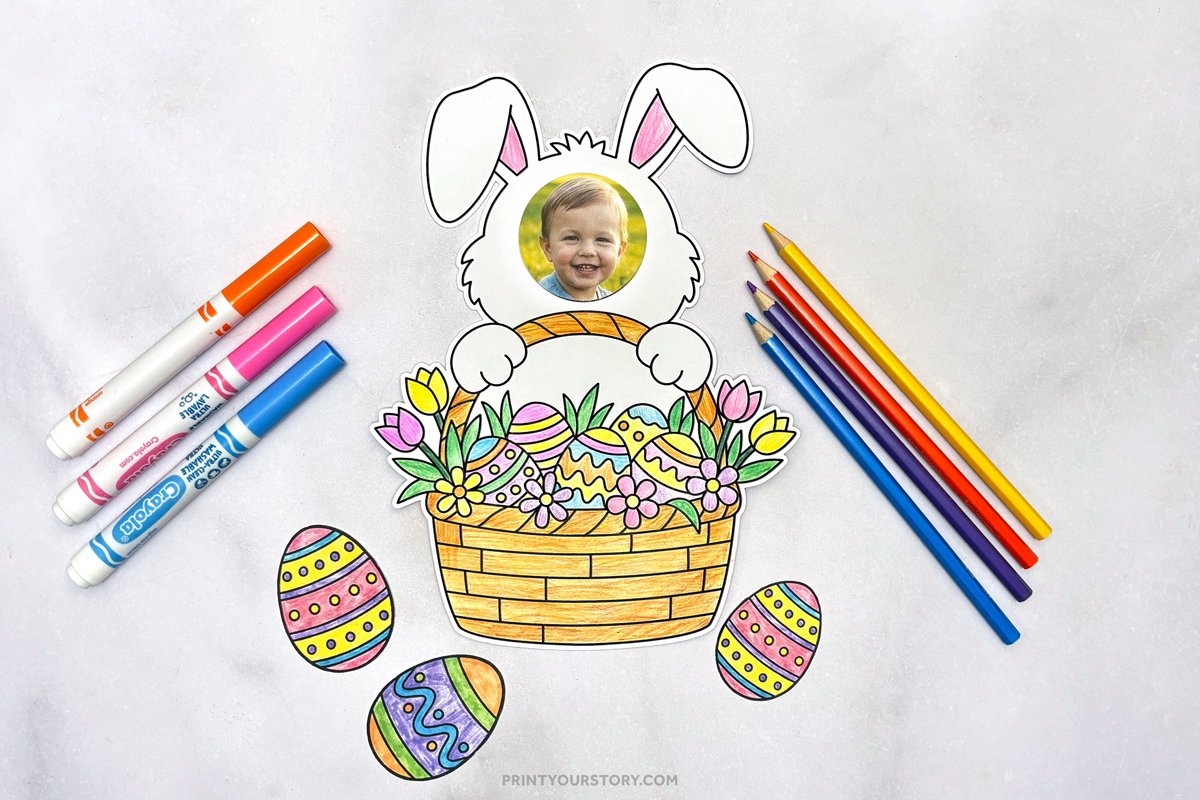
Once everything’s glued and dry, you can hang up your bunny, stick it on the fridge, or even turn it into an Easter card or gift. It’s a fun little decoration for spring, and it’s super cute to look back on later.
A Few Extra Ideas:
- Try printing a few copies so you can make different colored bunnies and flowers each time.
- Add a name or the year underneath to turn it into a little keepsake.
- Tape it to a folded piece of cardstock to turn it into a handmade Easter card!
A Quick Note on Sharing this file
If you love this template and want to share it with friends, teachers, or fellow crafters, I’d be so happy! Please just share the link to this blog post instead of sending the file directly. It helps support my site and allows me to keep creating free crafts for everyone to enjoy.
Thanks for supporting my little corner of the internet!
Share or save for later!
If you made this fun Easter bunny craft, tag me on Instagram or Pinterest. I love seeing what you create.
Or pin it now and save it for your next Easter craft project!
If you’re in the mood for more spring crafting, be sure to check out my other spring crafts and projects! They’re all fun, and easy to make. There’s always something new to try this season.