Paper Plate Christmas Craft: Snowman for Kids
Kids love to create Christmas crafts and this year why not make a snowman out of paper plates? This craft is simple enough for kids of all ages to do and the results are festive and adorable. Plus, you probably have all the supplies you need lying around the house. Read on for instructions on how to make your own paper plate snowman.
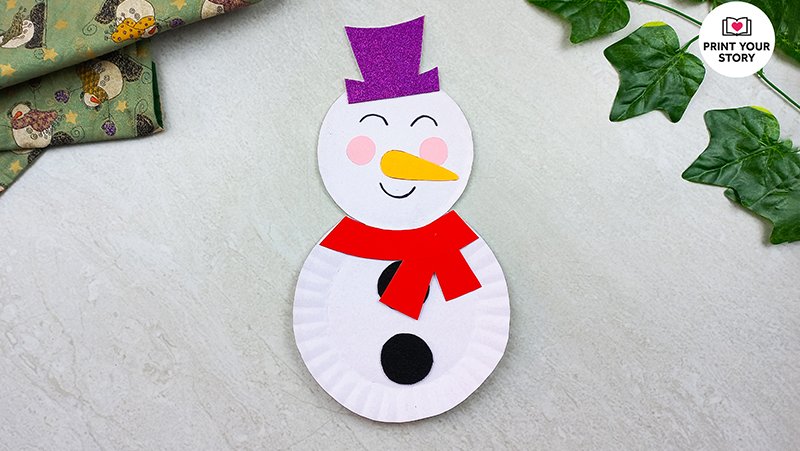
Supplies needed to make a paper plate snowman:
- White Paper Plates
- Colored papers (pink, orange, red, black)
- Purple Glitter Sheet
- Scissors
- Glue
- Black Marker
- Snowman paper plate template
Instructions: How to make a paper plate snowman

First, download the snowman template and print it. Cut out the pieces to use as stencils. Then trace them on different colored paper and cut them out too – one orange nose, two pink cheeks, one purple hat, two black buttons, and one red scarf.

Cut the plates according to the size of the template. We need one big plate to make the body and one small plate to make the face of the snowman.
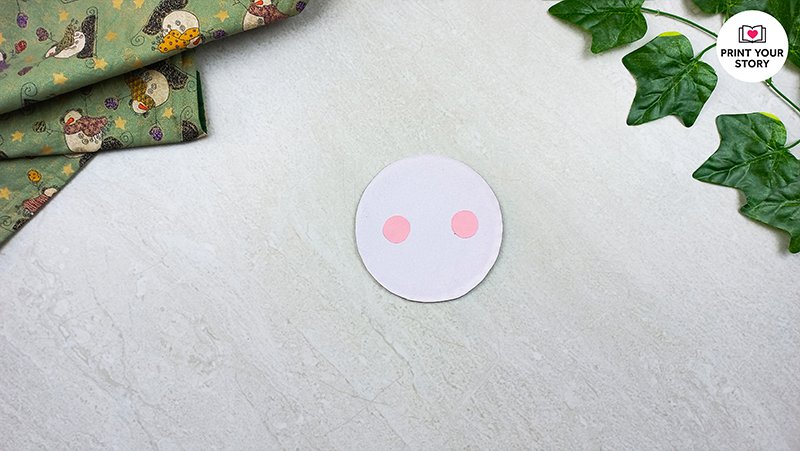
Now let’s start making our snowman! Take the small plate and place the pink cheeks in the middle.
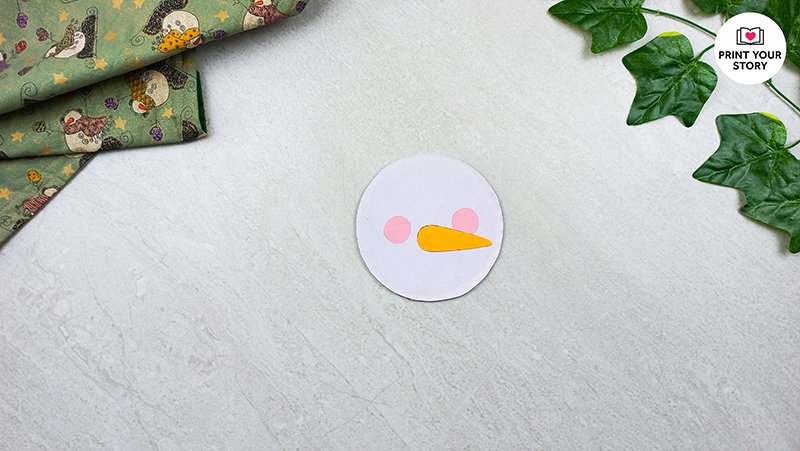
Then take your orange nose and paste it right in between those rosy cheeks to give him a cute face!
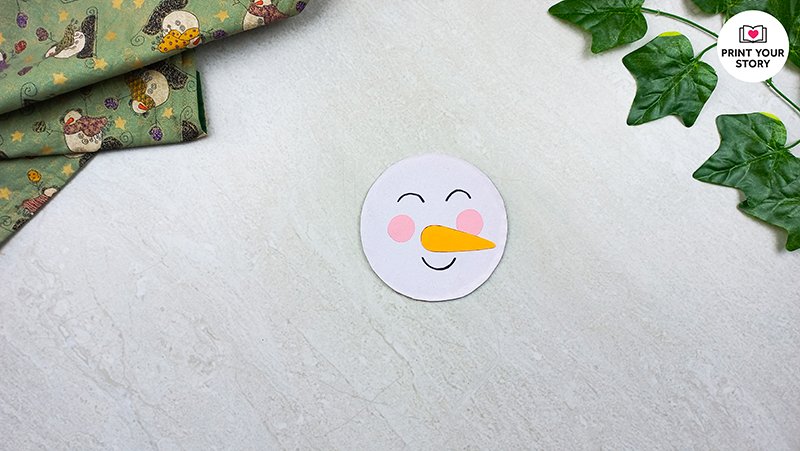
Use your black marker to draw eyes and a smile on your snowman – he’s almost complete but there are still some things missing…

Take that purple hat you cut out earlier and put it on top of the snowman’s head – just make sure to paste it firmly so it won’t fall off!

Now take your big plate and paste your completed face onto it.

Next, add two black circles – they can be made out of construction paper or buttons – and paste them as buttons on your snowman’s belly.
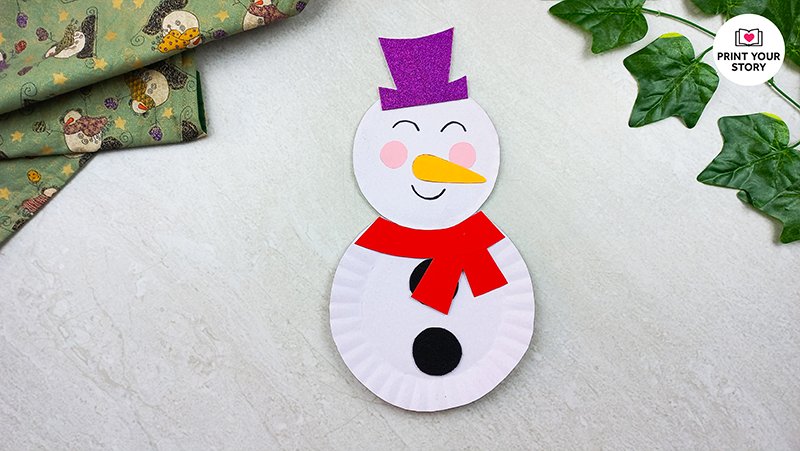
Finally, paste the scarf under your snowman’s face to finish off his look and keep him warm!
Your very own Paper Plate Snowman Craft is finished and ready to enjoy!