
DIY Tooth Fairy Bag with Cricut
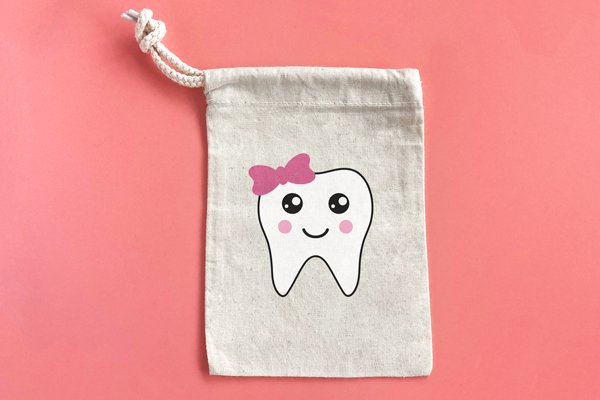
Do you have a child who is eagerly awaiting the tooth fairy’s arrival? Instead of using a pre-made bag, why not create your own DIY Tooth Fairy bag with your Cricut machine?
This project is easy and fun, and it can be customized to match your child’s style or include their name. Plus, it makes a great addition to their bedroom decor. Ready to get started? Let’s go! I’ll show you how to make a tooth fairy pouch. 🙂
Supplies needed
Tooth Fairy Bag Tutorial
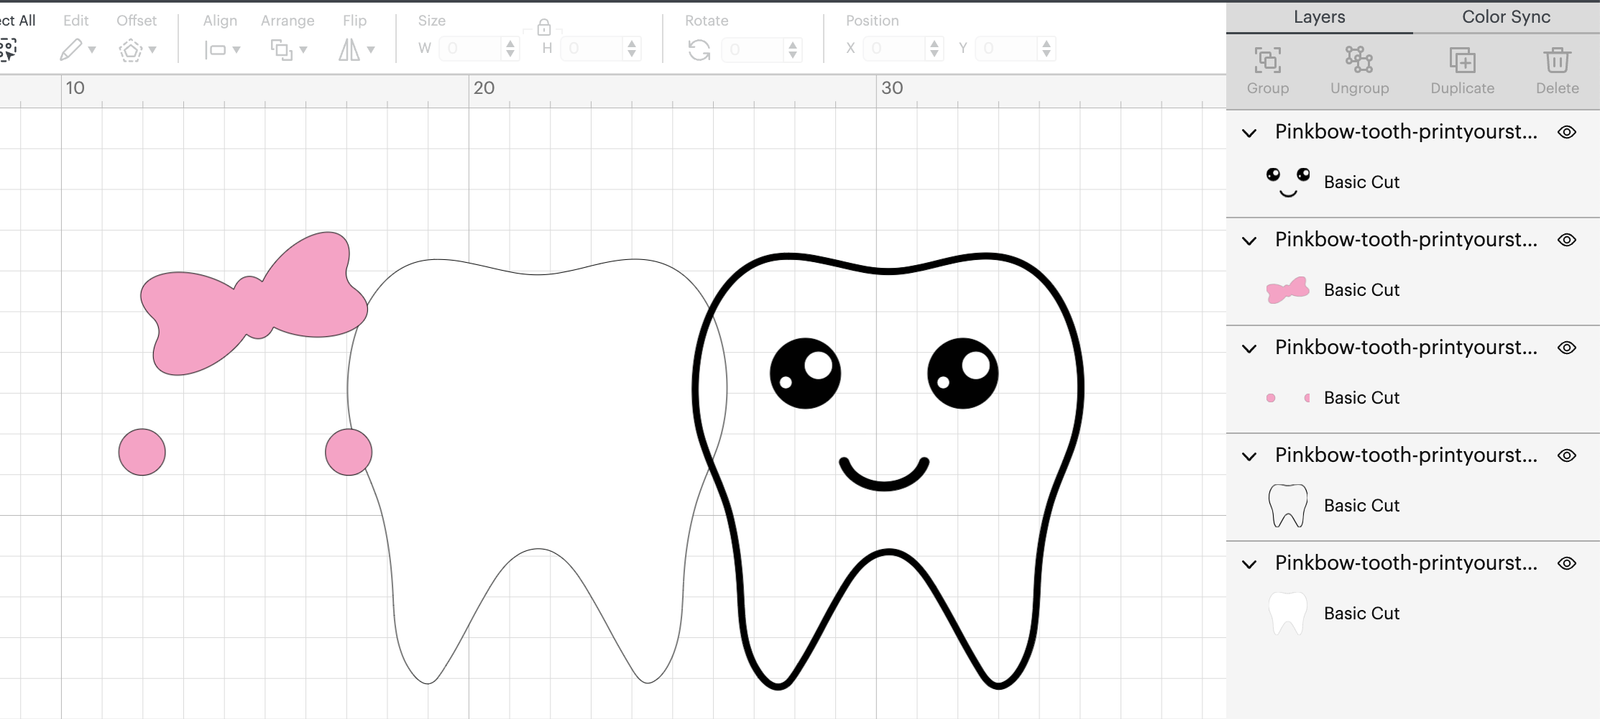
This Cricut DIY tutorial will show you how to make tooth fairy bags with a Cricut machine. Start by uploading your tooth fairy cut file to Cricut Design Space.
- Once you have uploaded it, select each part of this project and cut them from iron vinyl with any colors that work well together.
- Don’t forget to mirror your design! Remember to put the shiny side of your vinyl downwards.
- After your Cricut is done, weed the vinyl.
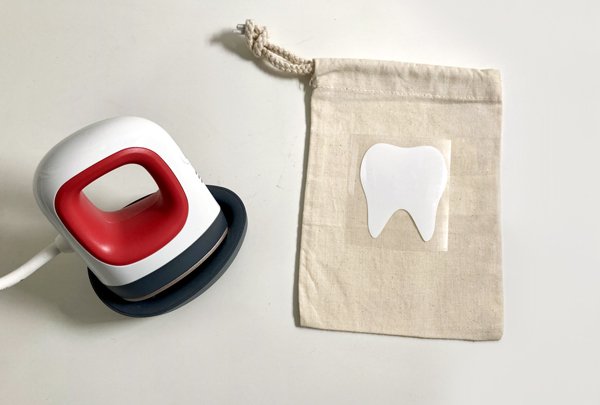
- I added some parchment paper inside the bag so my vinyl won’t press on the back of my bag.
- With the white iron-on vinyl on your bag, press it shortly with your heat press so you can remove the backing off. Wait for it to cool off. Don’t press too long, since we will be adding more layers and more heat later on.
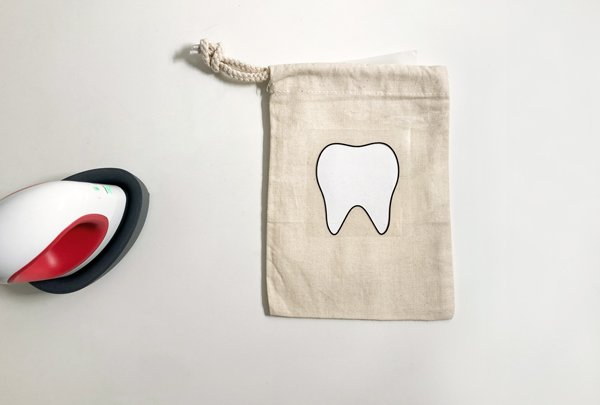
- Repeat this with all the extra face details, cover the bag with parchment paper (so that you don’t use your heat press/iron directly on the iron-on) and then press again.
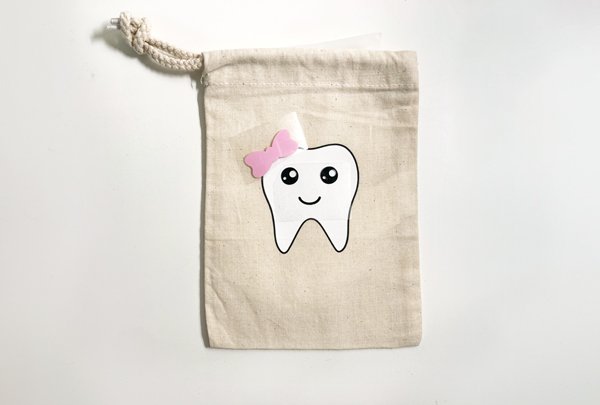

That’s it!
Tooth Fairy bags are a great way to show your child that the tooth fairy was there. They can also be used as a place to store teeth until the next time the tooth fairy comes. This DIY tutorial for making a tooth fairy bag with Cricut is easy and fun. Be sure to try it out!
Have you ever made a tooth fairy bag? If so, tell us about it in the comments below.
This project is a great beginner project, and you can even sell them on Etsy or at craft fairs!
You might also like:
How to Unzip SVG files on Windows and Mac